Whether you’re managing a project, taking notes, or organizing your life in Notion, productivity hacks are always a welcome addition to the workflow. Notion is powerful, but these lesser-known hacks take productivity to the next level.
1Learn to Use Commands
In Notion, you can quickly add content to a page using commands. To do that, you press the / key (forward slash) on your keyboard and follow that up with the type of content you want to add. This is faster than pressing the plus icon next to a block and searching for the content.
The command would look something like:
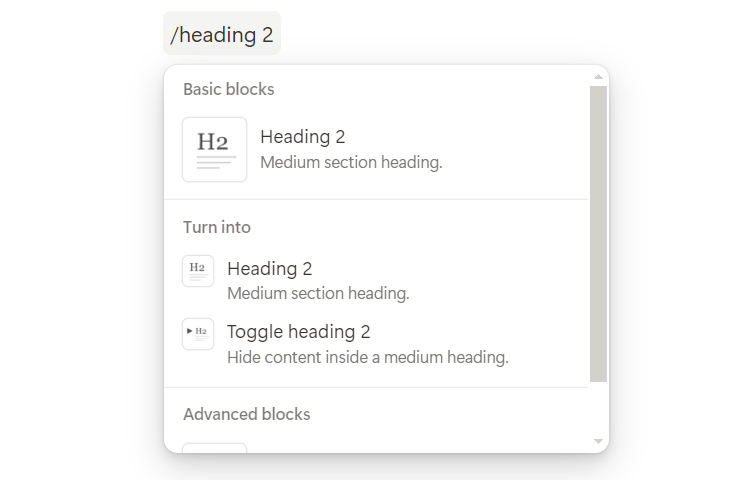
/[content_to_add]In the above syntax, content_to_add can be Text, Page, Heading, To-do list, Image, Video, and Tweet. So, if I wanted to add a second-level heading to the content, I would type the following and then hit the Enter key:
/heading 2Pressing / by itself will list all the content you can insert, allowing you to select the one you want.
2Format With Markdown
Many note-taking apps use Markdown for formatting, and Notion is one of them. Markdown can be faster in some situations, especially when you need to format text quickly without taking your hands off the keyboard. The Markdown syntax will be rendered in the text area in Notion the moment you type the syntax, allowing you to see the results instantly.
You can quickly grasp the basics of Markdown with our Markdown cheat sheet.
3Utilize Templates for Repeated Tasks
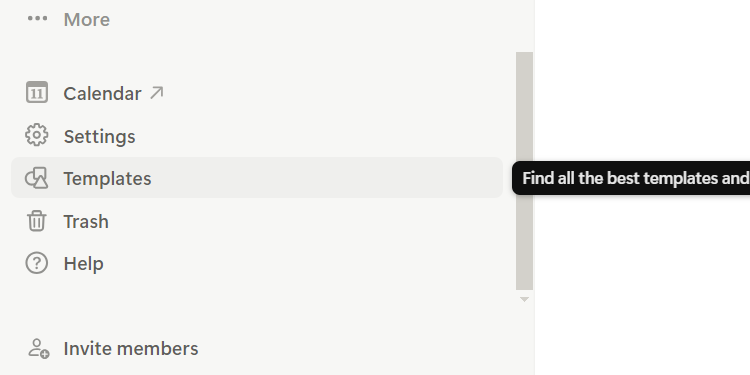
Notion has an impressive library of free templates, from meeting notes and project plans to daily logs and vacation planners. Not only do they save you time and effort, but they also ensure uniformity across everything you create.
Click inside the search bar in the top right corner, enter the type of template you’re looking for, and hit the Enter key to search for it. You can click Preview to see if the template has all you need. Afterward, go back to the previous page and click Add.
You can find it in your list of pages in the left sidebar once it has been created, ready for you to edit.
4Filter Tasks With Linked Databases
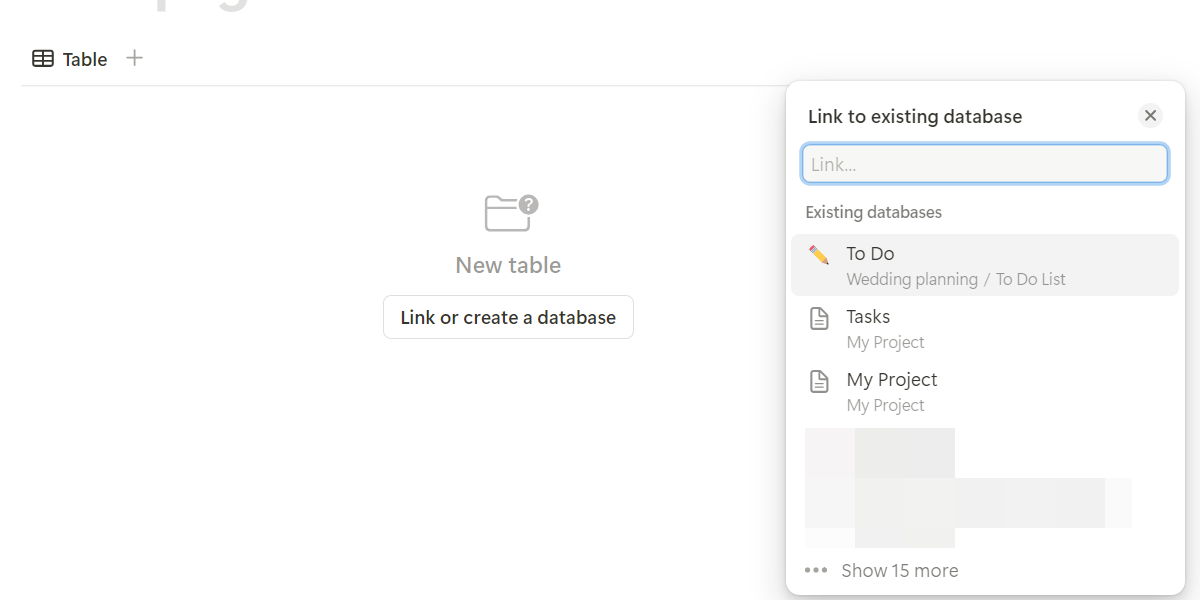
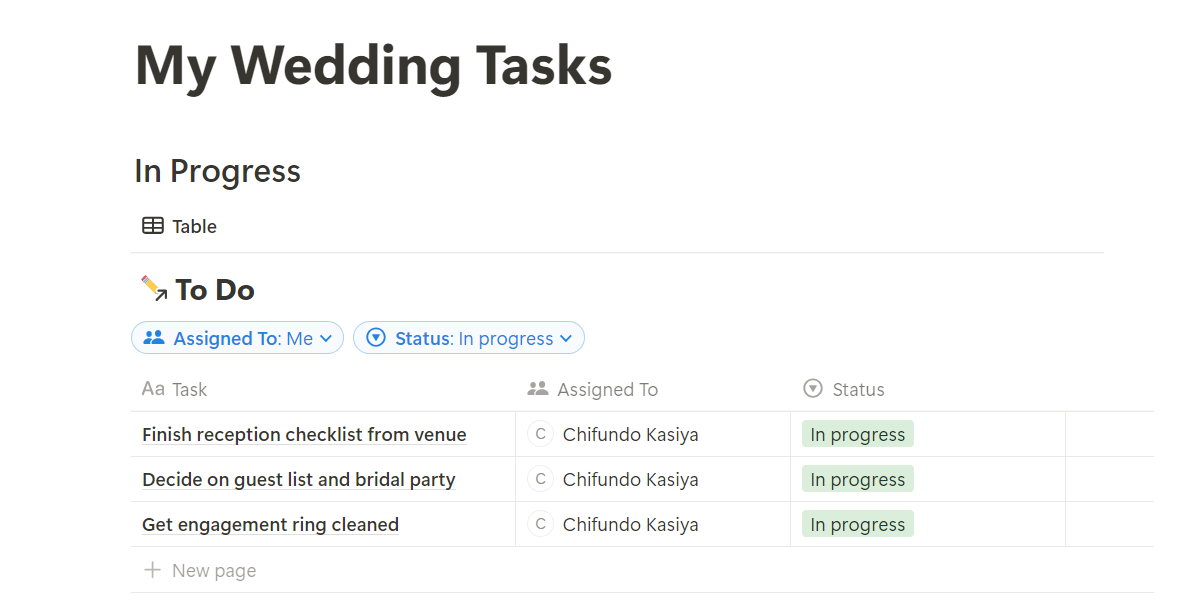
Let’s say you’re part of a wedding planning committee, and you want to be able to see your tasks only. Instead of filtering the database directly, you can create a separate page and add a linked database.
To add a linked database to a page, type /linked and press the Enter key to bring up a list of Notion databases in the workspace. Select the one with the tasks you want to filter.
Afterward, filter the database based on the assignee, which is you in this scenario. You’ll then see a filtered database with only your tasks displayed. You can apply as many filters and views as you want.
5Sync Your Google Calendars
Notion has a handy calendar that you can use to create, schedule, and organize all your tasks and events within your Notion workspace. It also allows you to sync your Google Calendars so you can manage them all with Notion.
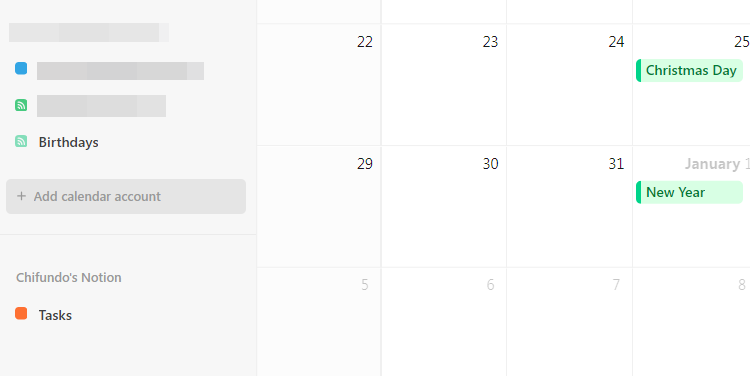
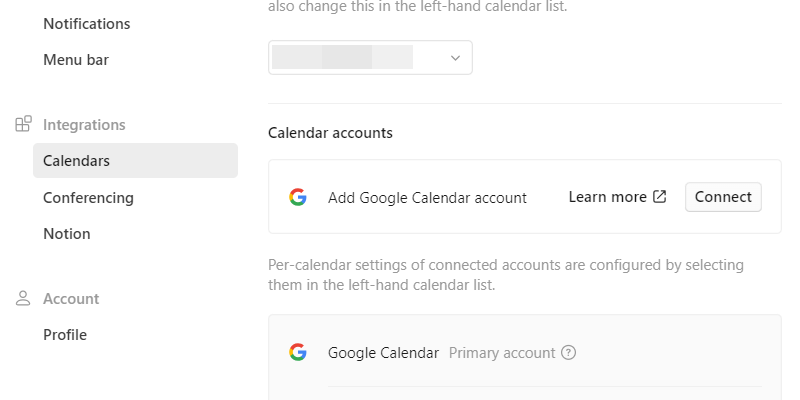
To connect your Google Calendars to Notion Calendar, scroll to the bottom of the left sidebar in Notion and click Calendar. This will open a separate browser window where you have to sign in to Notion Calendar with your Google account. Then, click Add calendar account in the left sidebar.
In the Calendar accounts section, click Connect.
Follow the steps to sign in to your Google account with the calendar you want to connect to Notion. Afterward, you will see all the calendars you added in the left sidebar.
6Use the Web Clipper
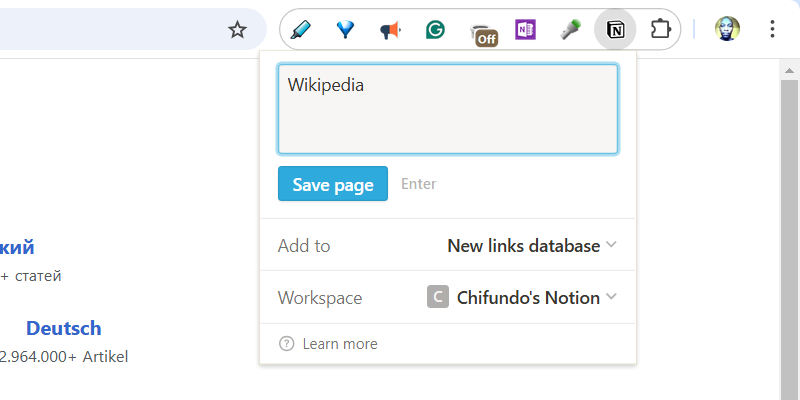
You can save web pages, articles, and other online content directly to your Notion workspace using the Notion Web Clipper. It’s a quick way to keep all your research, inspiration, and reference materials organized in one place without needing to manually copy and paste them. You can install the extension from the Notion Web Clipper download page—it supports Chrome, Firefox, and Safari.
To save a web page, click the Notion Web Clipper icon in the toolbar, select your workspace and the page you want to send the content, and then click Save page.
7Extend Functionality With Integrations
Notion can connect to several apps to extend its functionality. This can streamline and enhance your productivity by allowing you to create different workflows with your existing tools.
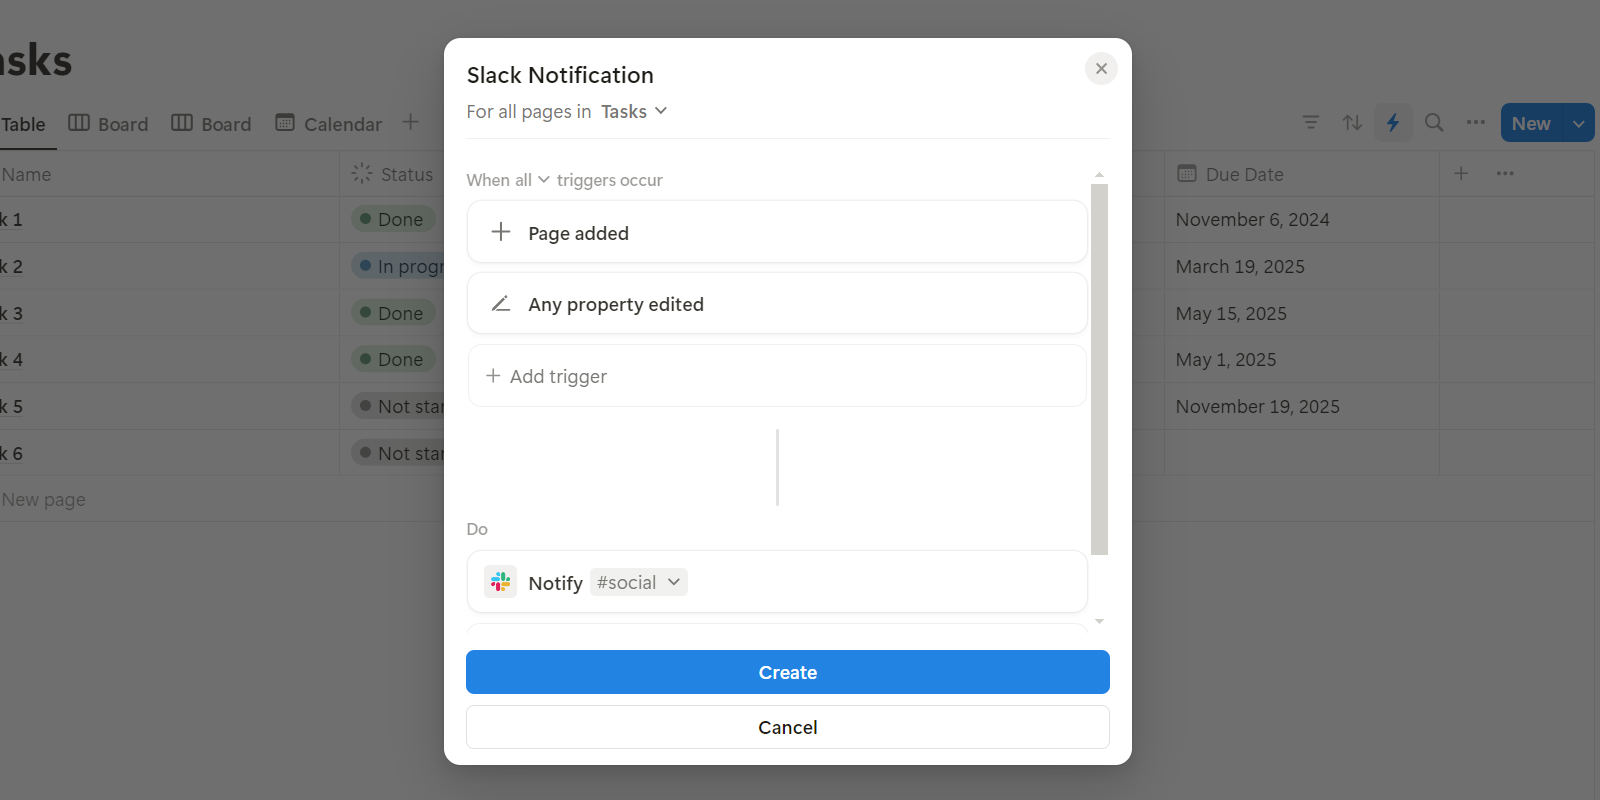
I will demonstrate this by showing you how to create an automation between Notion and Slack. For this purpose, I want Notion to send a Slack notification whenever someone changes something in a project database. That way, people don’t have to notify each other manually.
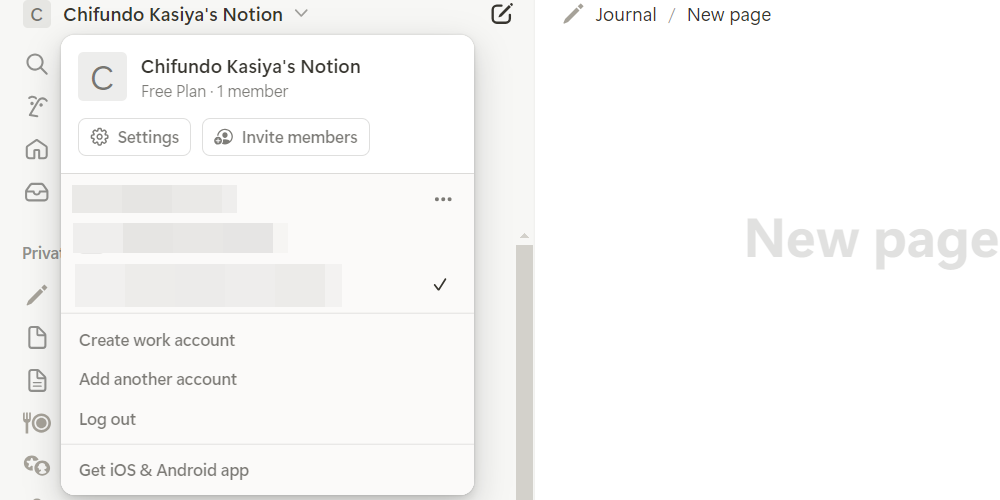
To do this, click the name of your Notion workspace in the top left corner and select Settings in the pop-up.
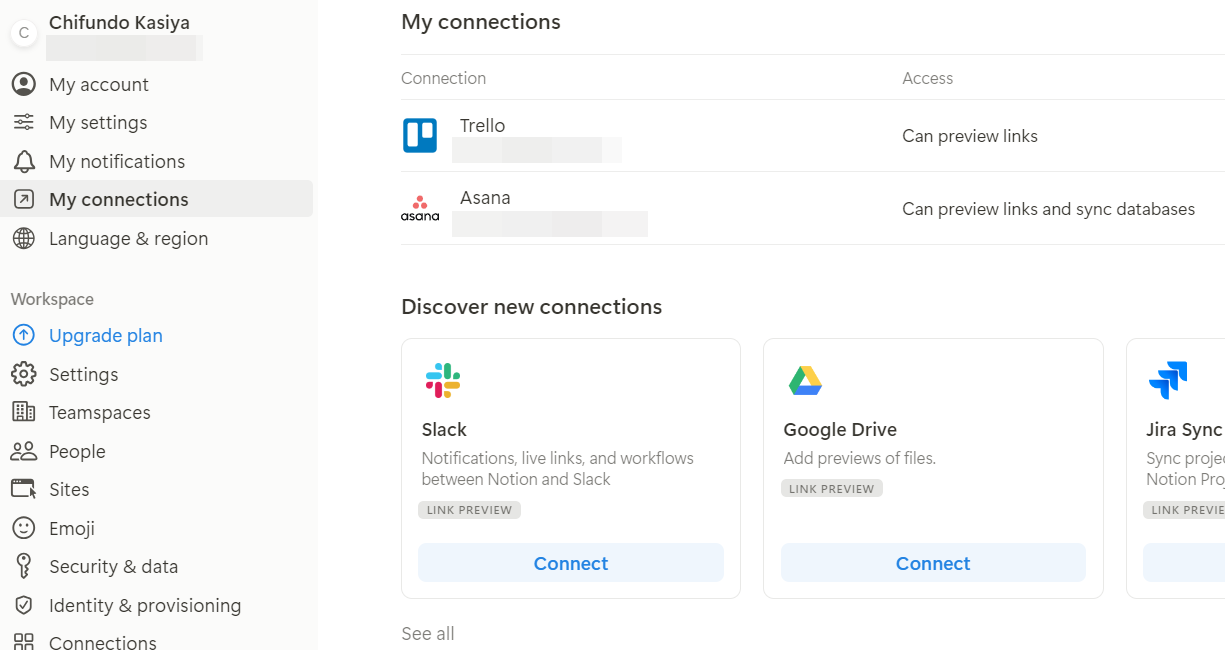
Select My connections in the left sidebar to see the list of integrations and click Connect in the Slack card.
From there, follow the instructions in the browser to connect Notion to your Slack workspace.
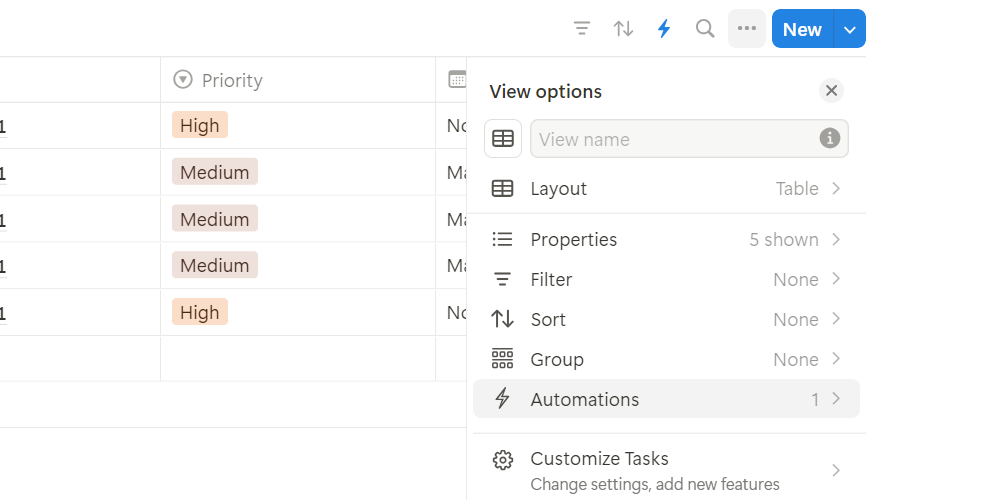
To create an automation, click the three-dot icon in the top-right corner of the database and select Automation in the menu.
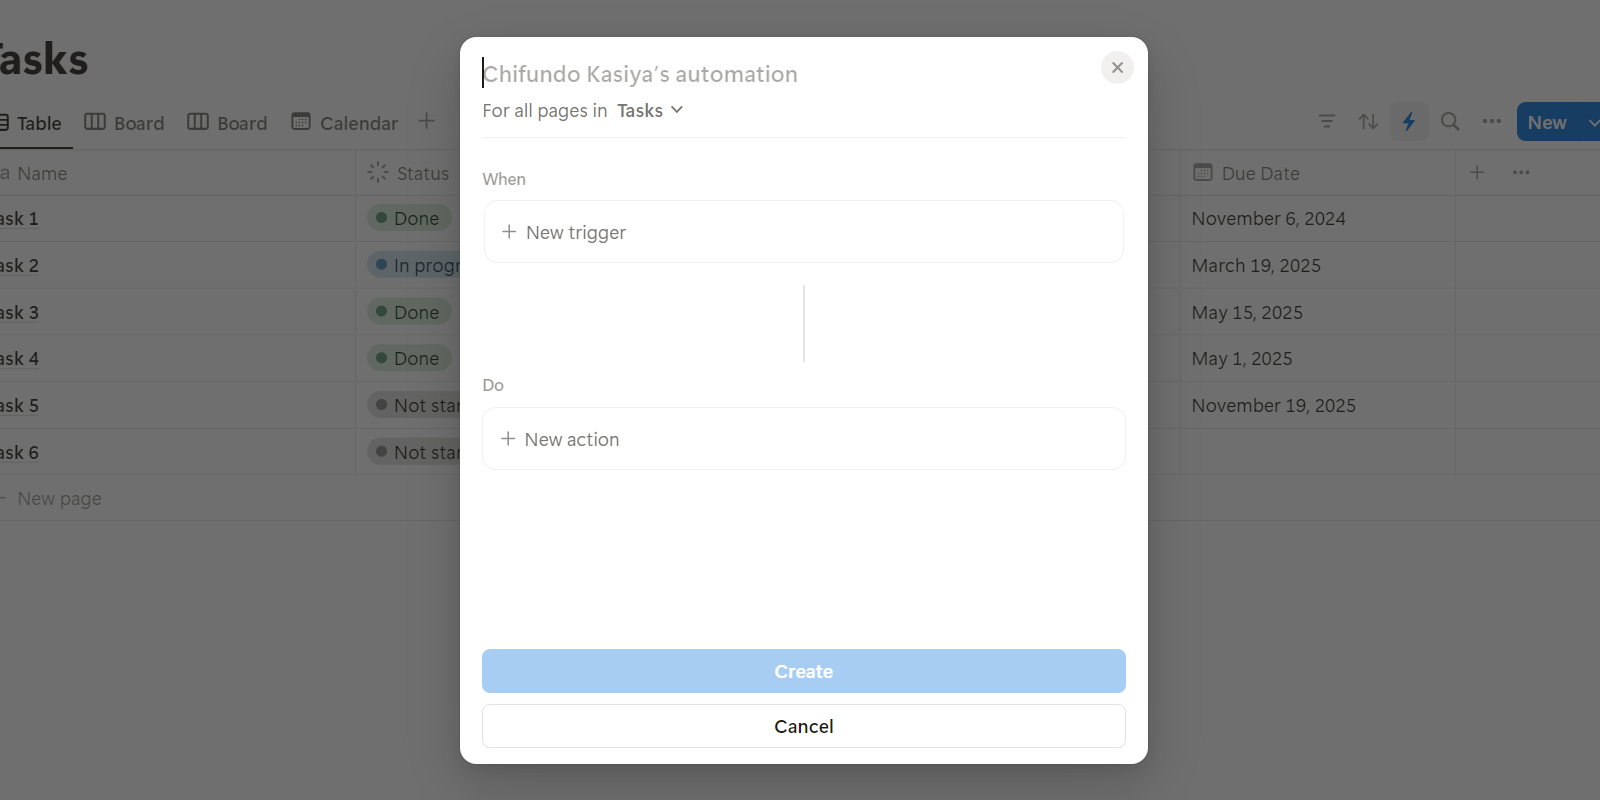
This gives you a pop-up with everything you need to create an automation.
In the When section, click New Trigger and select an event (e.g., Any property edited or Page added). In the Do section, click New action and select Send Slack Notification to in the menu.
Now, when someone edits a property or adds a page to the database, a notification will be sent to Slack.
There are many Notion productivity hacks I can cover, but these are the most effective ones I use. With these tips, you are a step closer to becoming a Notion power user. They will help you do more in the long run, especially if you have an overwhelming task list to manage in Notion.
