Key Takeaways
- Adjusting the shadows and highlights can make your photos stand out significantly and impact the overall mood.
- Editing the highlights brightens or darkens key areas like the sky for different effects.
- Editing the shadows can create dramatic silhouettes, add contrast, and bring out textures in food photography.
If you only learn how to edit two aspects of your photo, it should be shadows and highlights. Knowing how to adjust these areas will make it much easier to create pictures that stand out. Here’s how I tweak the shadows and highlights in multiple scenarios using my smartphone’s native editing app.
How Does Editing the Highlights Impact a Photo?
When you edit your picture’s highlights, the lightest areas in the photo either become brighter or darker. Adjusting the highlights is particularly important if there’s a bright sky in the photo; your adjustments will make a huge difference in what details the user sees.
So if you want the clouds to be more prominent, you’d need to bring down the highlights. On the other hand, moving your slider in the opposite direction will brighten these areas and potentially blow out the details.
Knowing when to turn the highlights up or down is a key step in taking your smartphone photography more seriously.
How Does Editing the Shadows Impact a Photo?
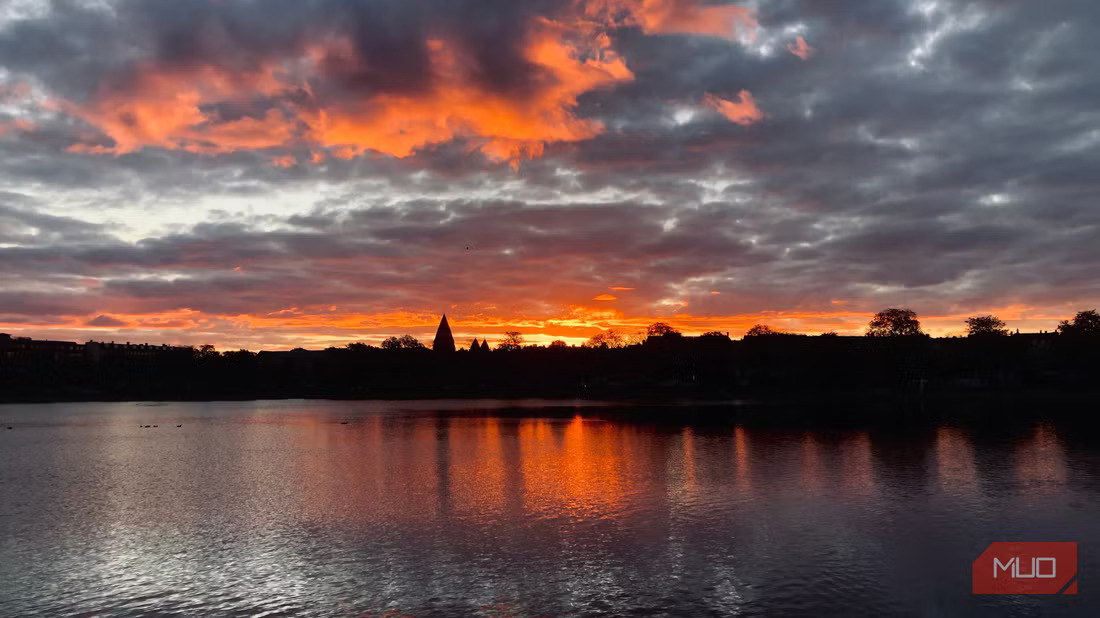
I would argue that editing the shadows of a picture will have a bigger impact than anything else. Shadows are the darkest part of an image, and knowing how to adjust it gives you an incredible amount of control. For example, darkening the shadows of a sunset photo can help you create a dramatic silhouette.
Sometimes, moving the shadows slider down can also help with making the picture’s overall contrast more powerful. On the other hand, increasing the amount of light in your shadows can bring out details in objects and people that might make the image look more flattering.
You can also bring up your shadows if you want your picture to have more of a matted look. While I recommend using a Tone Curve tool (which is one of my top Lightroom mobile tricks), you can still use your smartphone’s native camera app to generate a similar effect.
How I Edit the Shadows and Highlights in My Photos
Knowing the impact that editing the shadows and highlights has on your picture isn’t enough. Every photo situation requires a different approach, and for this reason, I don’t use one universal rule. Here’s how to know when and how to edit the shadows and highlights.
Overcast Skies
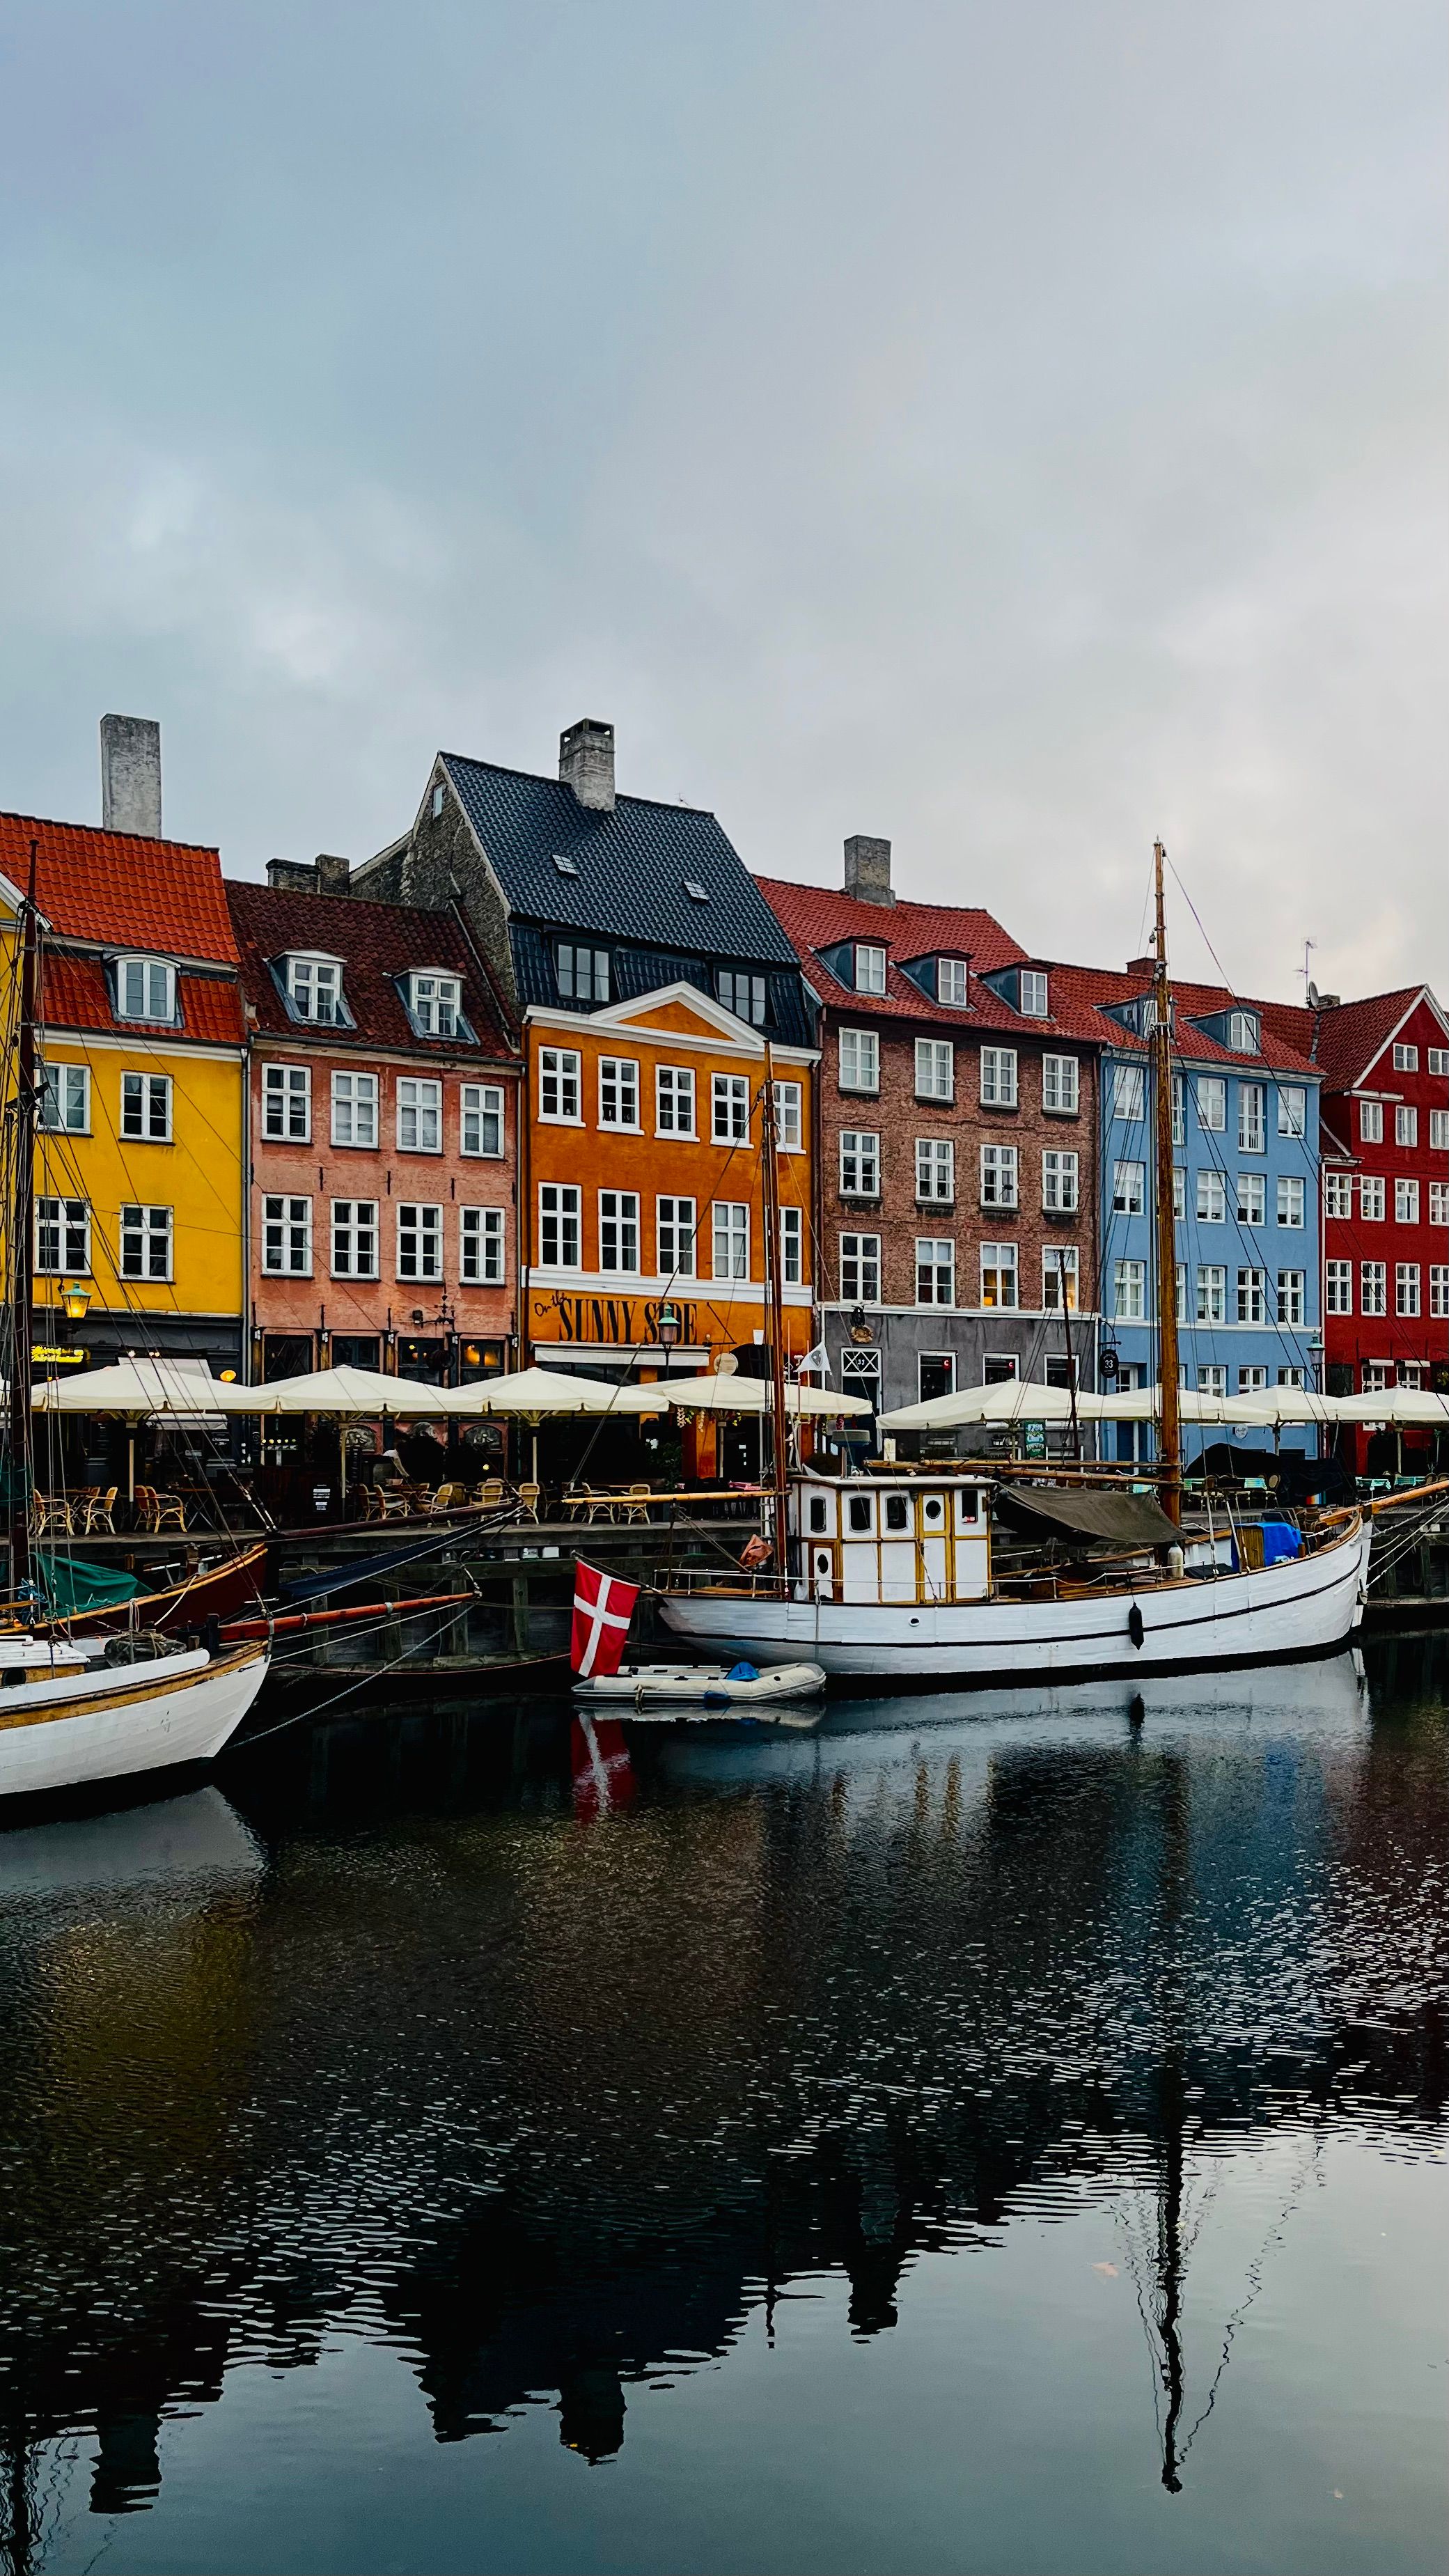
I live in a city where gray skies are the norm for about ten months of the year, and I also grew up in London (another city where it seems to be permanently overcast). Unsurprisingly, I’ve gotten good at adjusting the shadows and highlights in my photos for this kind of lighting condition.
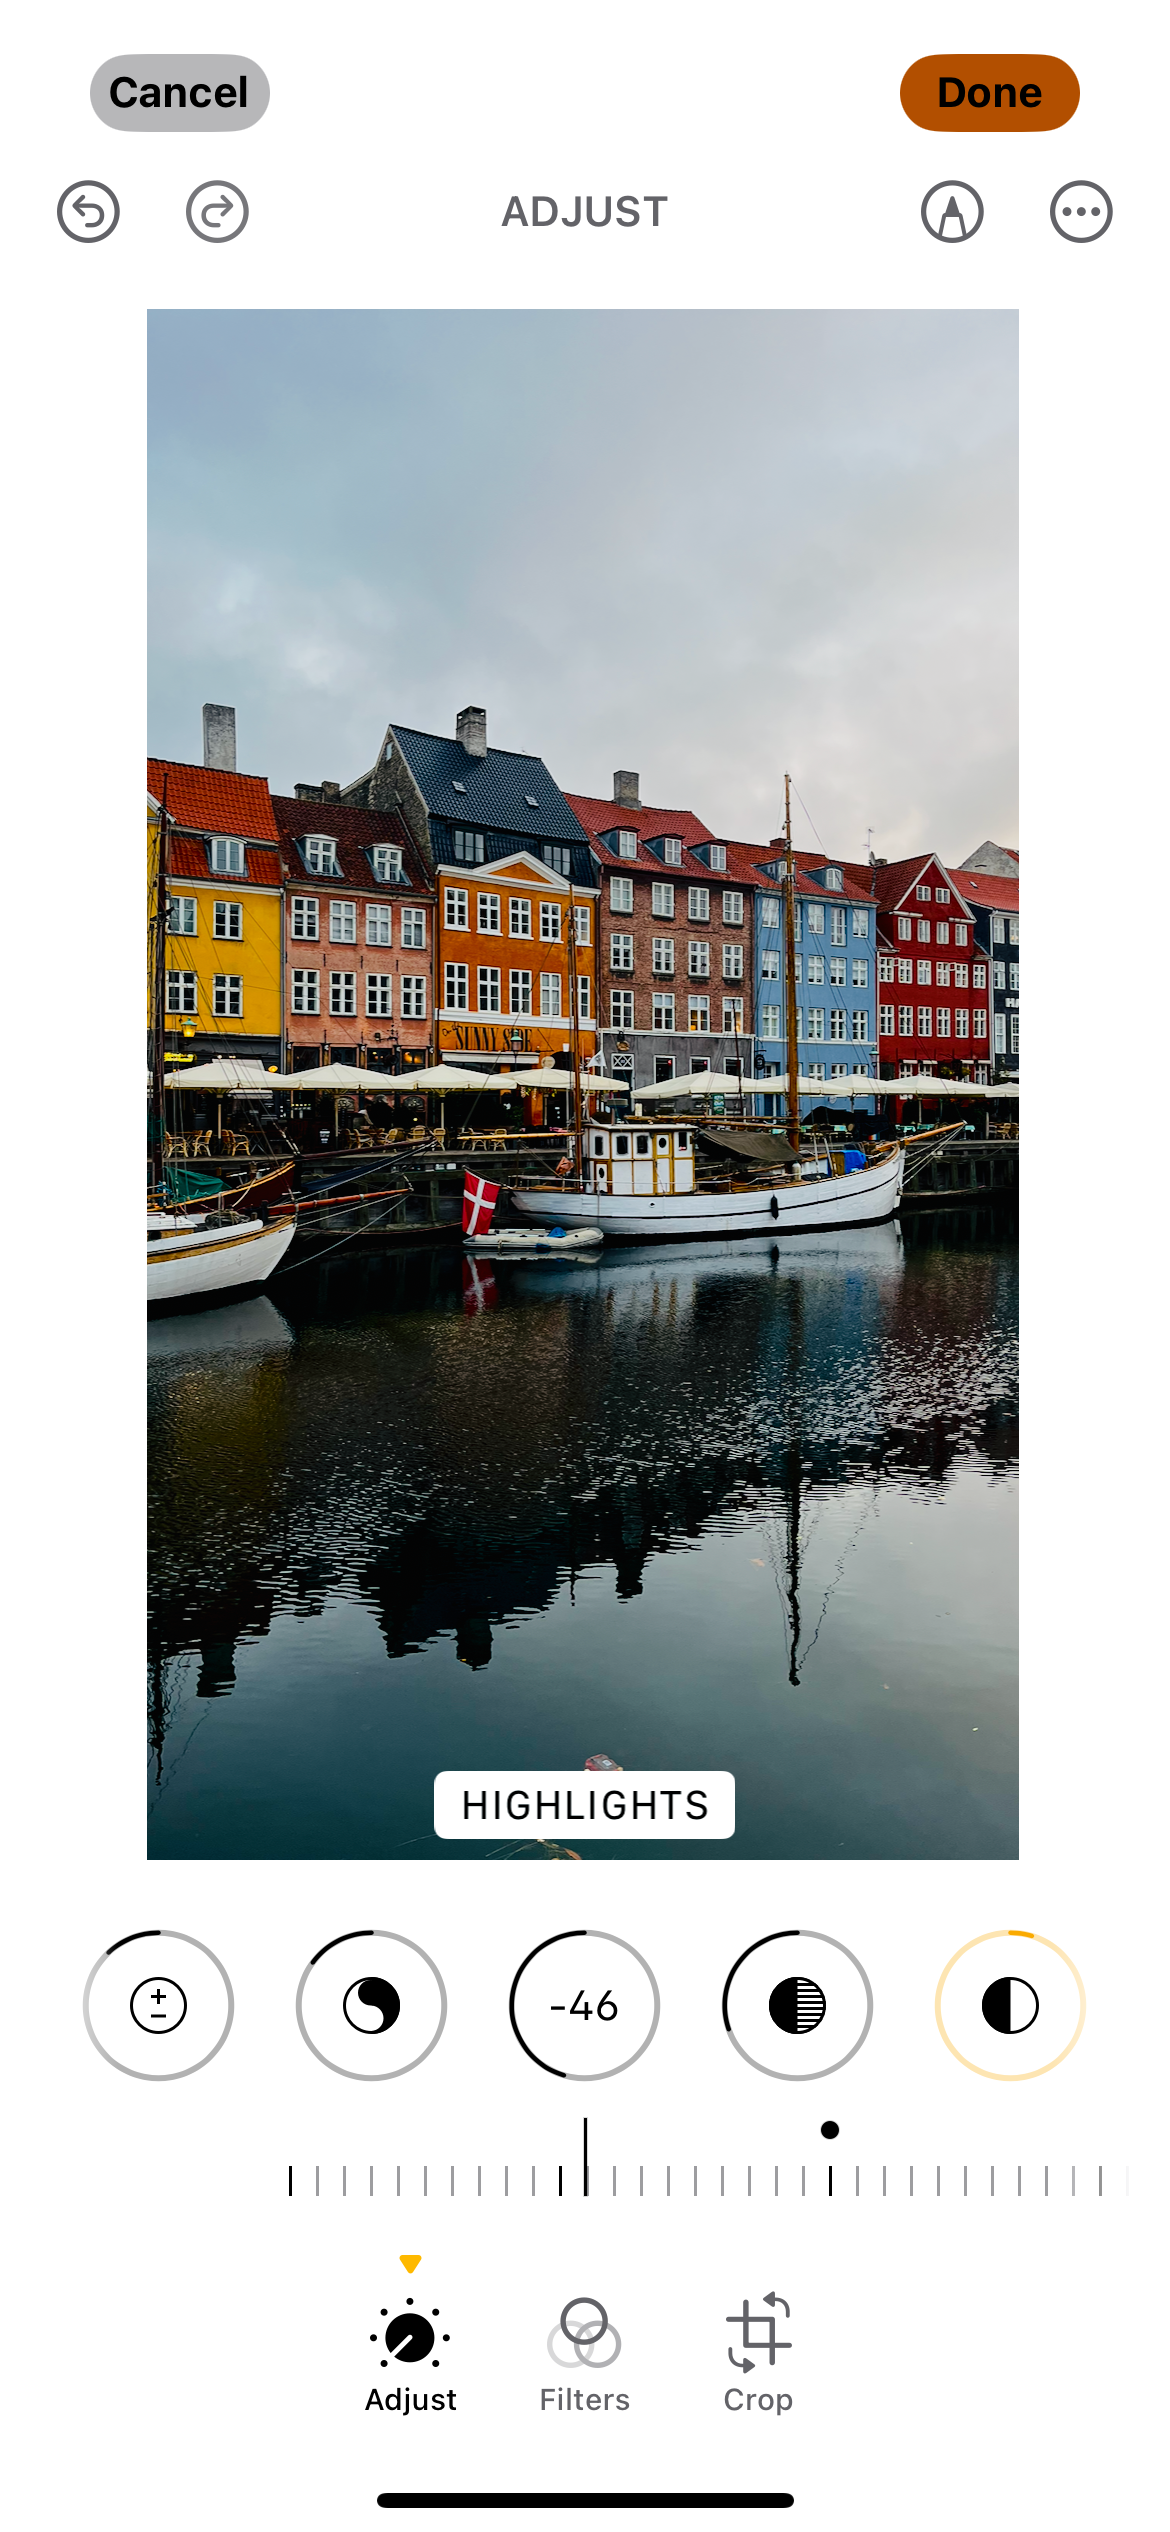
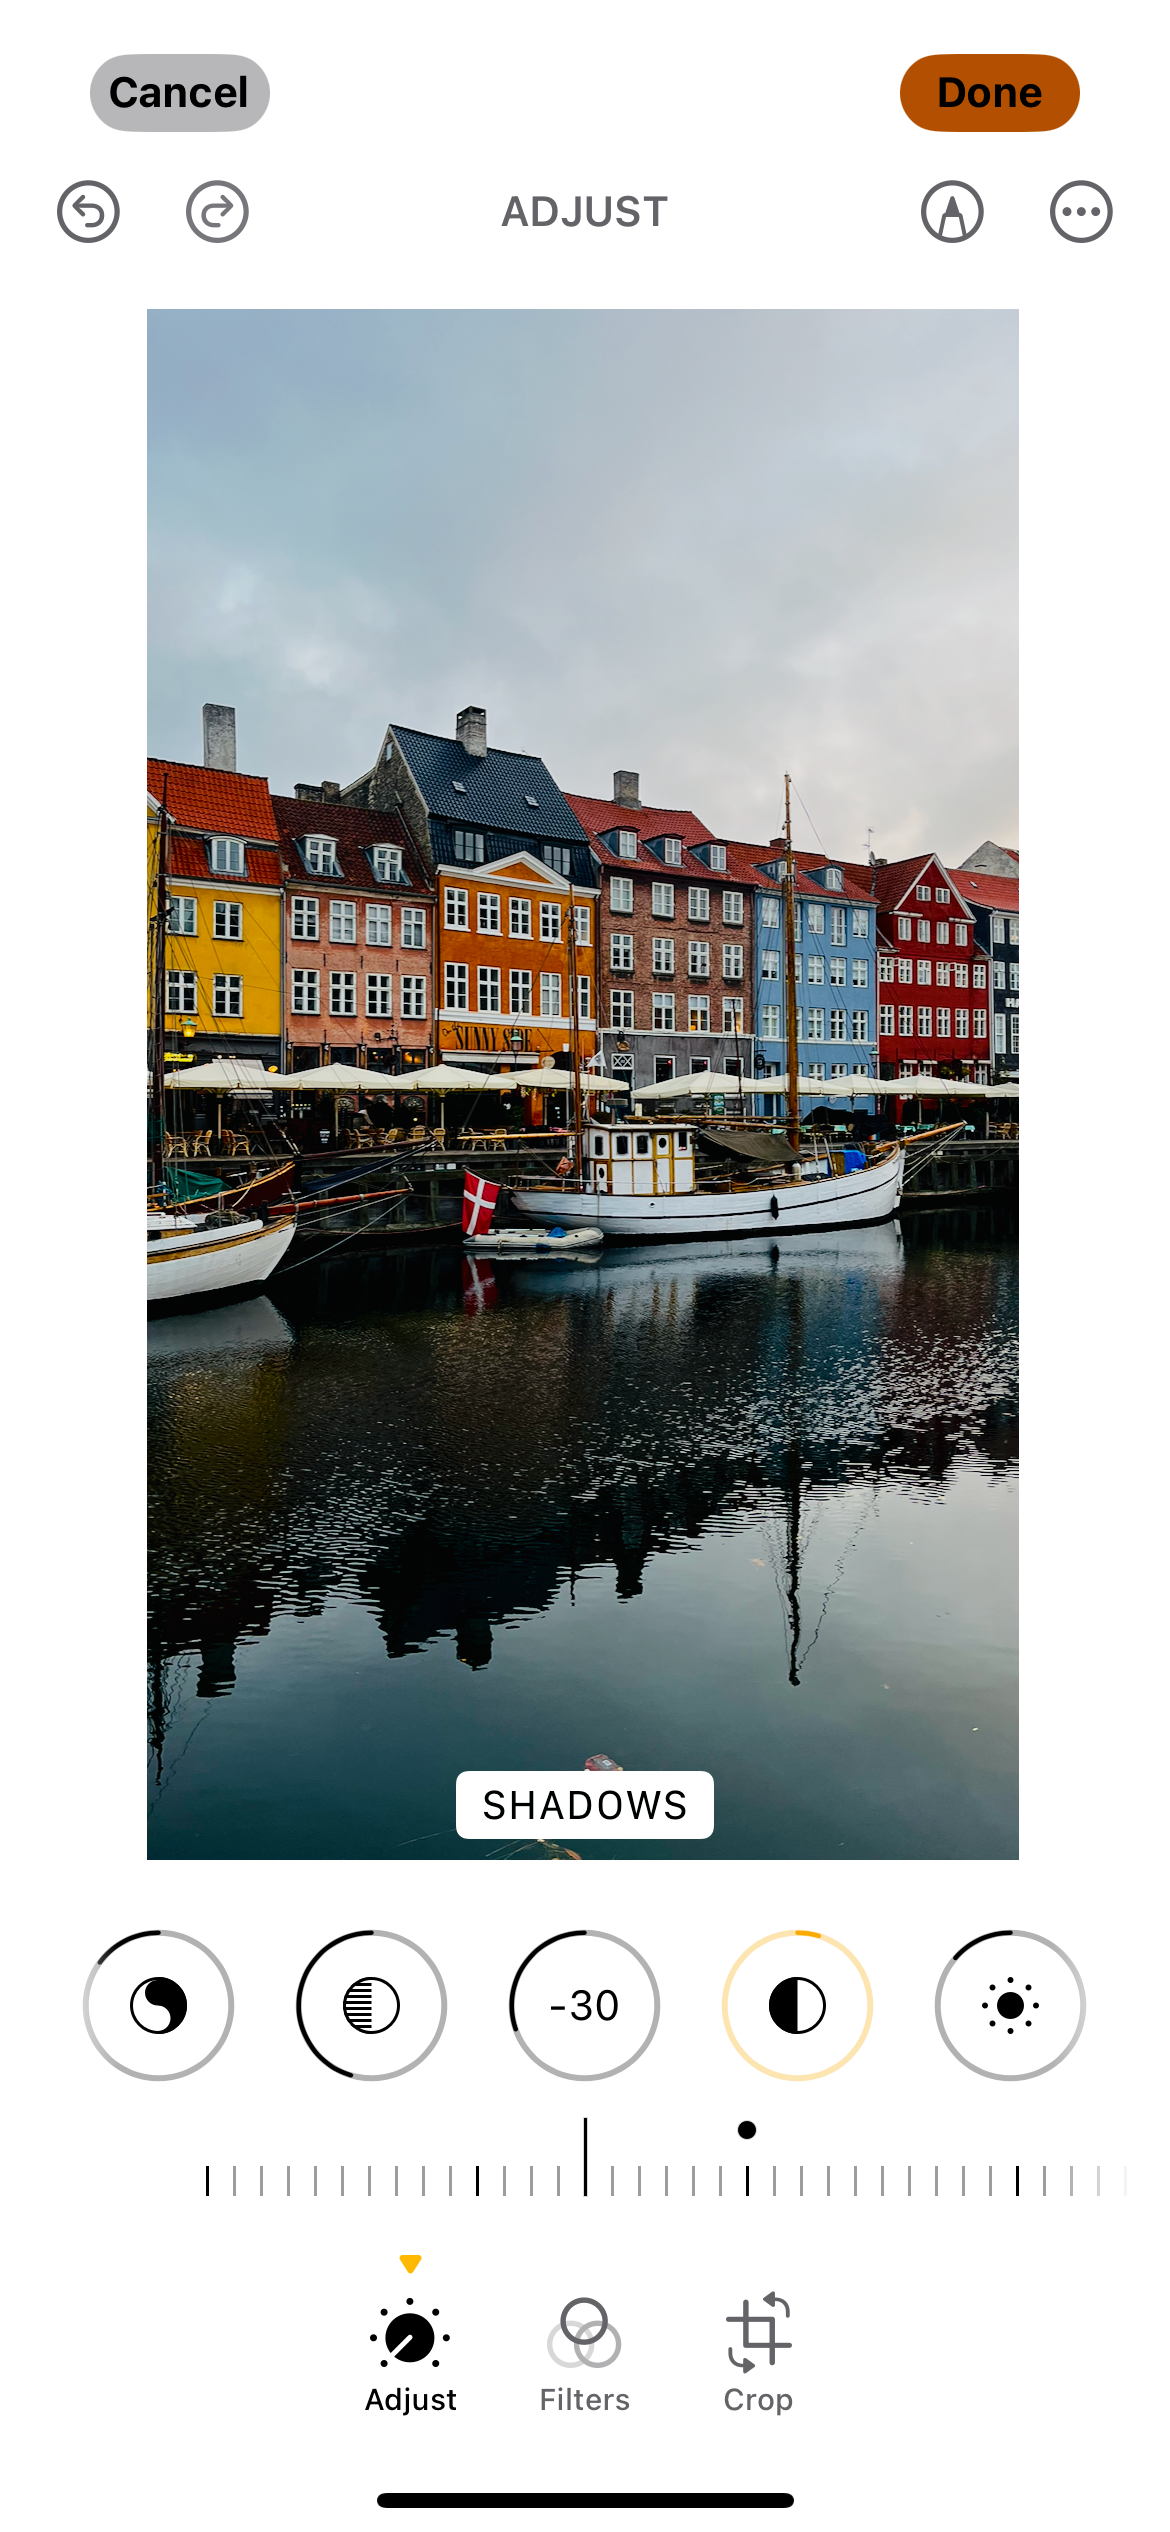
Previously, I used to bring up the highlights on overcast days to make the sky whiter. While I still do this for pictures of the snow, I now prefer moving the highlights down in other situations. The main reason is that I like to bring out the details in the clouds; I also think that it helps me achieve a dark and moody style.
Regardless of whether I’m editing overcast photos of snowy or rainy days, I like bringing the shadows down. Doing so helps add a bit of contrast, while also helping me evoke the emotions I’m trying to make the viewer feel when they look at my picture.
Nighttime Photos
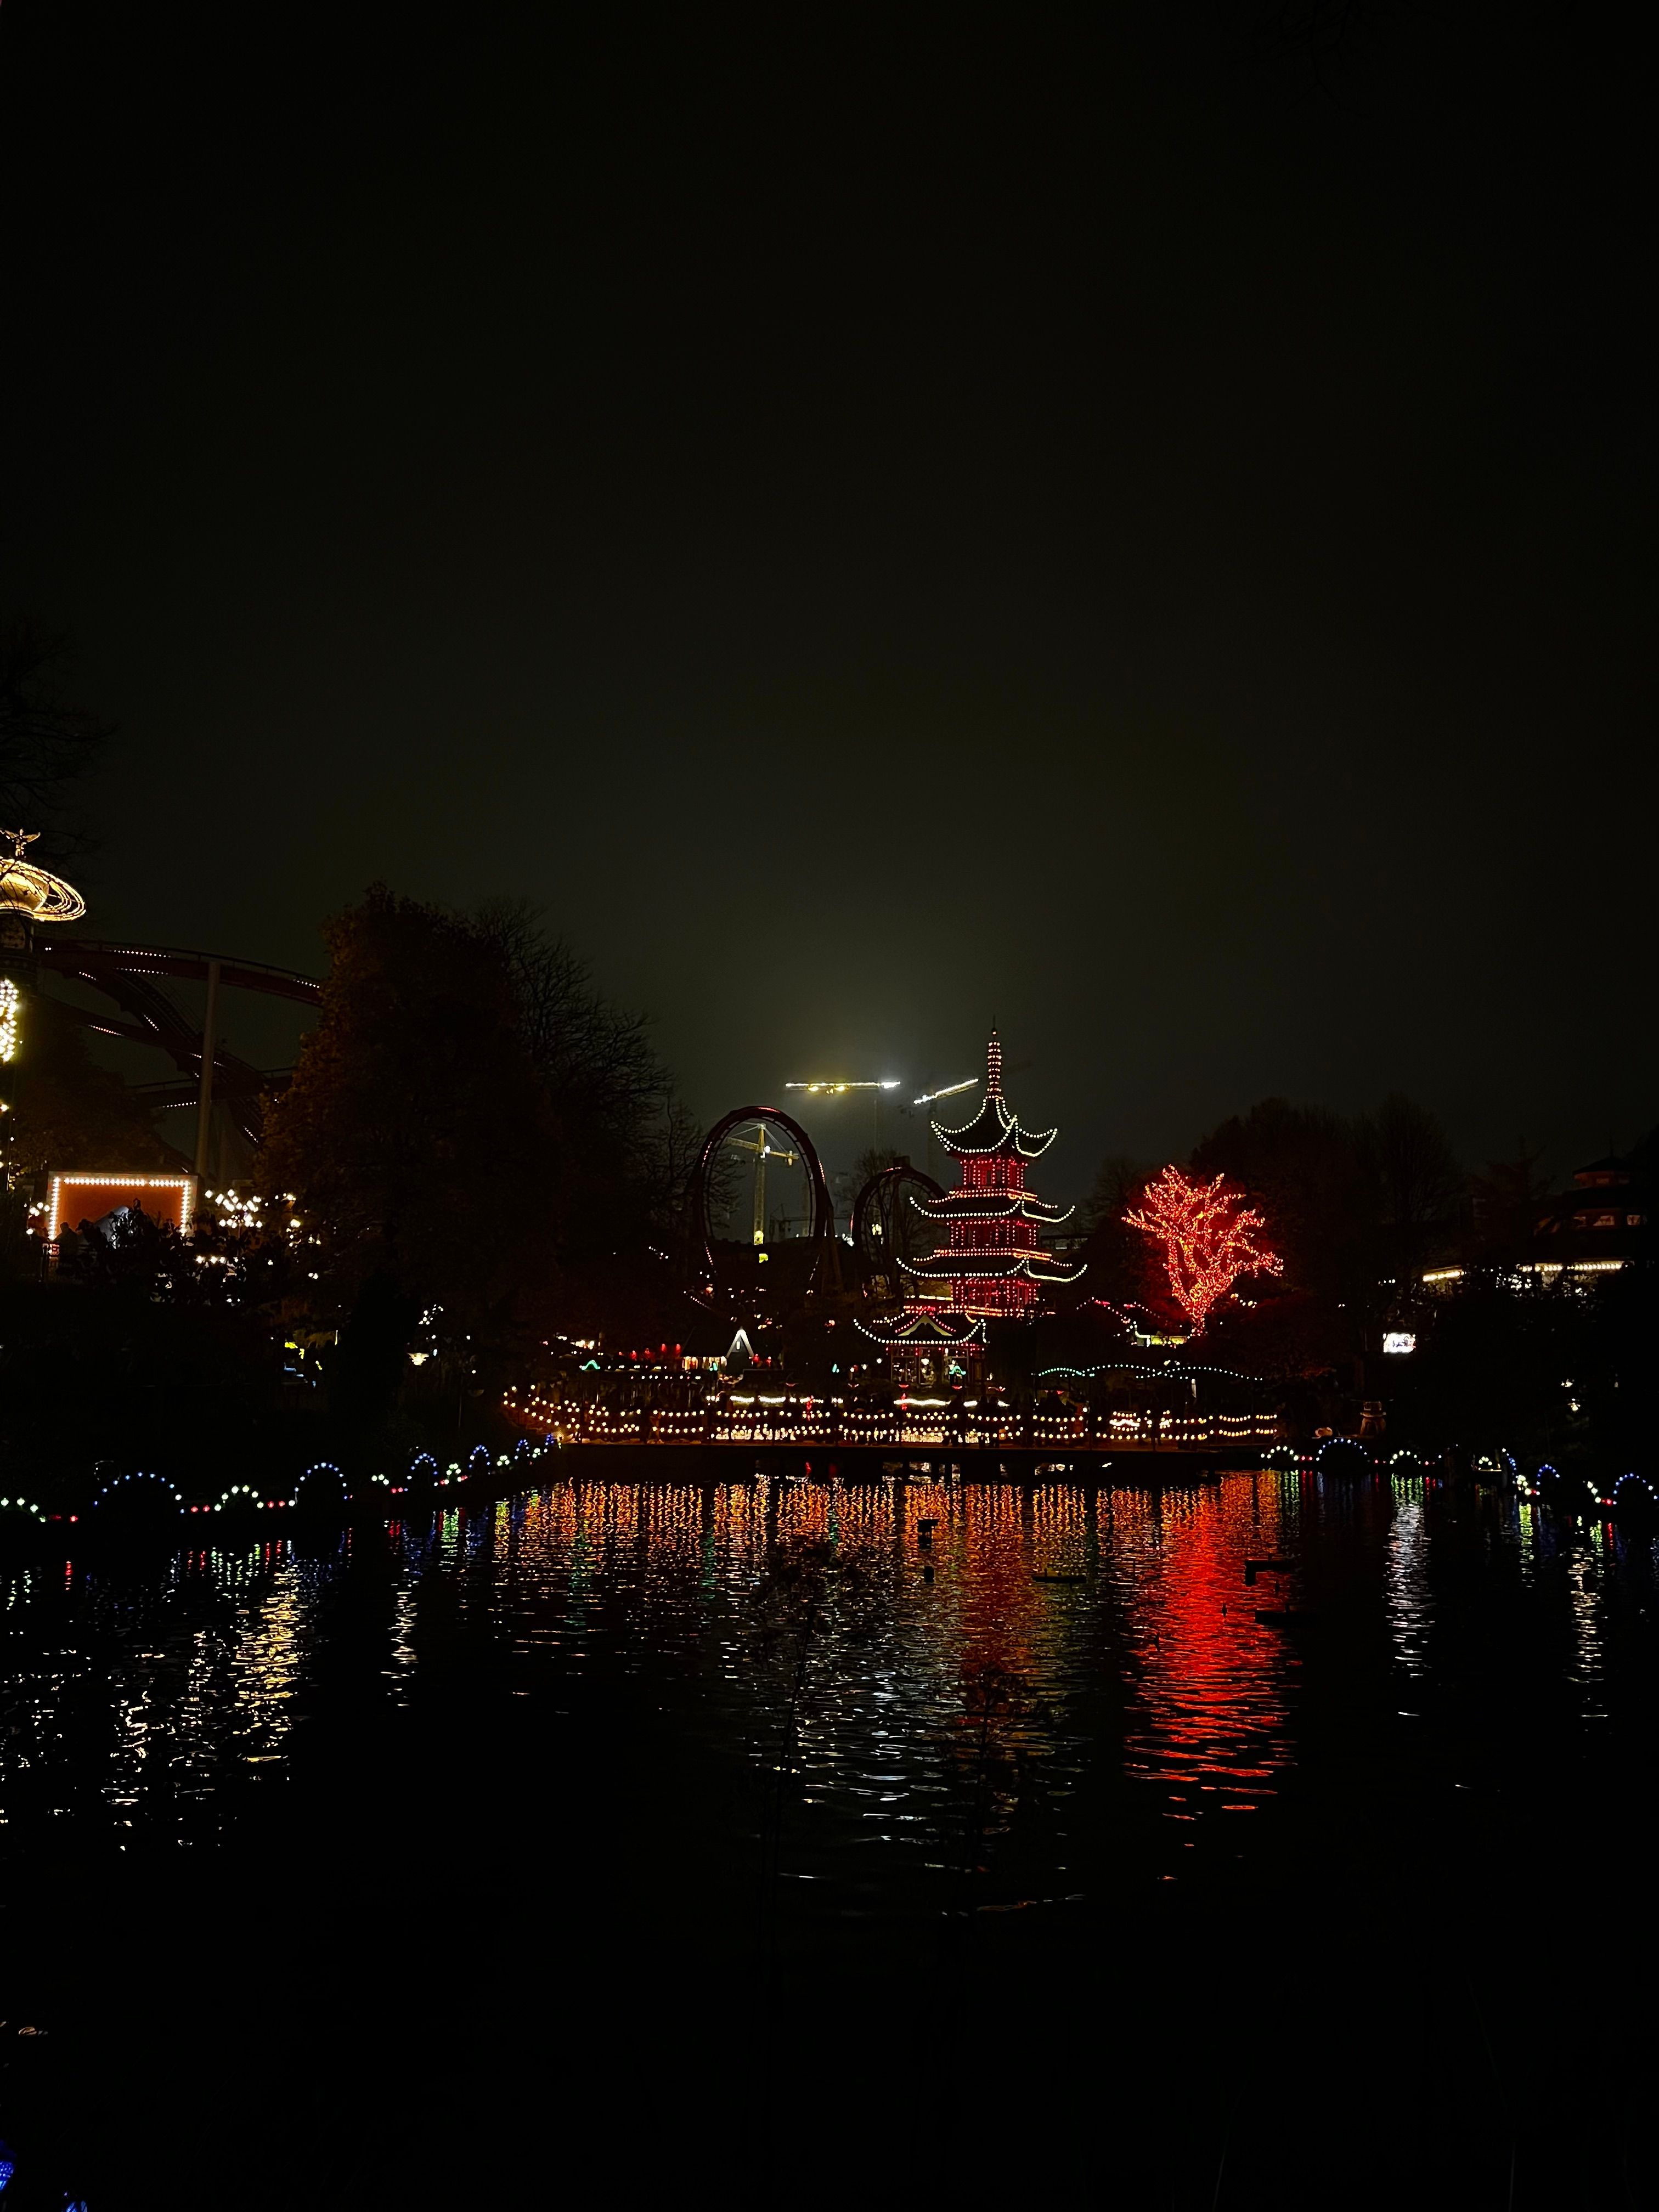
While initially resistant, I’ve started to really enjoy the process of taking smartphone pictures in low-light conditions. It’s a whole different skill compared to capturing images during the day, and understanding how shadows and highlights work in these scenarios has been an exciting challenge to master.
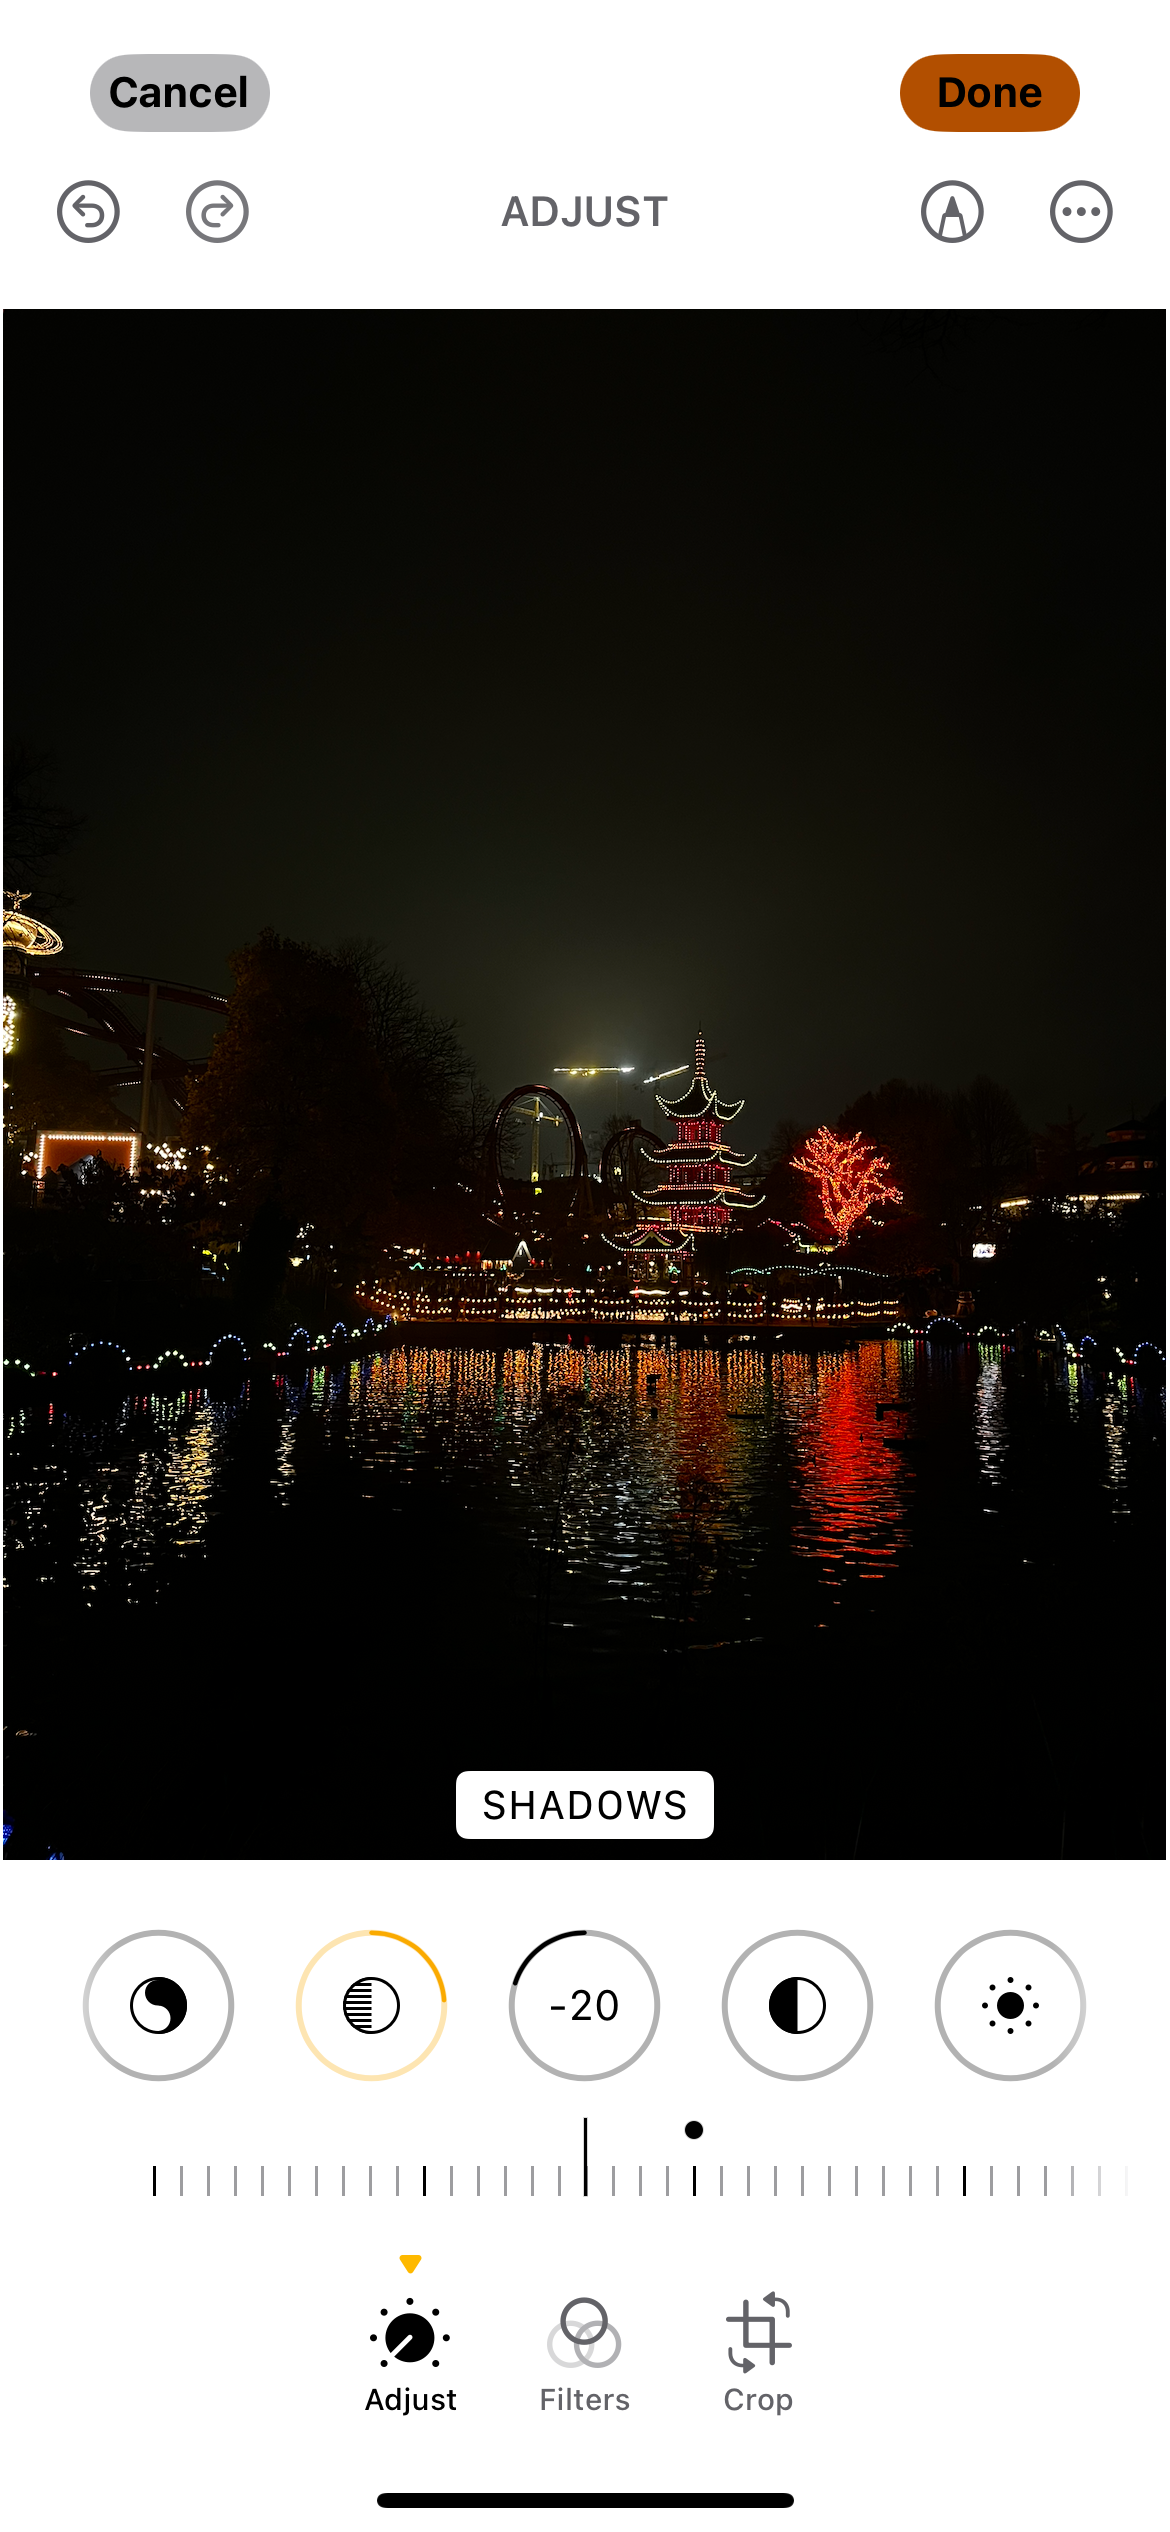
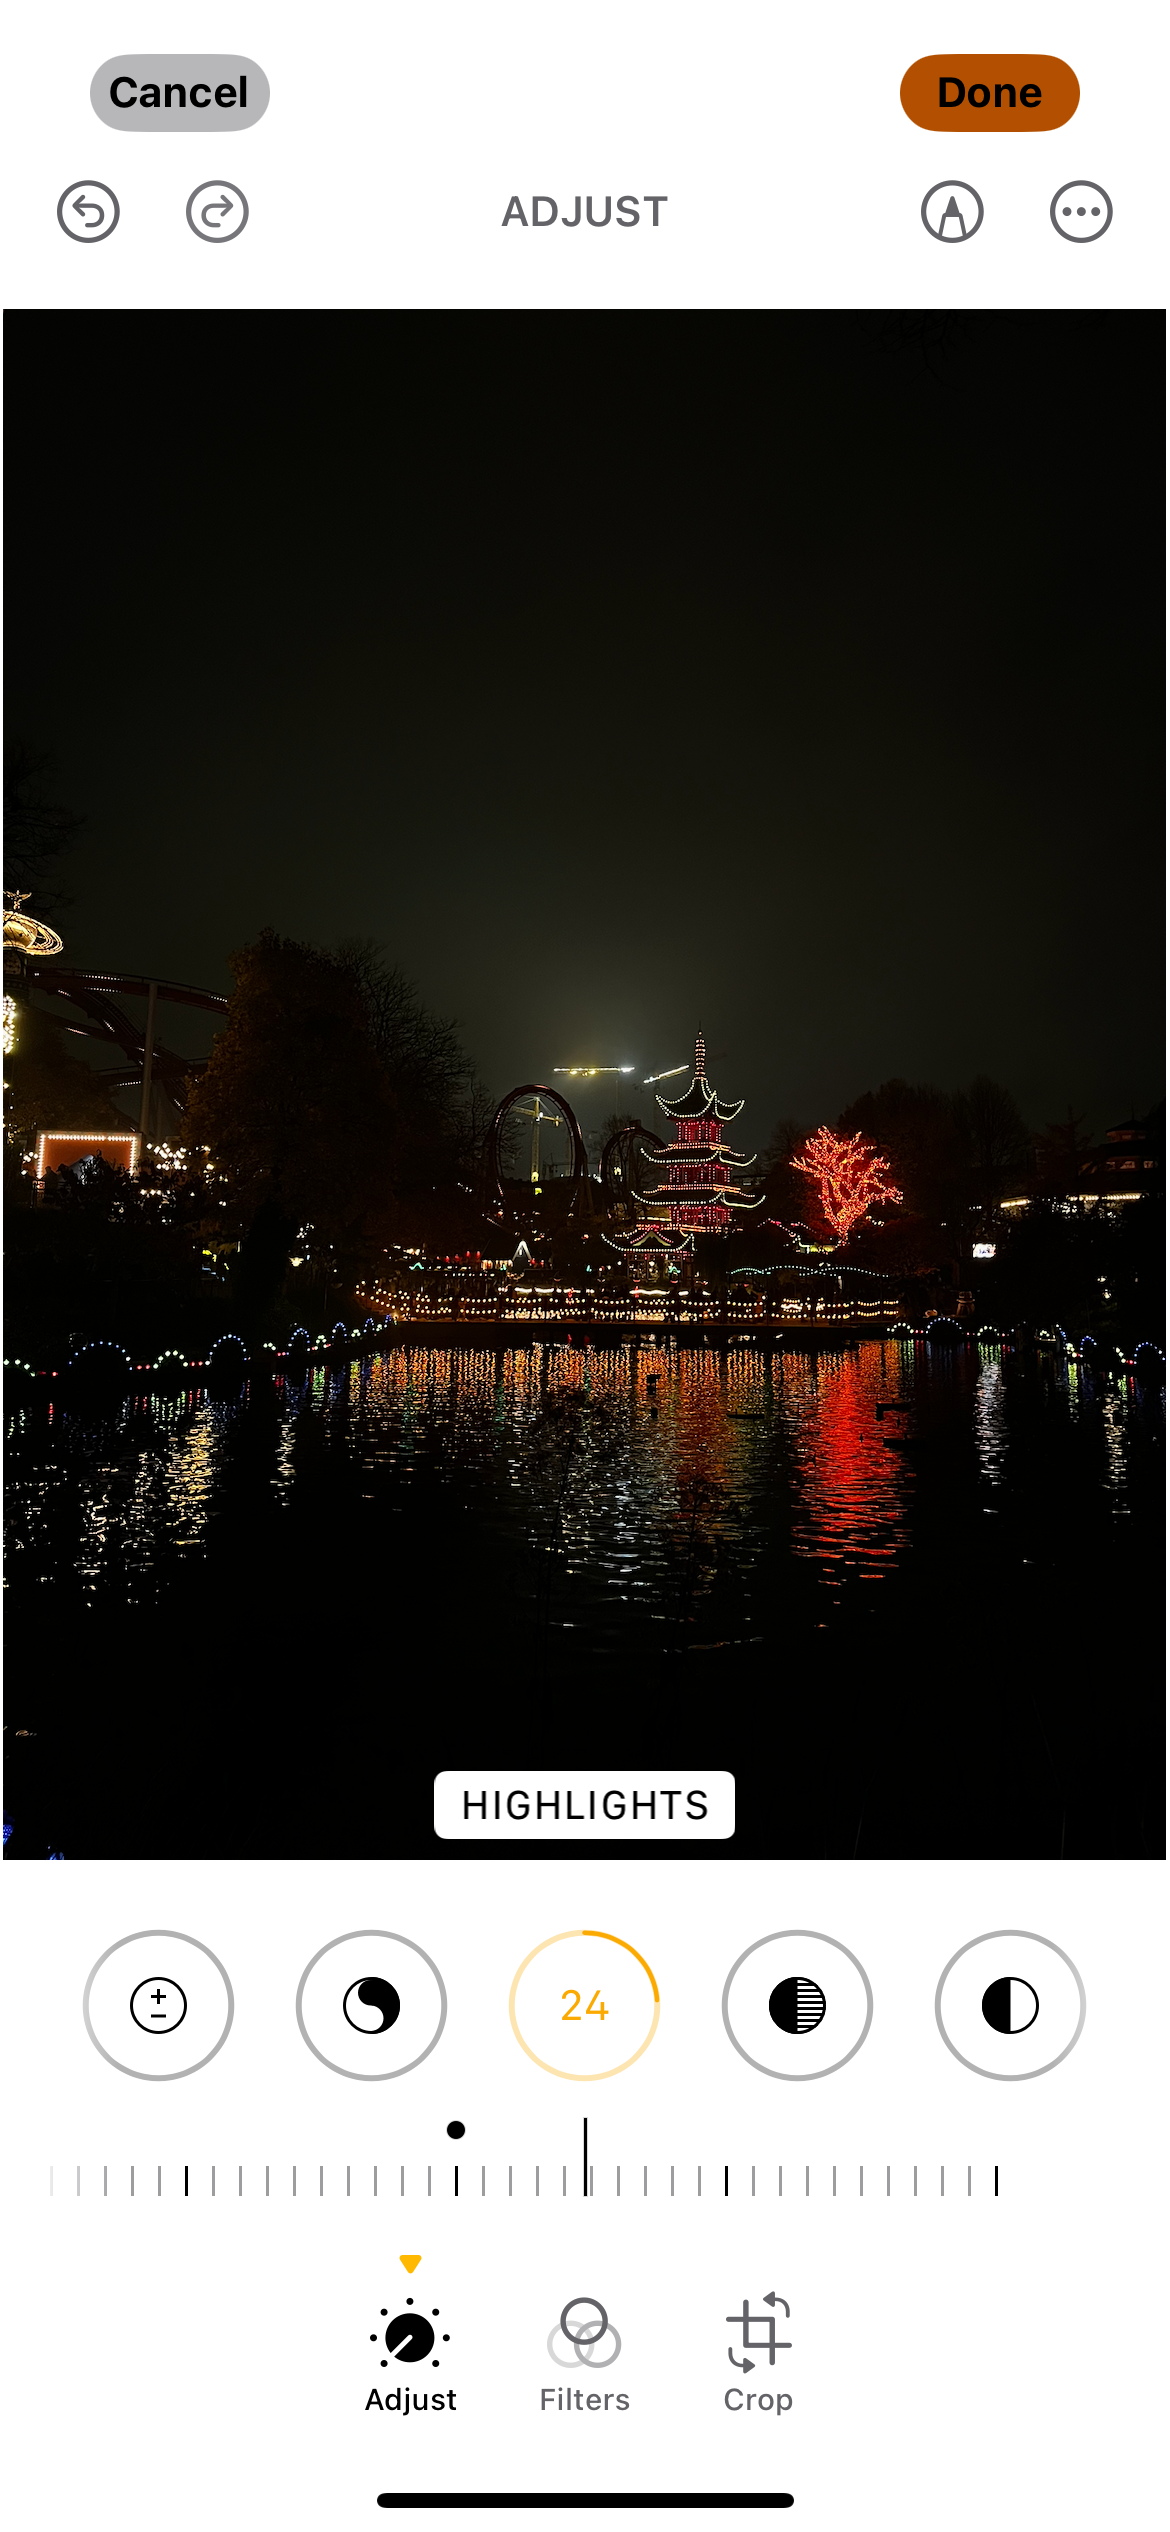
The way that I edit highlights will depend on what else is in the picture. If it has a lot of artificial lighting, and I want to make this more prominent, I’ll bring the highlights up slightly. On the other hand, it’s better to reduce the highlights if you wish to focus on one specific area in the photo.
I’ve found that it’s very difficult not to add noise when you increase the shadows in nighttime photos. So, in most cases, I either leave the shadows as they are or reduce them. In the rare instance that I do increase the shadows, I don’t make massive changes.
Sunny Days
Sunny days are my least favorite for photography. Nonetheless, I don’t think that sitting inside and acting like a hermit is wise—and to be honest, I believe you can find great photo opportunities in all weather and lighting conditions.
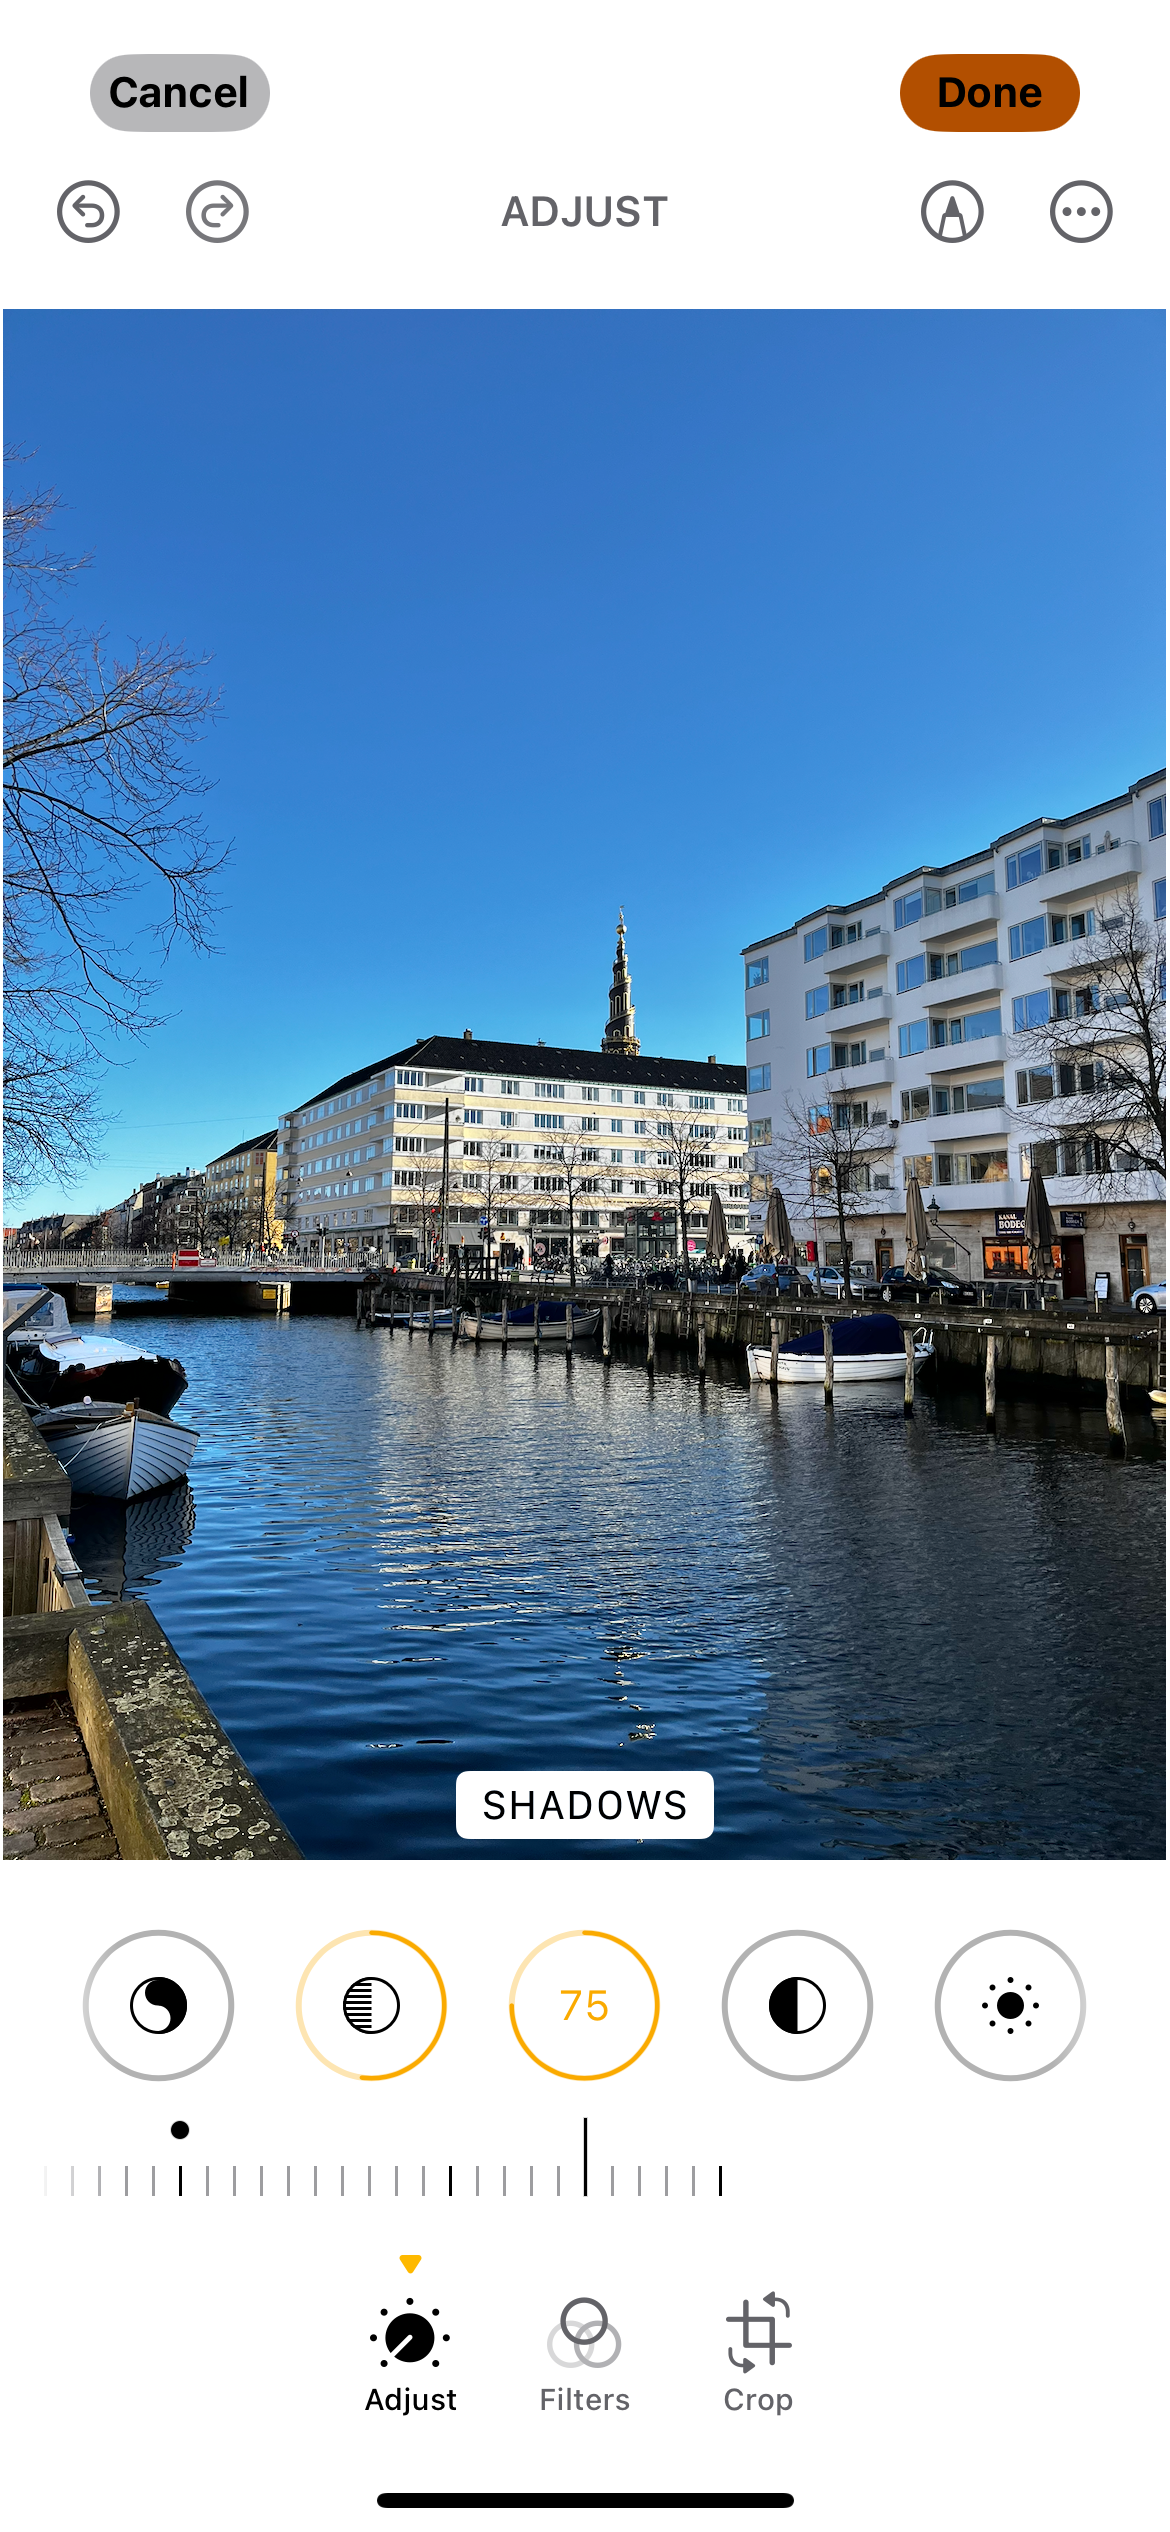
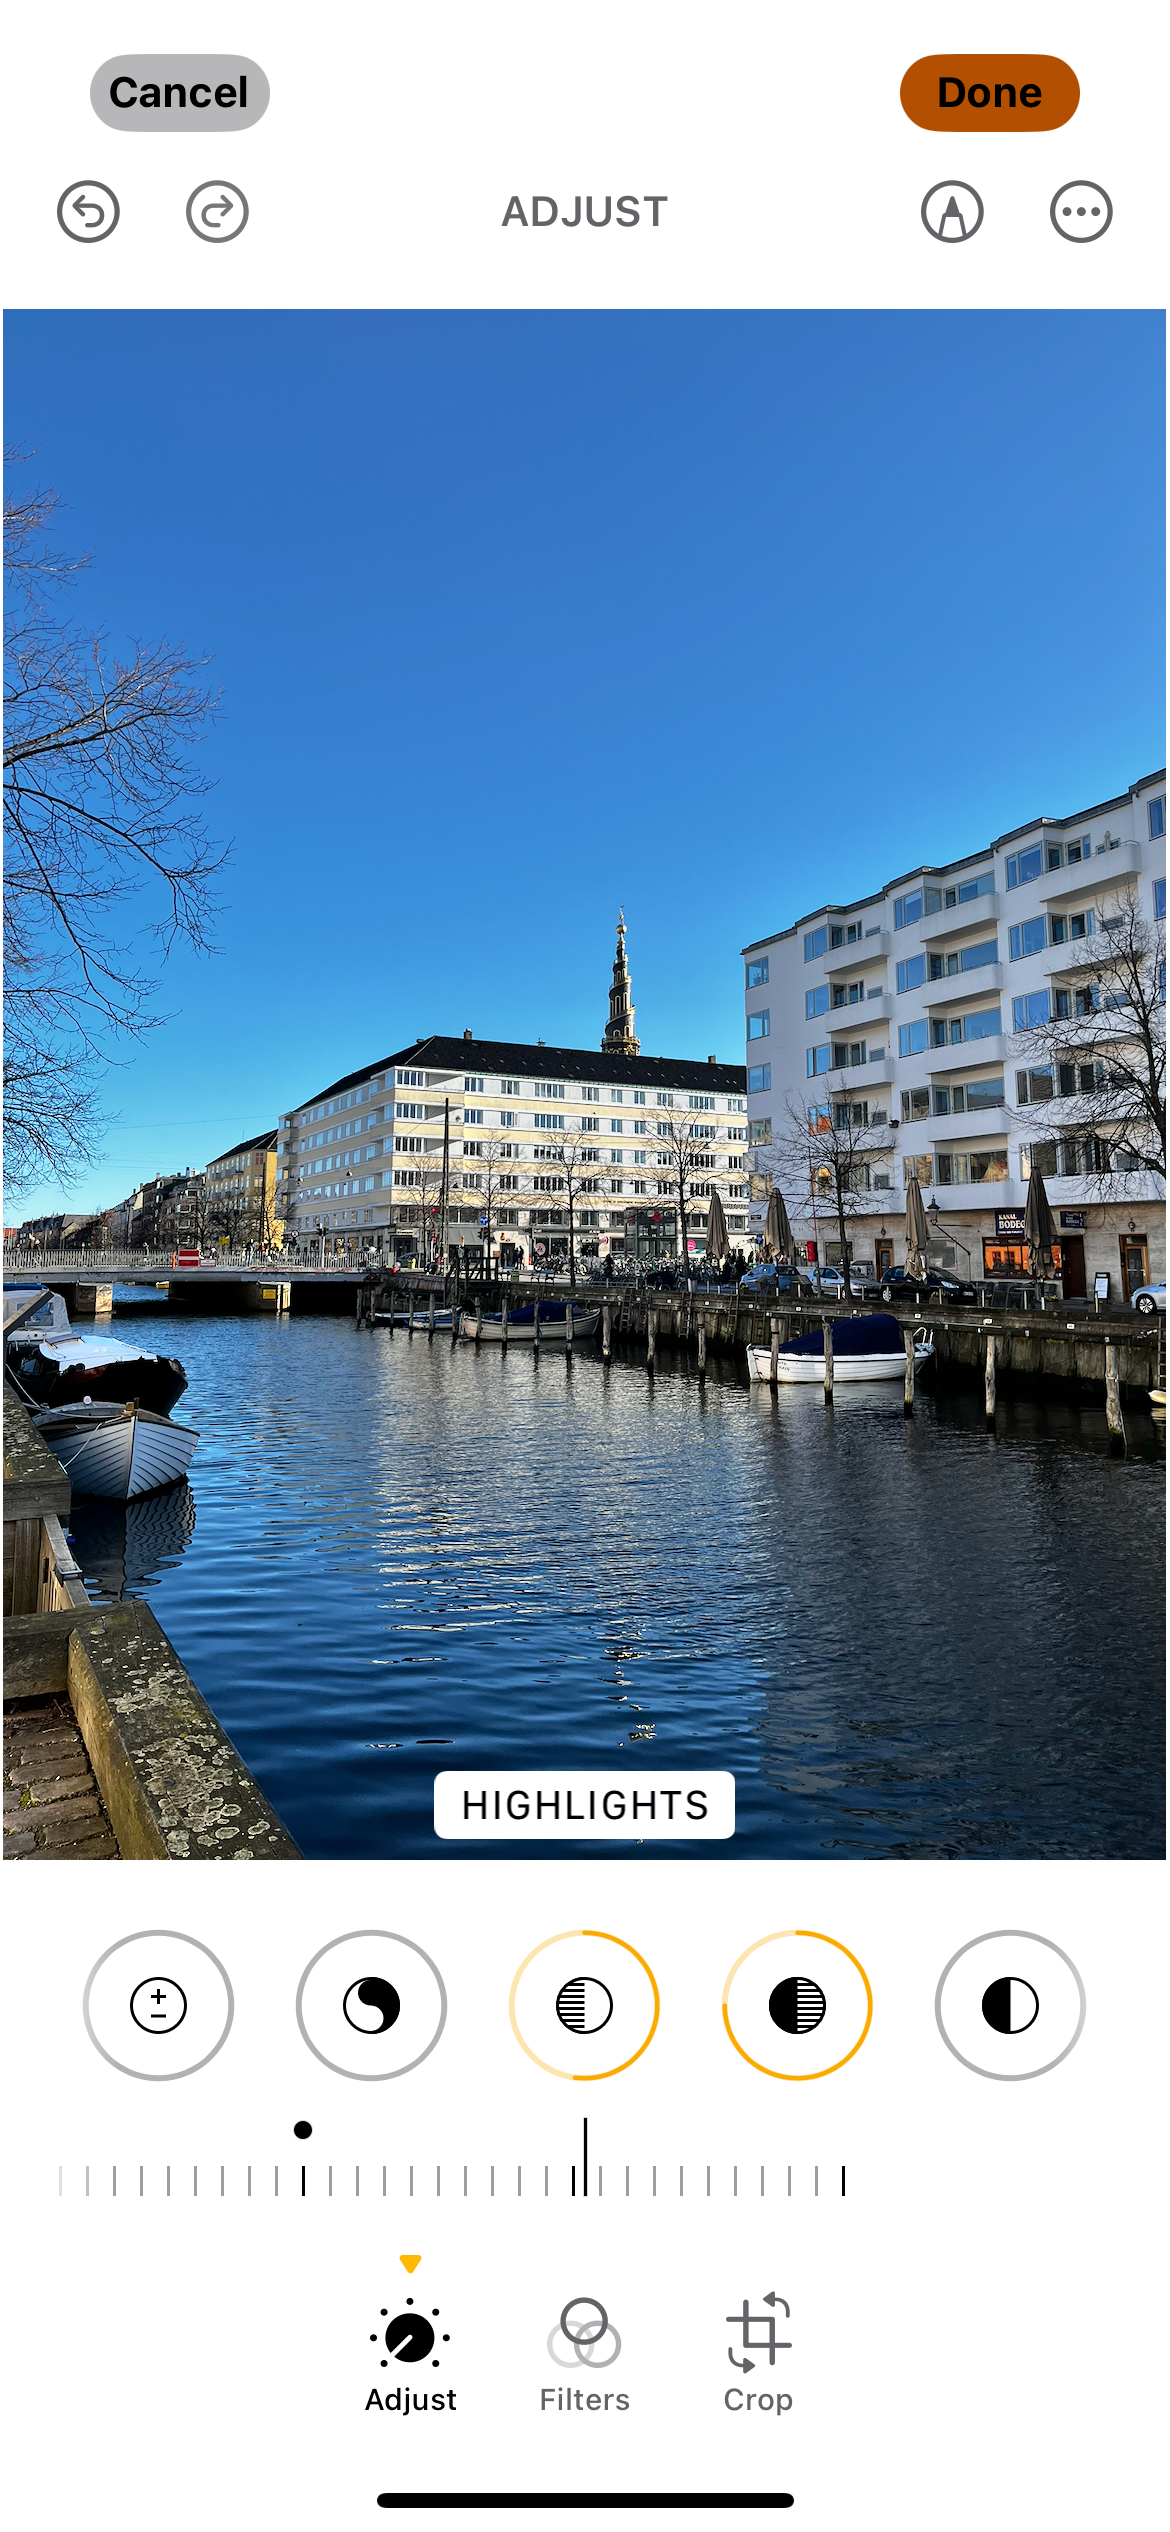
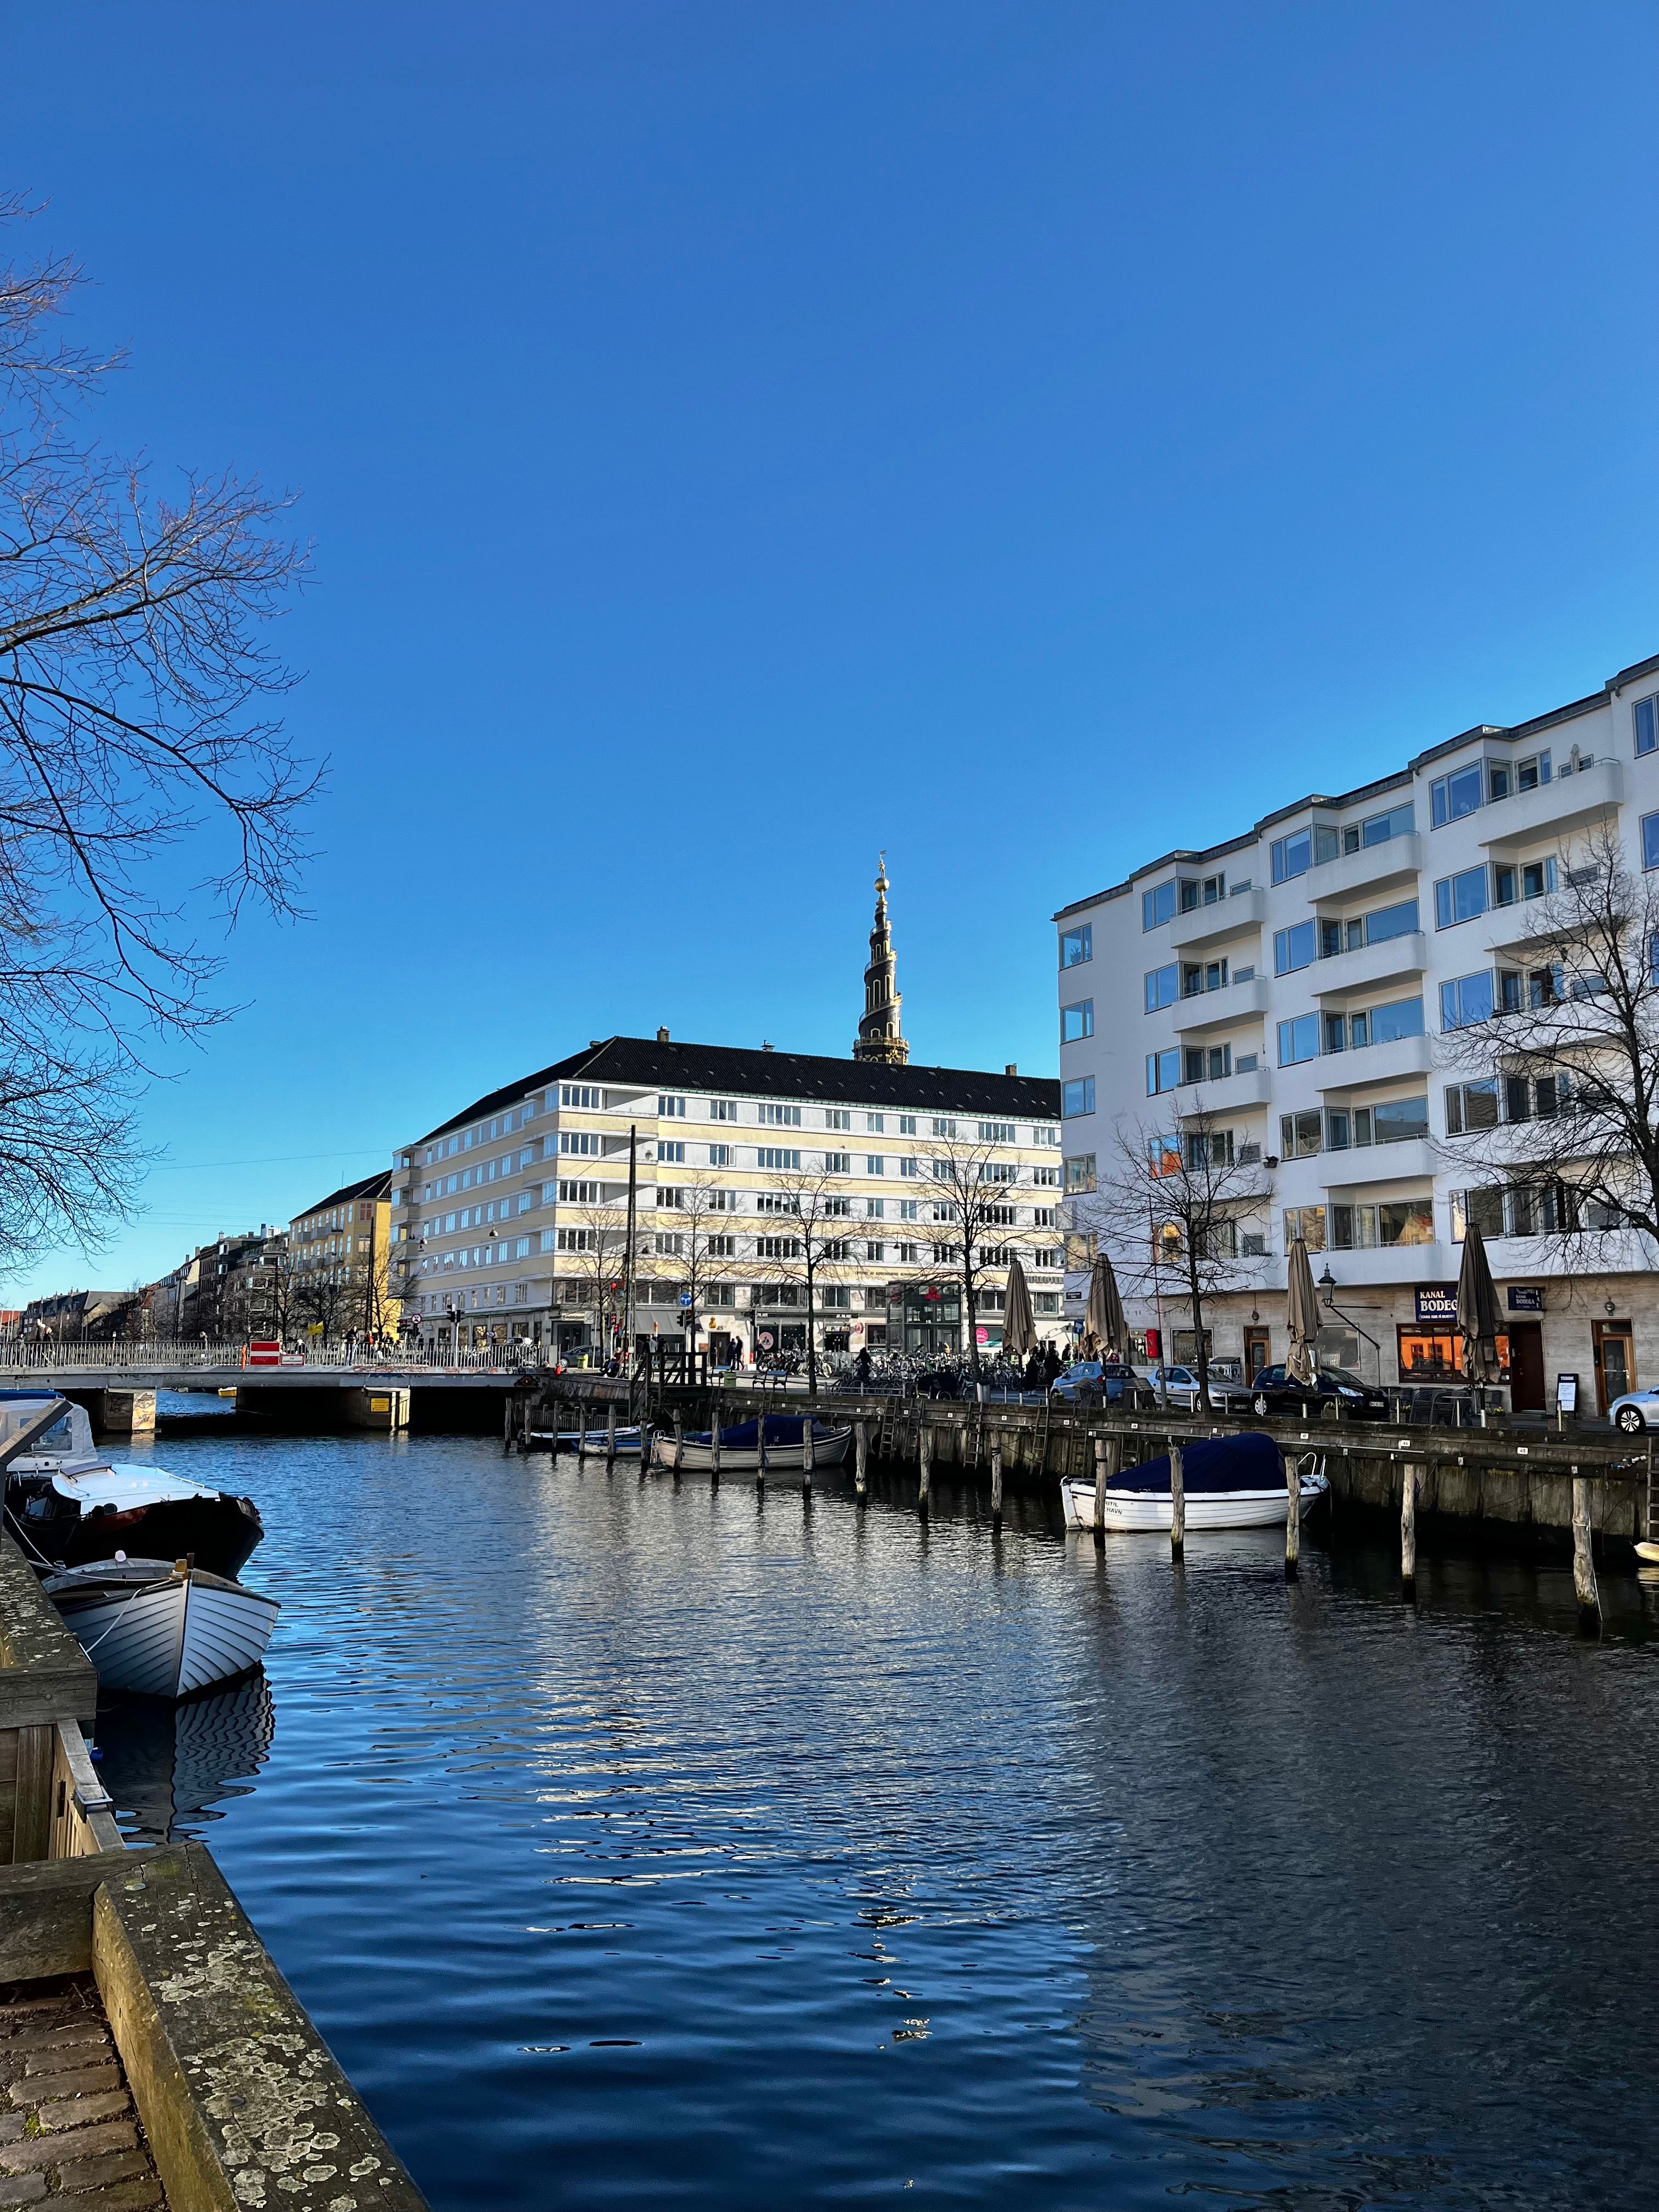
I like to make the sky look brighter on days with blue skies, and for this reason, I normally increase the highlights. The only real exception is if I’m trying to fix an overexposed image, in which case, I’ll normally do the opposite. Since I like more of a chromatic look on sunny days, using a filter as well helps achieve this aesthetic.
While I like having a decent amount of contrast in my sunny day pictures, bringing up the shadows tends to look better. The amount will depend on the lighting in my photo and whether I was facing the sun. In this case, I will turn up the shadows some more.
Food Photography
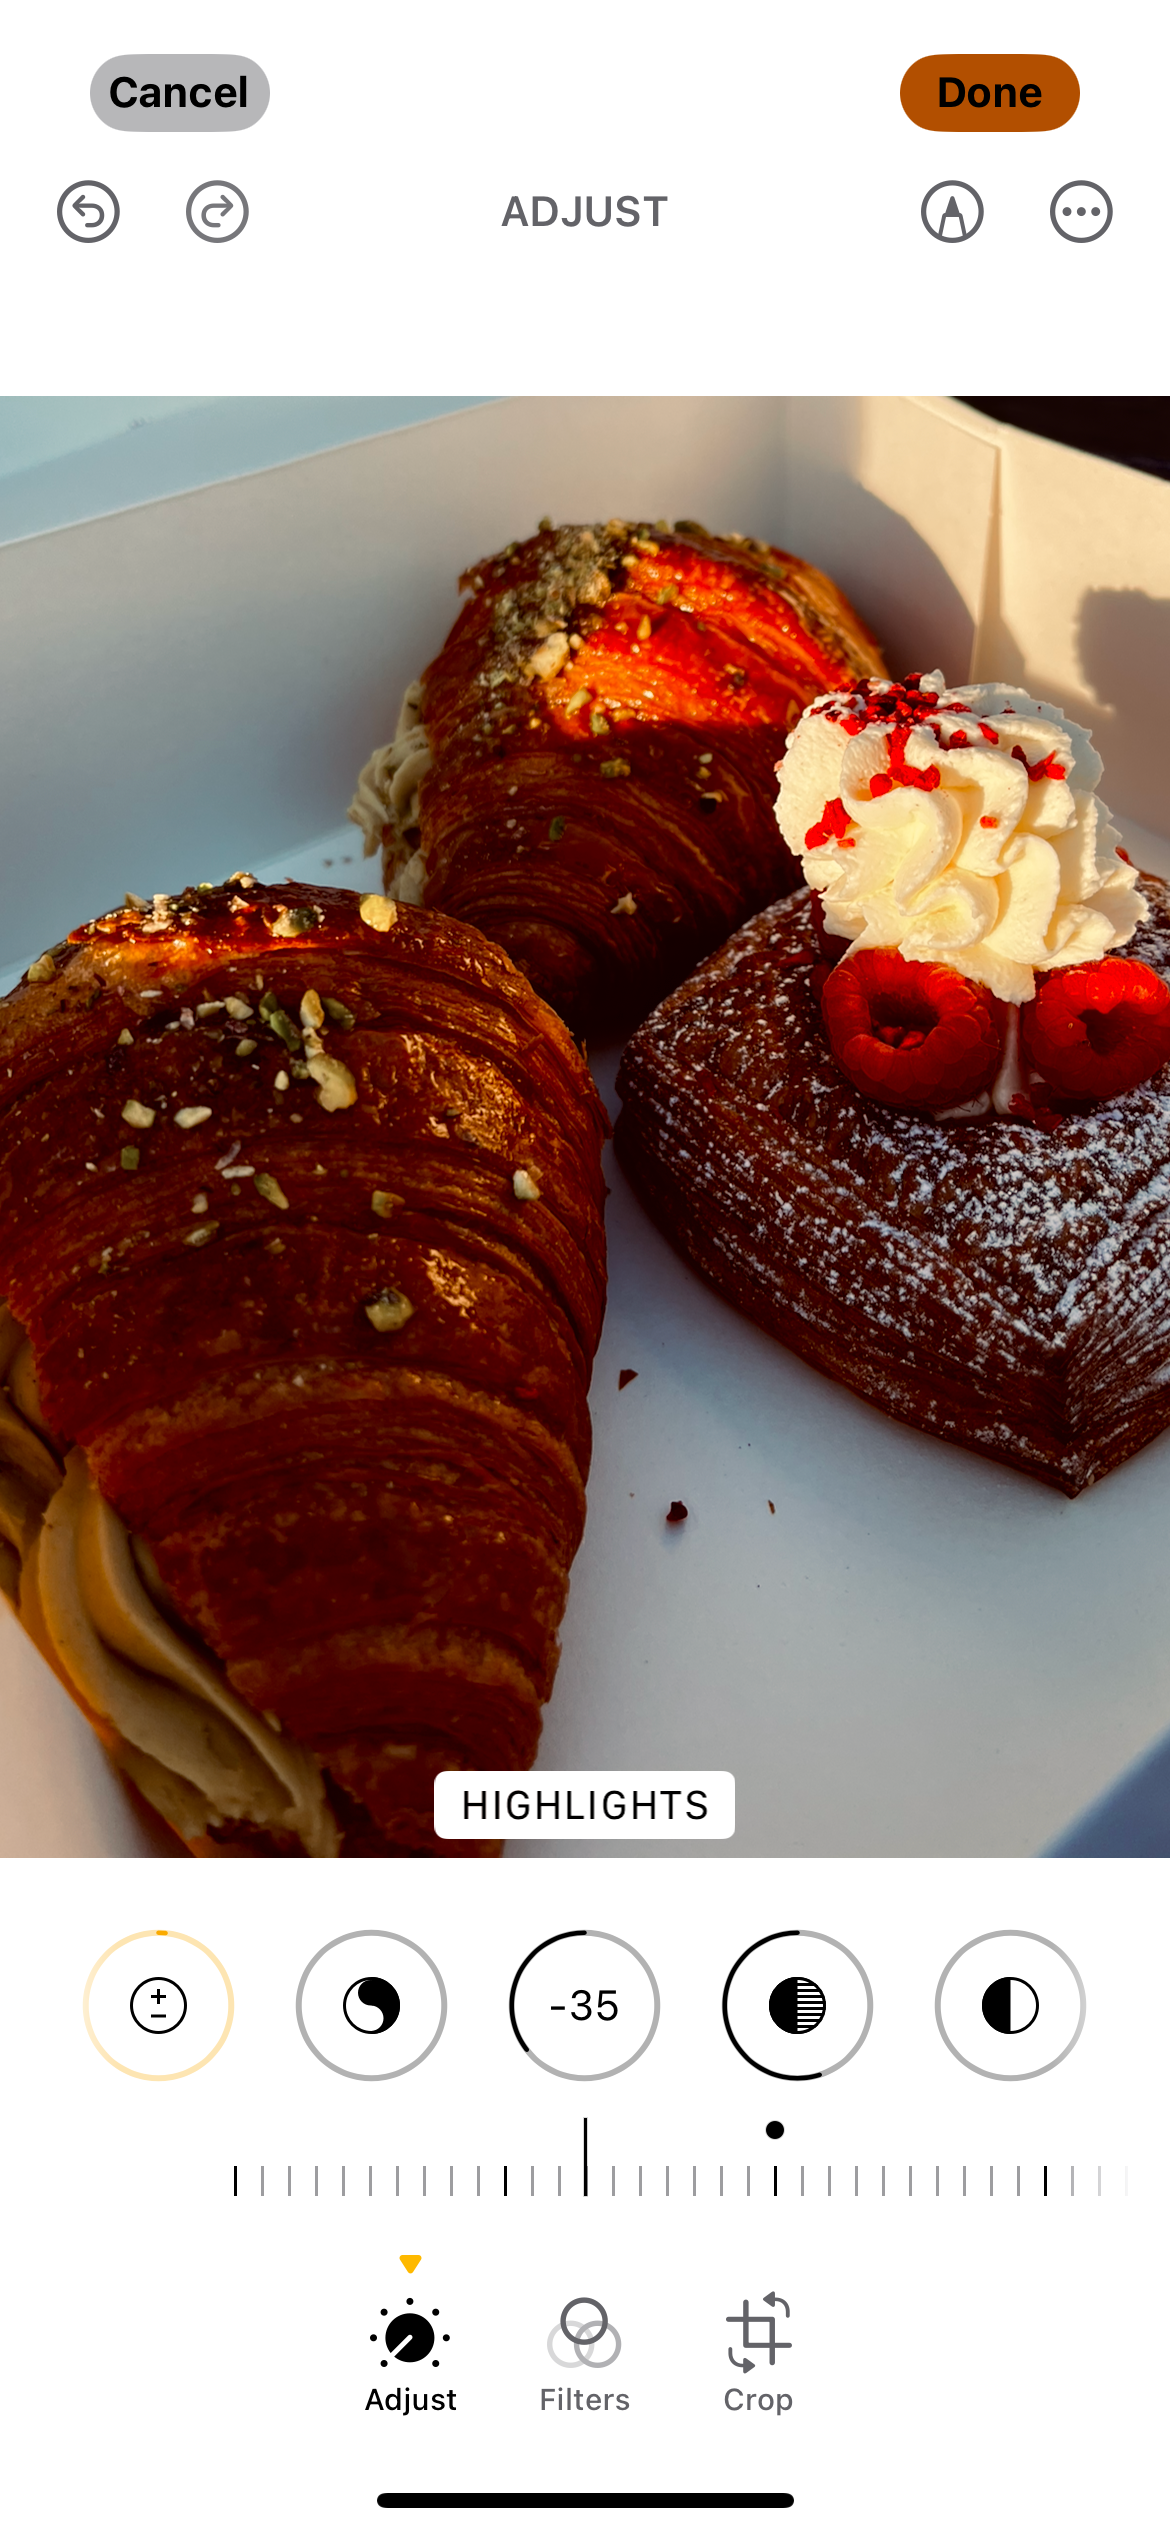
I’ve found that my smartphone is very good at taking pictures of food, and as such, I often use it more than my mirrorless camera for food photography. The way to edit the shadows and highlights will depend on several factors, such as whether I’m indoors or outside. The time of year can also impact the lighting, which changes my editing style.
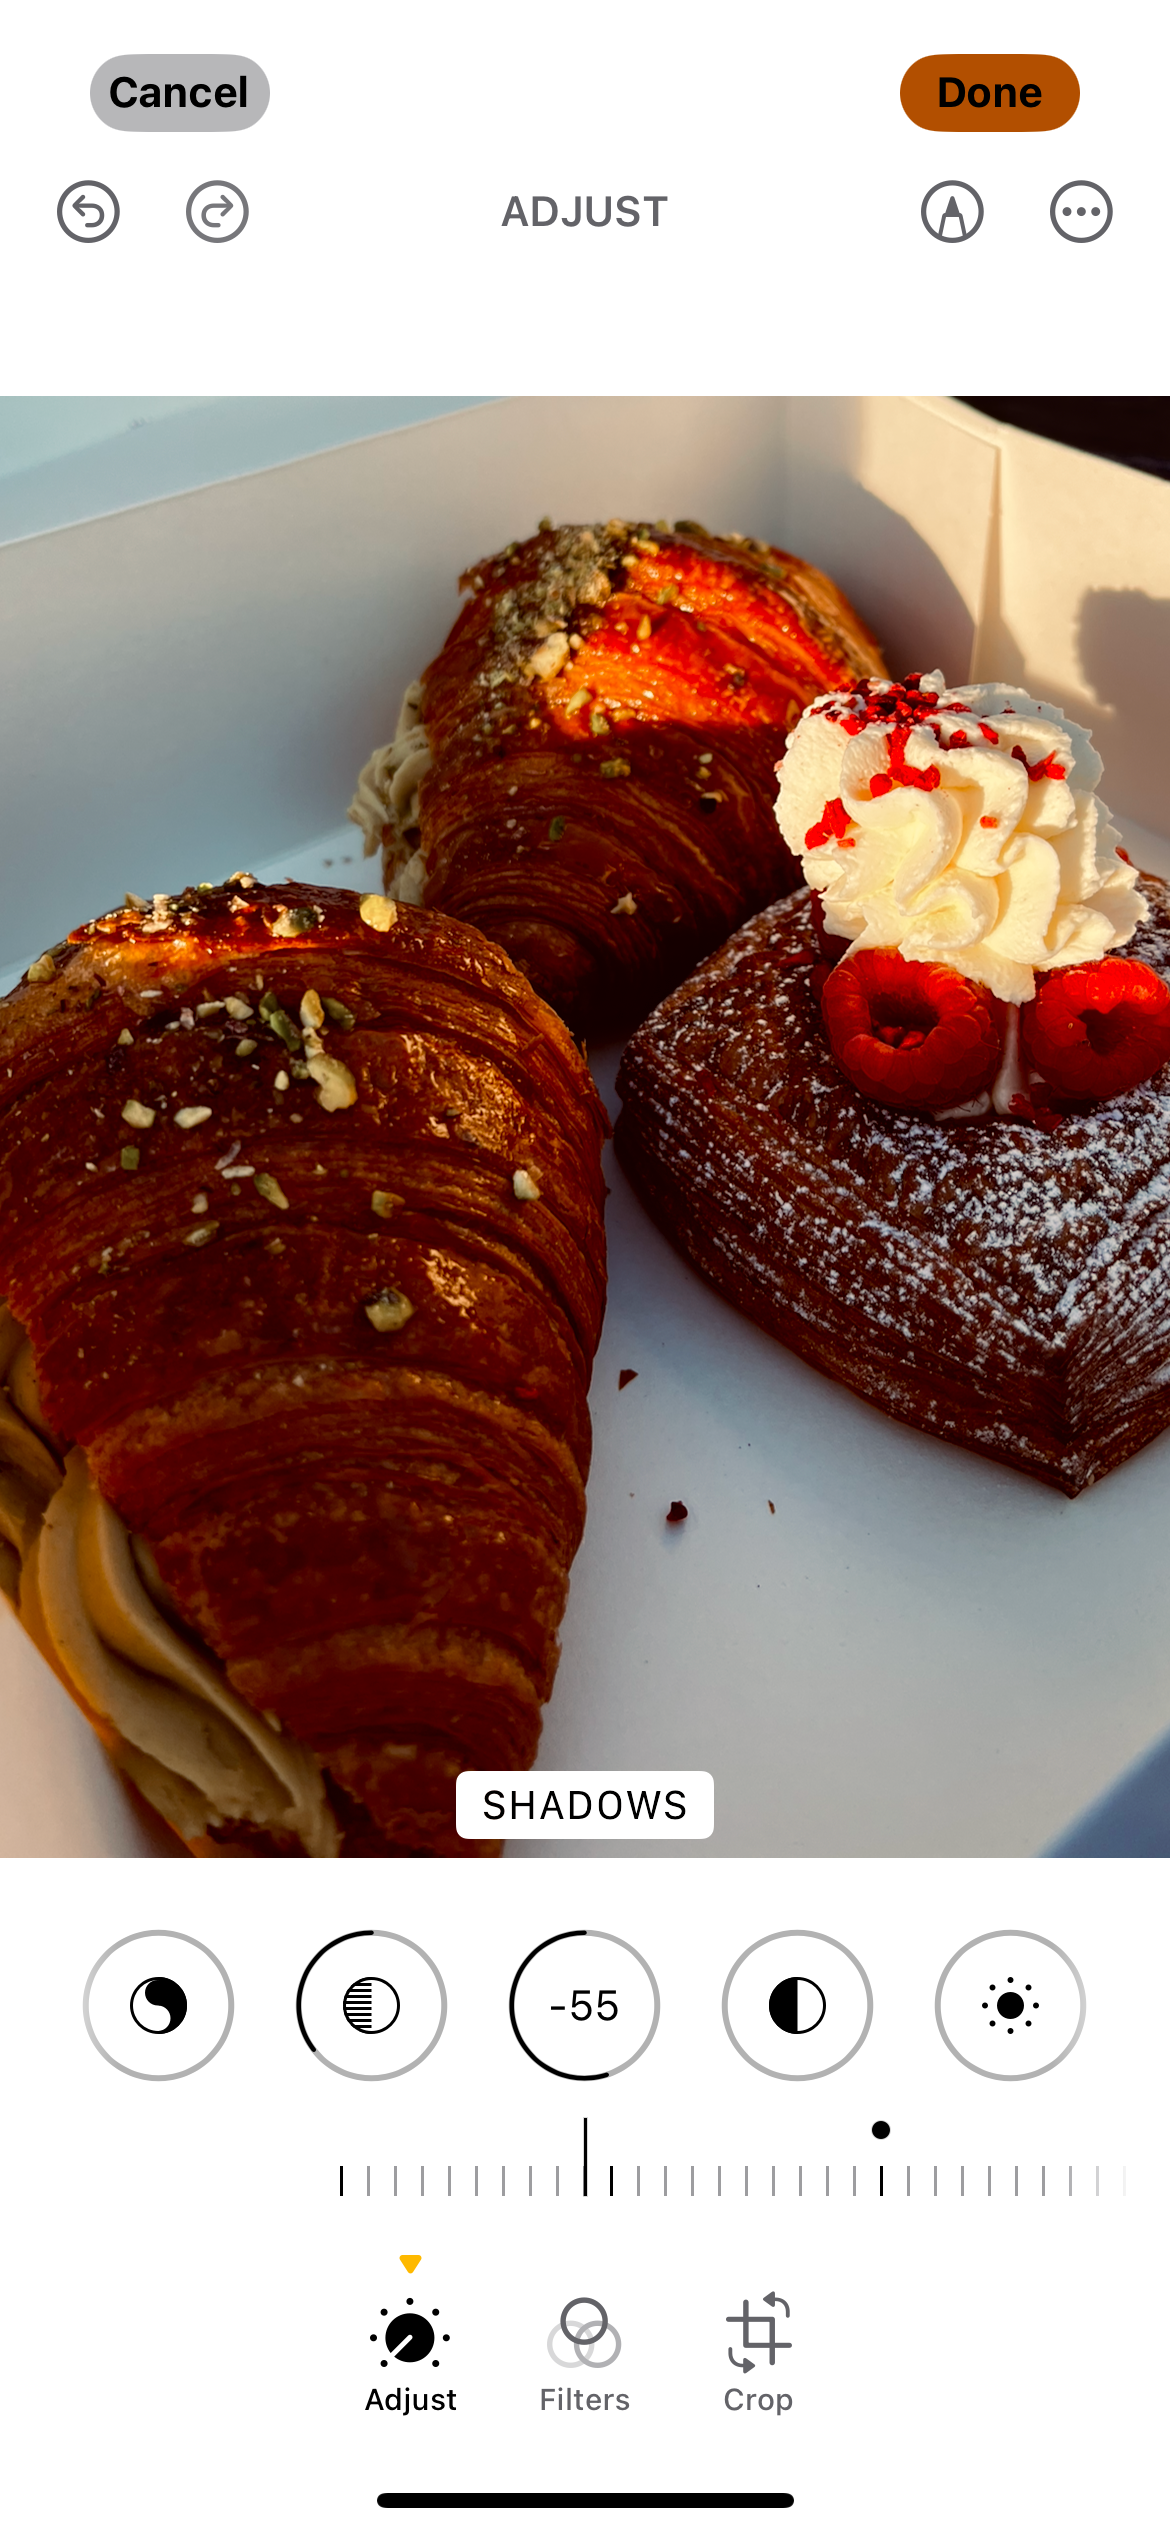
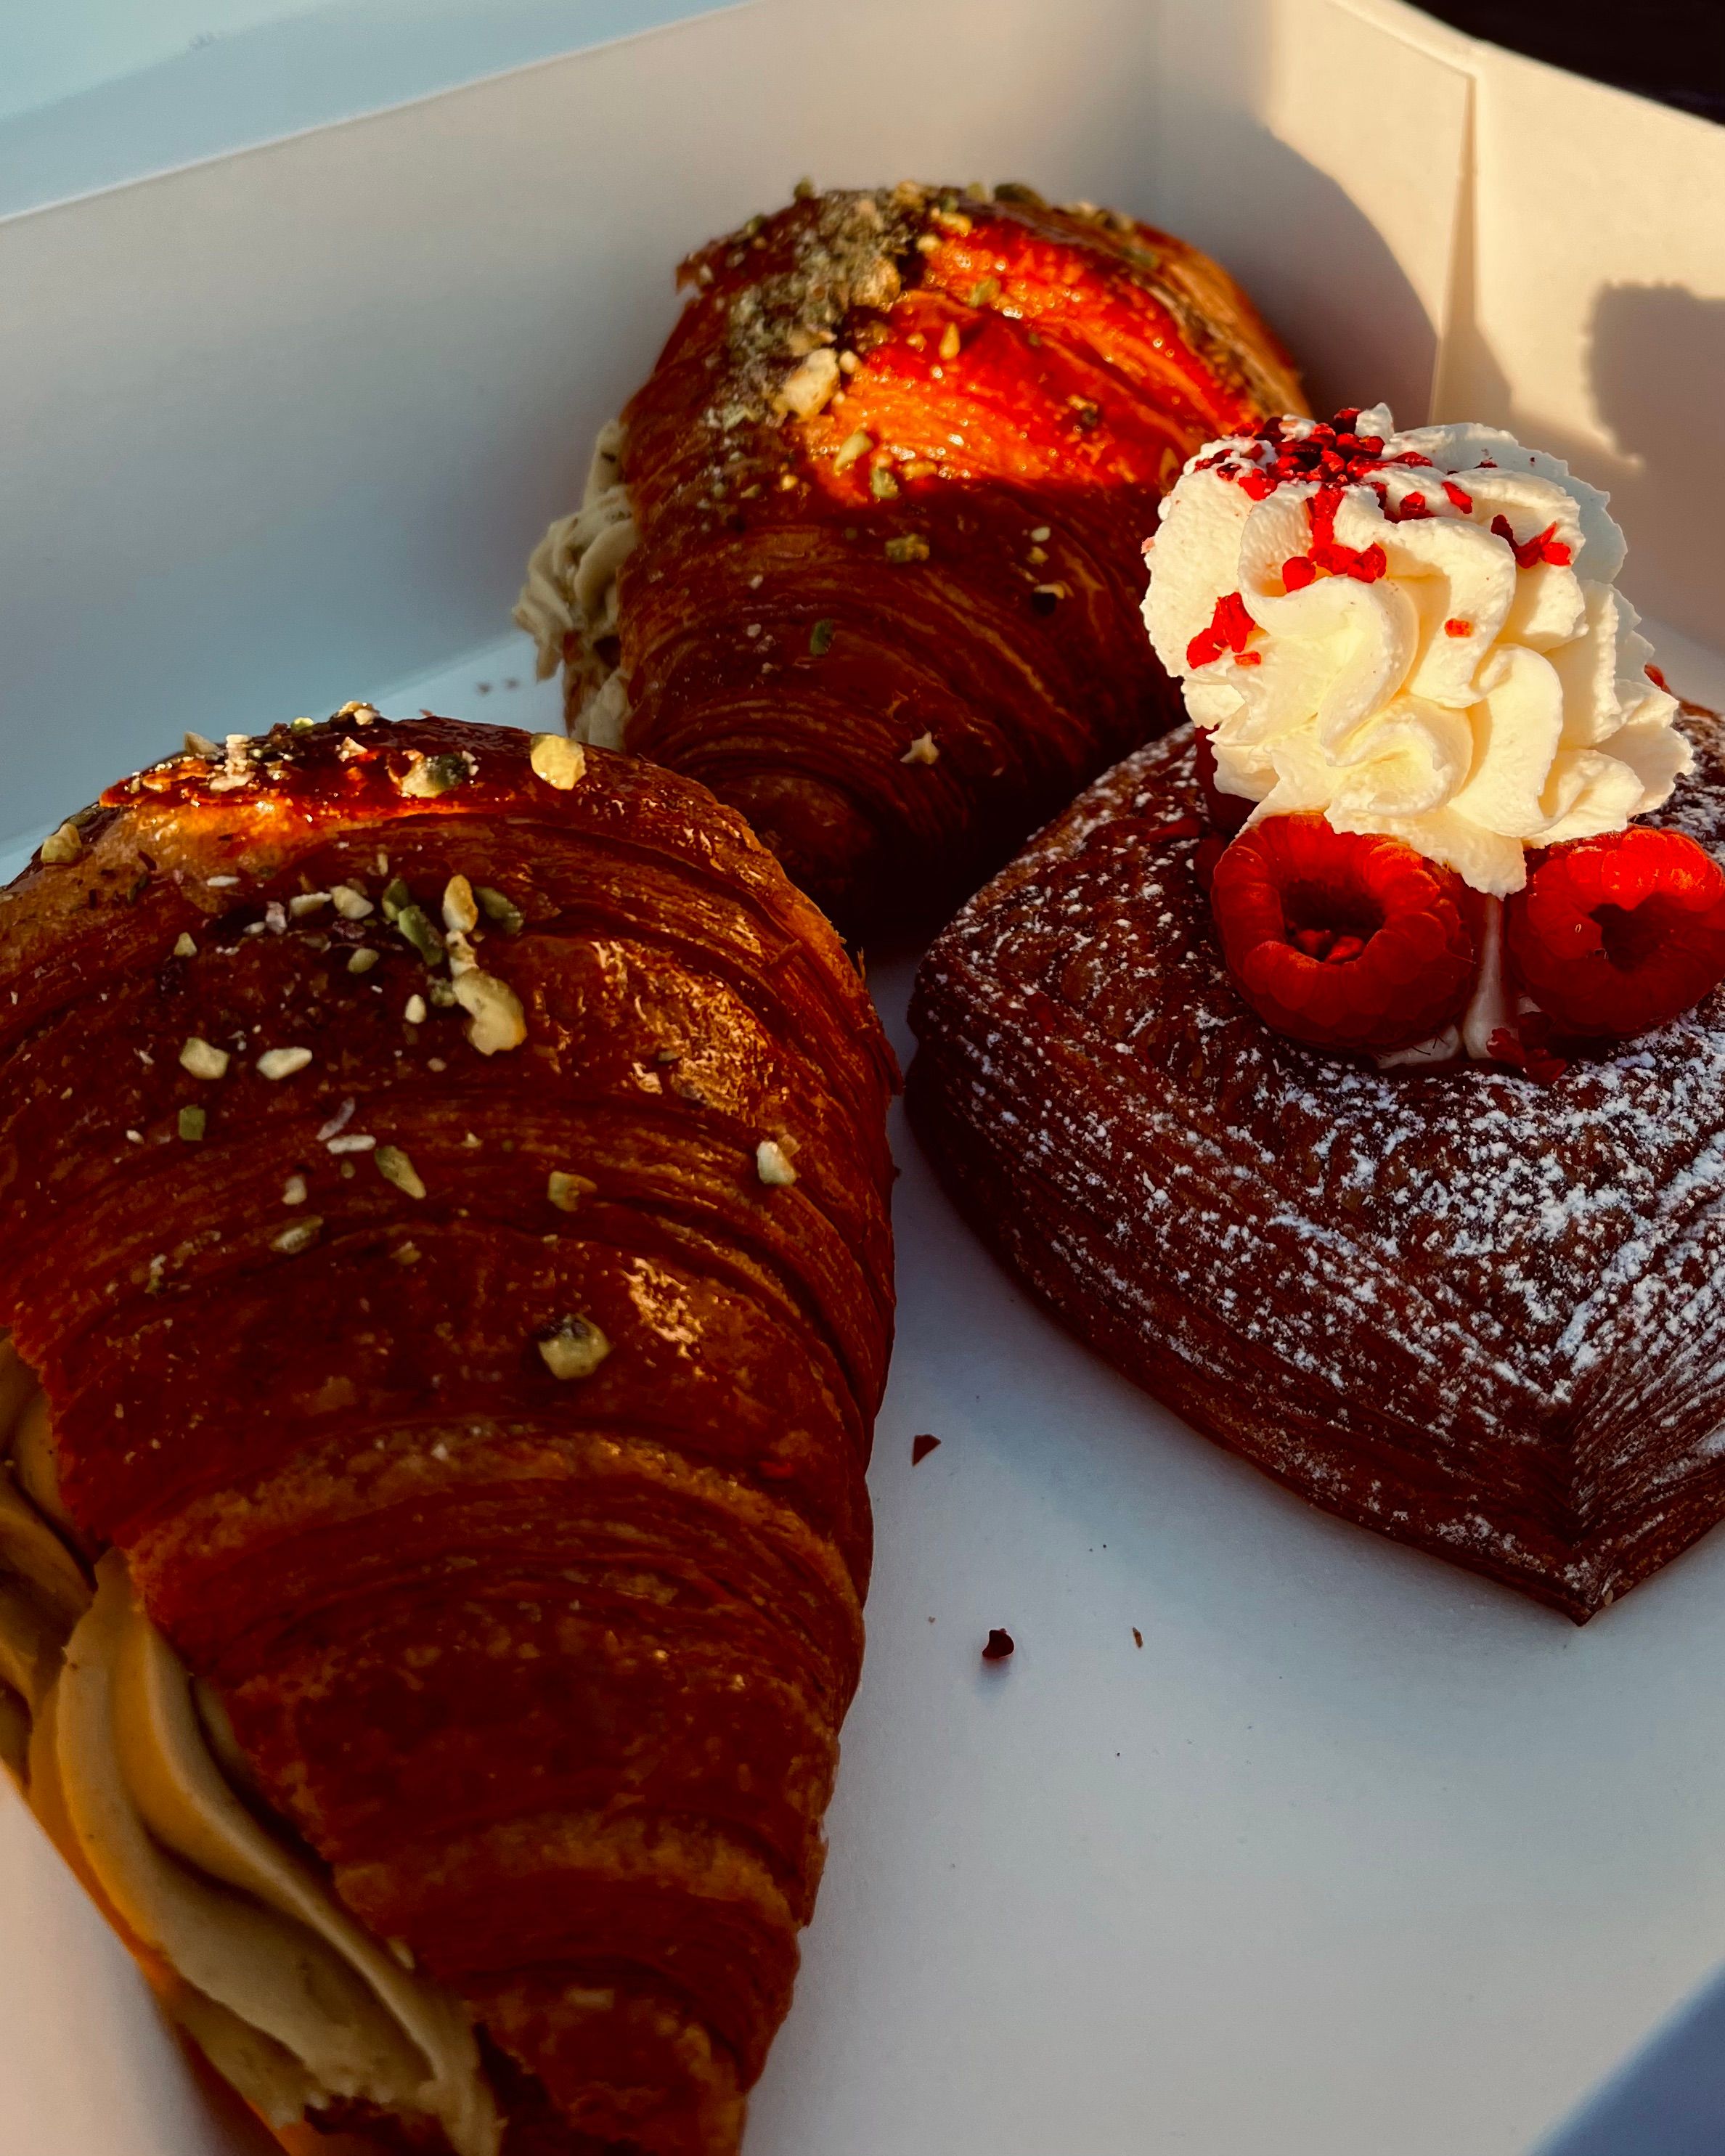
I often like to bring the highlights down in my food photos; it makes the details “pop” more. Texture is particularly important in food photography, and reducing the highlights is excellent for emphasizing textures.
Most of the time, I also bring the shadows down—especially if the picture already has some silhouettes. However, I’ll bring up the shadows and then add some contrast later if the photo is indoors. It depends not just on the lighting, but also the food.
Knowing how to edit the shadows and highlights in multiple scenarios will make it much easier for your pictures to pop. These two tools work differently depending on multiple factors, such as the time of day and what you’re taking photos of. Since smartphone photos look flatter than those taken with a DSLR, you have the flexibility to push these sliders further, adding depth and drama that brings your shots to life.
