iOS 18 and iPadOS 18 introduce features that change how people with physical disabilities use their Apple devices. Here are some of the best accessibility features you can now use on your iPhone and iPad.
1Eye Tracking
If you’re familiar with the Apple Vision Pro headset, you probably know how it lets you select elements simply by looking at them and tapping the thumb and index finger together. Apple introduced a similar concept for iPhones and iPads, designed to assist those who can’t navigate their device’s display with their fingers.
Eye Tracking is one of the most anticipated accessibility features of iOS and iPadOS 18, and for good reason. It harnesses the power of AI to let you navigate your iPhone or iPad using just your eyes.
Once you set up Eye Tracking, Dwell Control will also be enabled automatically. This feature allows you to select items by staring at them for a few seconds or perform actions like pressing a button or swiping by focusing on specific areas of the screen.
Unlike Apple Intelligence features, Eye Tracking is available on the iPhone SE (2022) and the iPhone 12 or later model. The best part? You don’t need additional hardware or accessories to use it—just a device that supports iOS 18 and iPadOS 18 with a working front-facing camera.
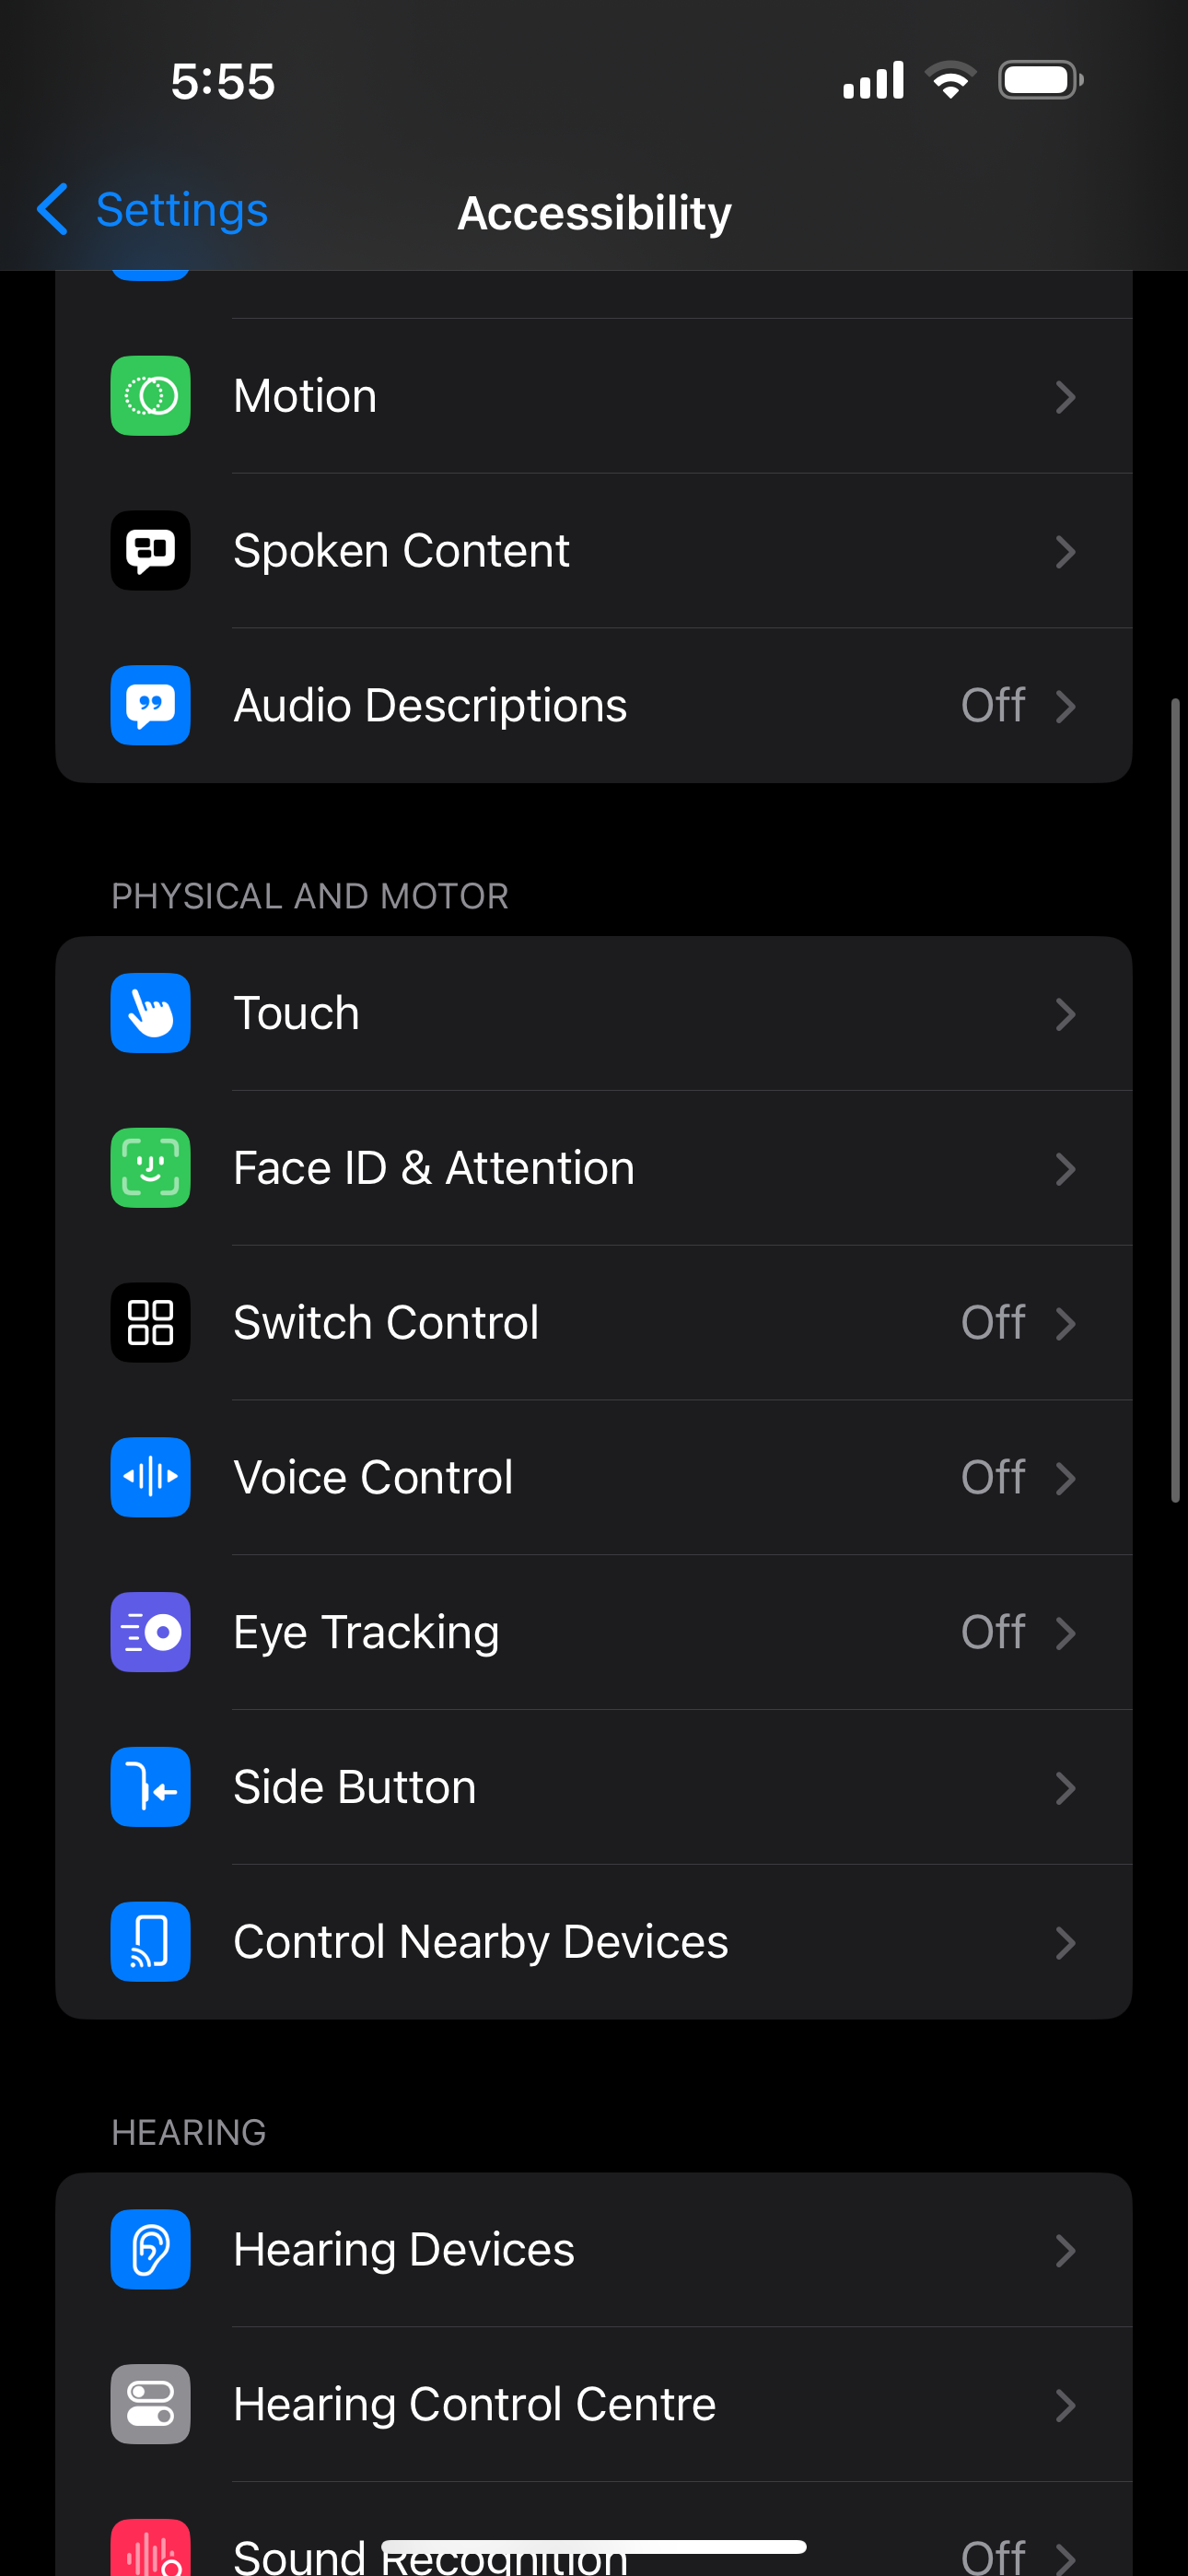
To set it up, open the Settings app, then go to Accessibility > Eye Tracking and toggle it on. You’ll then follow a dot with your eyes as it moves around the screen to complete the setup.
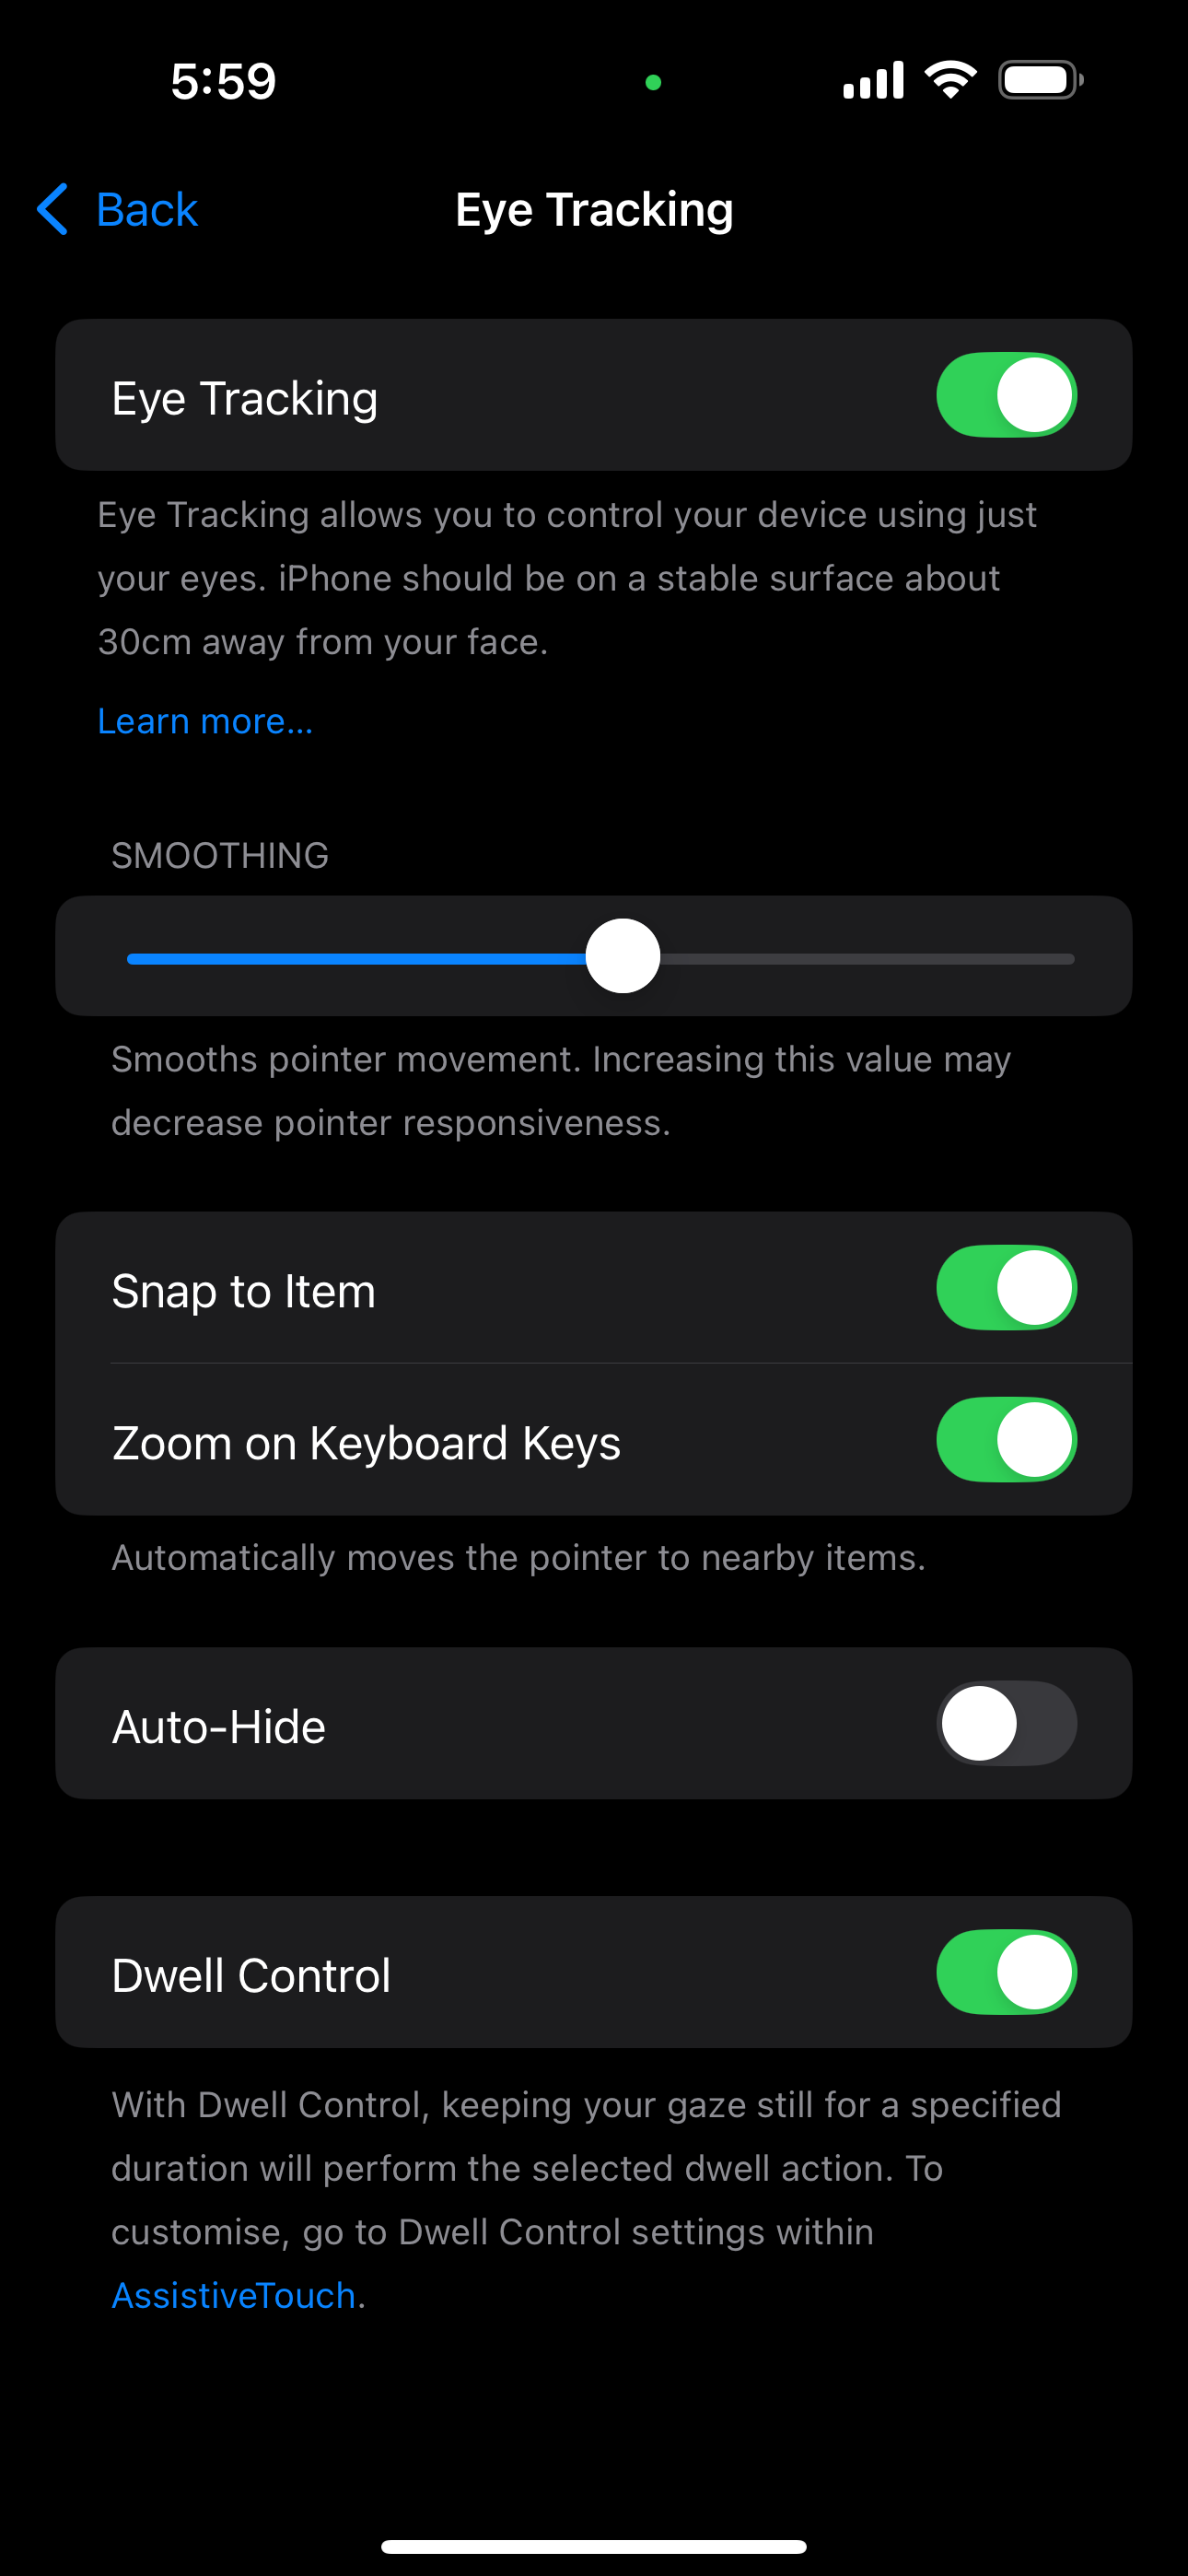

While the feature feels a bit buggy at the moment, the ability to control my iPhone or iPad using only my eyes always felt like a futuristic idea, and I’m thrilled Apple has taken a step in that direction.
2Music Haptics
One of the best ways to unwind after a long day is by putting in your earbuds and listening to some relaxing music. Music Haptics in iOS 18 allows those who are deaf or hard of hearing to experience music on their iPhones.
Using the iPhone’s Taptic Engine, your device produces taps, textures, and vibrations that sync with the beat of the song you’re listening to. While Music Haptics currently works with millions of songs on Apple Music, availability may vary depending on the streaming app you use.
To enable Music Haptics, go to Settings > Accessibility > Music Haptics and toggle it on.
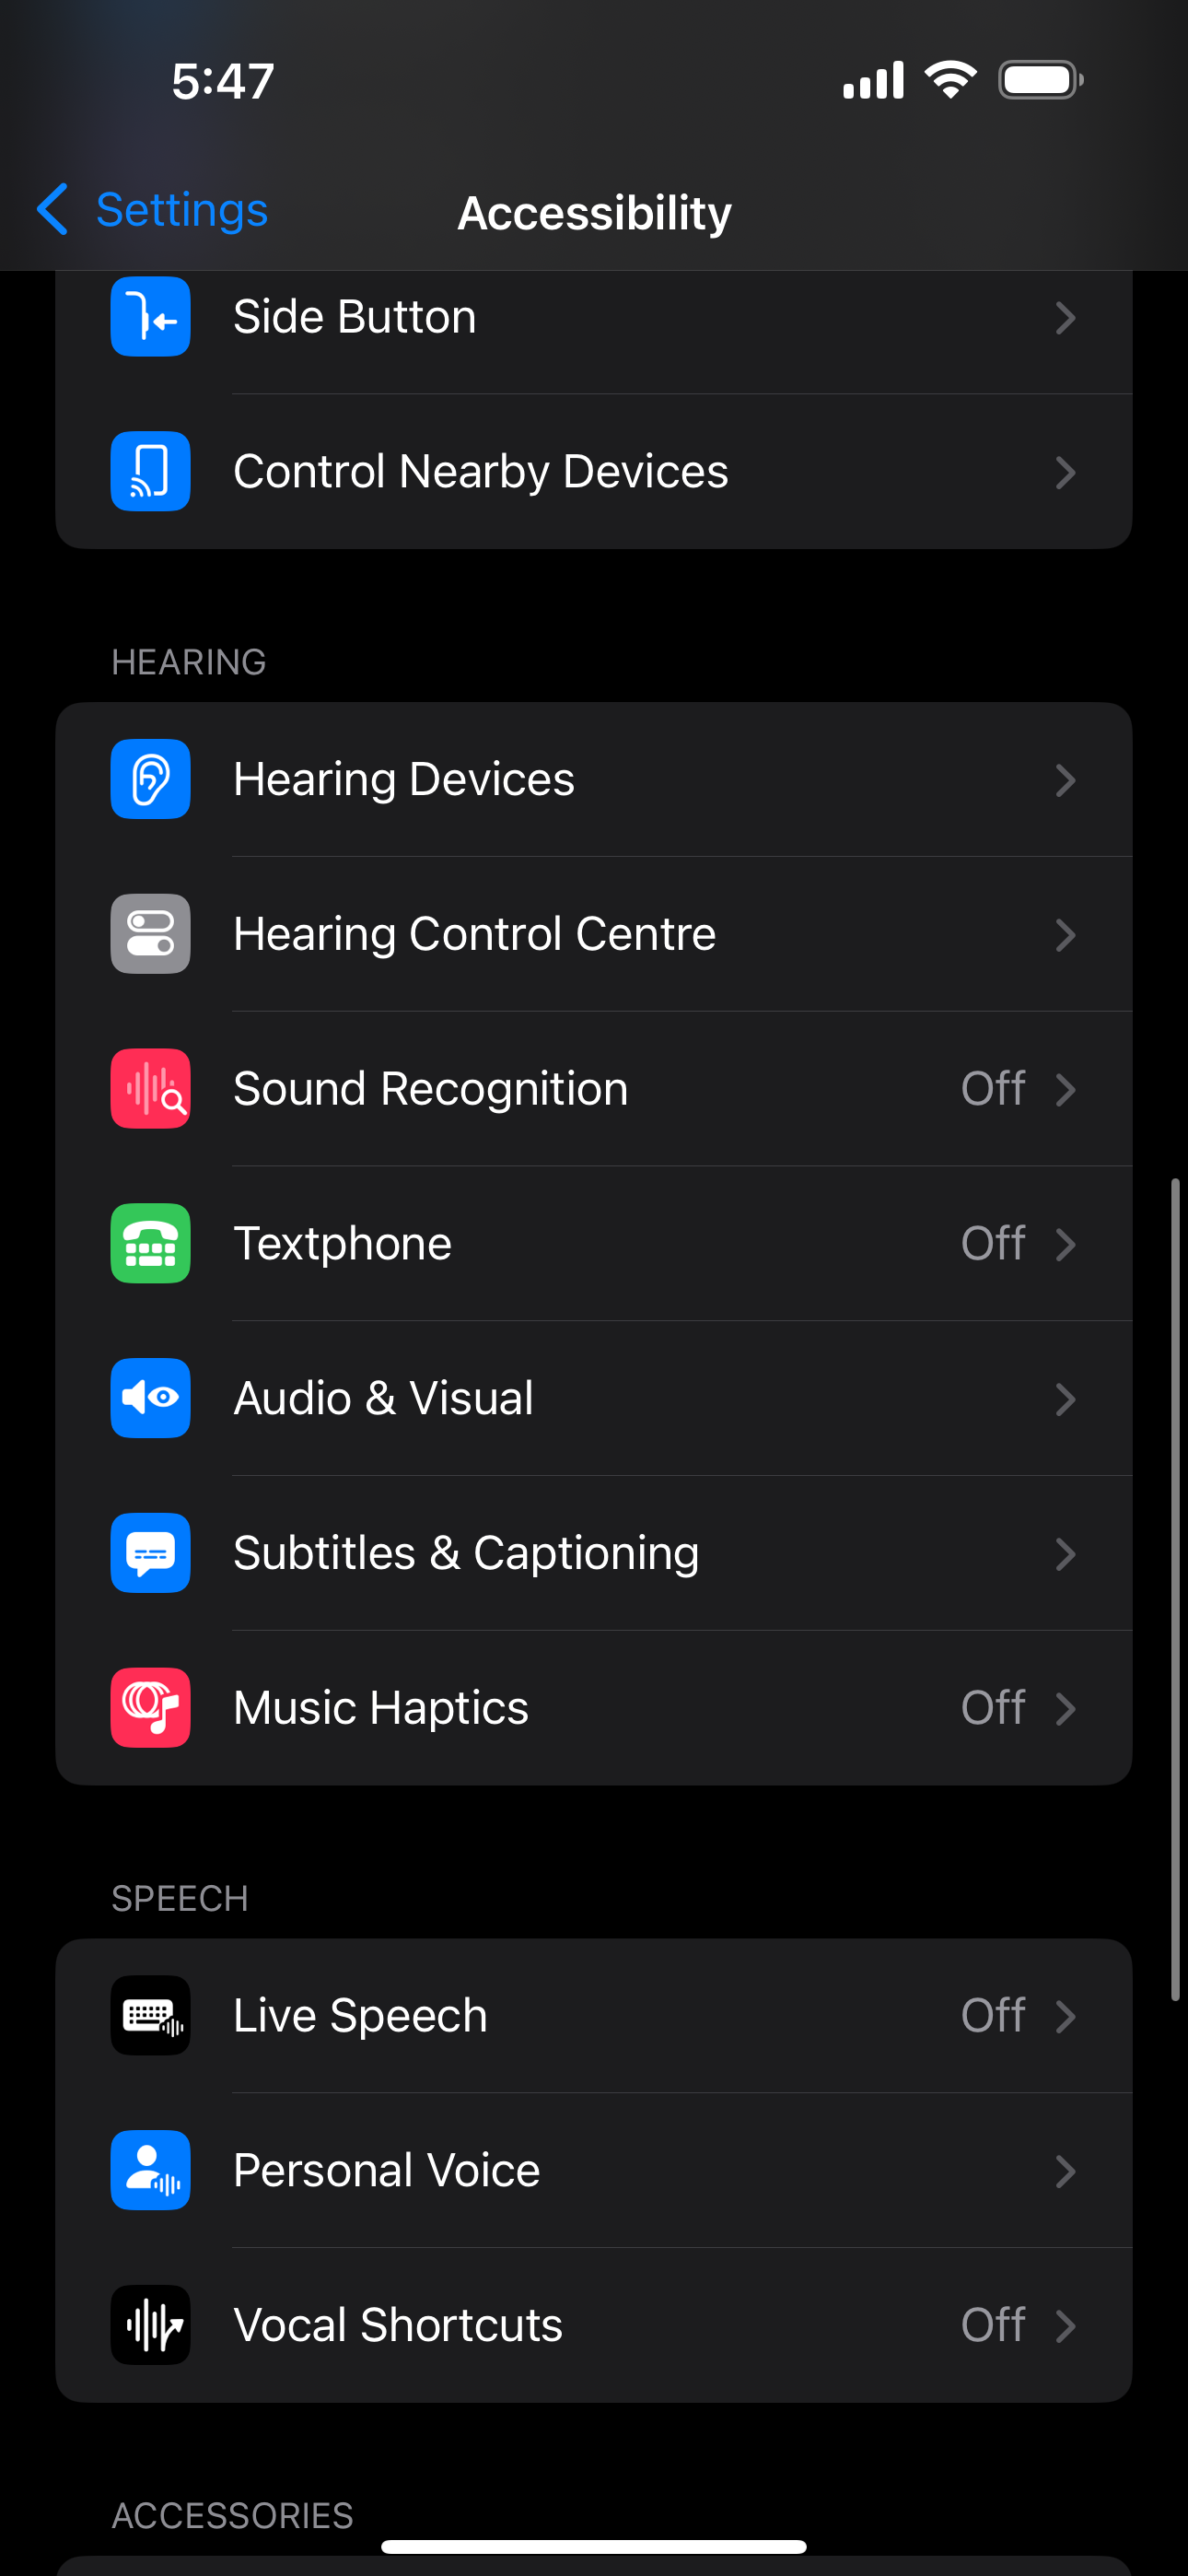

Unfortunately, Music Haptics is exclusive to iPhones, as iPads don’t have Taptic Engines yet.
3Vocal Shortcuts
Apple has introduced various accessibility features over the years, like Type to Speak, aimed at helping individuals with speech impediments due to cerebral palsy and amyotrophic lateral sclerosis.
Building on these efforts, Apple has now introduced a feature called Vocal Shortcuts. This allows users to teach their iPhone or iPad to recognize specific phrases, enabling quick and easy actions.
Essentially, this eliminates the need to go through the typical process of invoking Siri by saying, “Hey Siri,” asking it to do something, and then waiting. You can even create a Vocal Shortcut to trigger a Siri request, streamlining the entire process.
Setting up Vocal Shortcuts is easy—all you need to do is choose an action and then record a phrase to teach your iPhone or iPad to recognize your voice.
You can create a Vocal Shortcut to automatically trigger a custom iOS Shortcut you’ve created. This opens up a range of possibilities! For example, I usually ask Siri to open Spotify while I’m making a cup of coffee in the kitchen. Usually, I would have to say, “Hey Siri,” wait for the response, then say, “Open Spotify,” which takes some time.
Now, I’ve set up a Vocal Shortcut that triggers a Shortcut I created to open Spotify using the custom phrase “Open Spotify.” Now, whenever I say those two words, Spotify opens automatically! To set it up, head to Accessibility > Vocal Shortcuts, and tap Set Up Vocal Shortcuts.
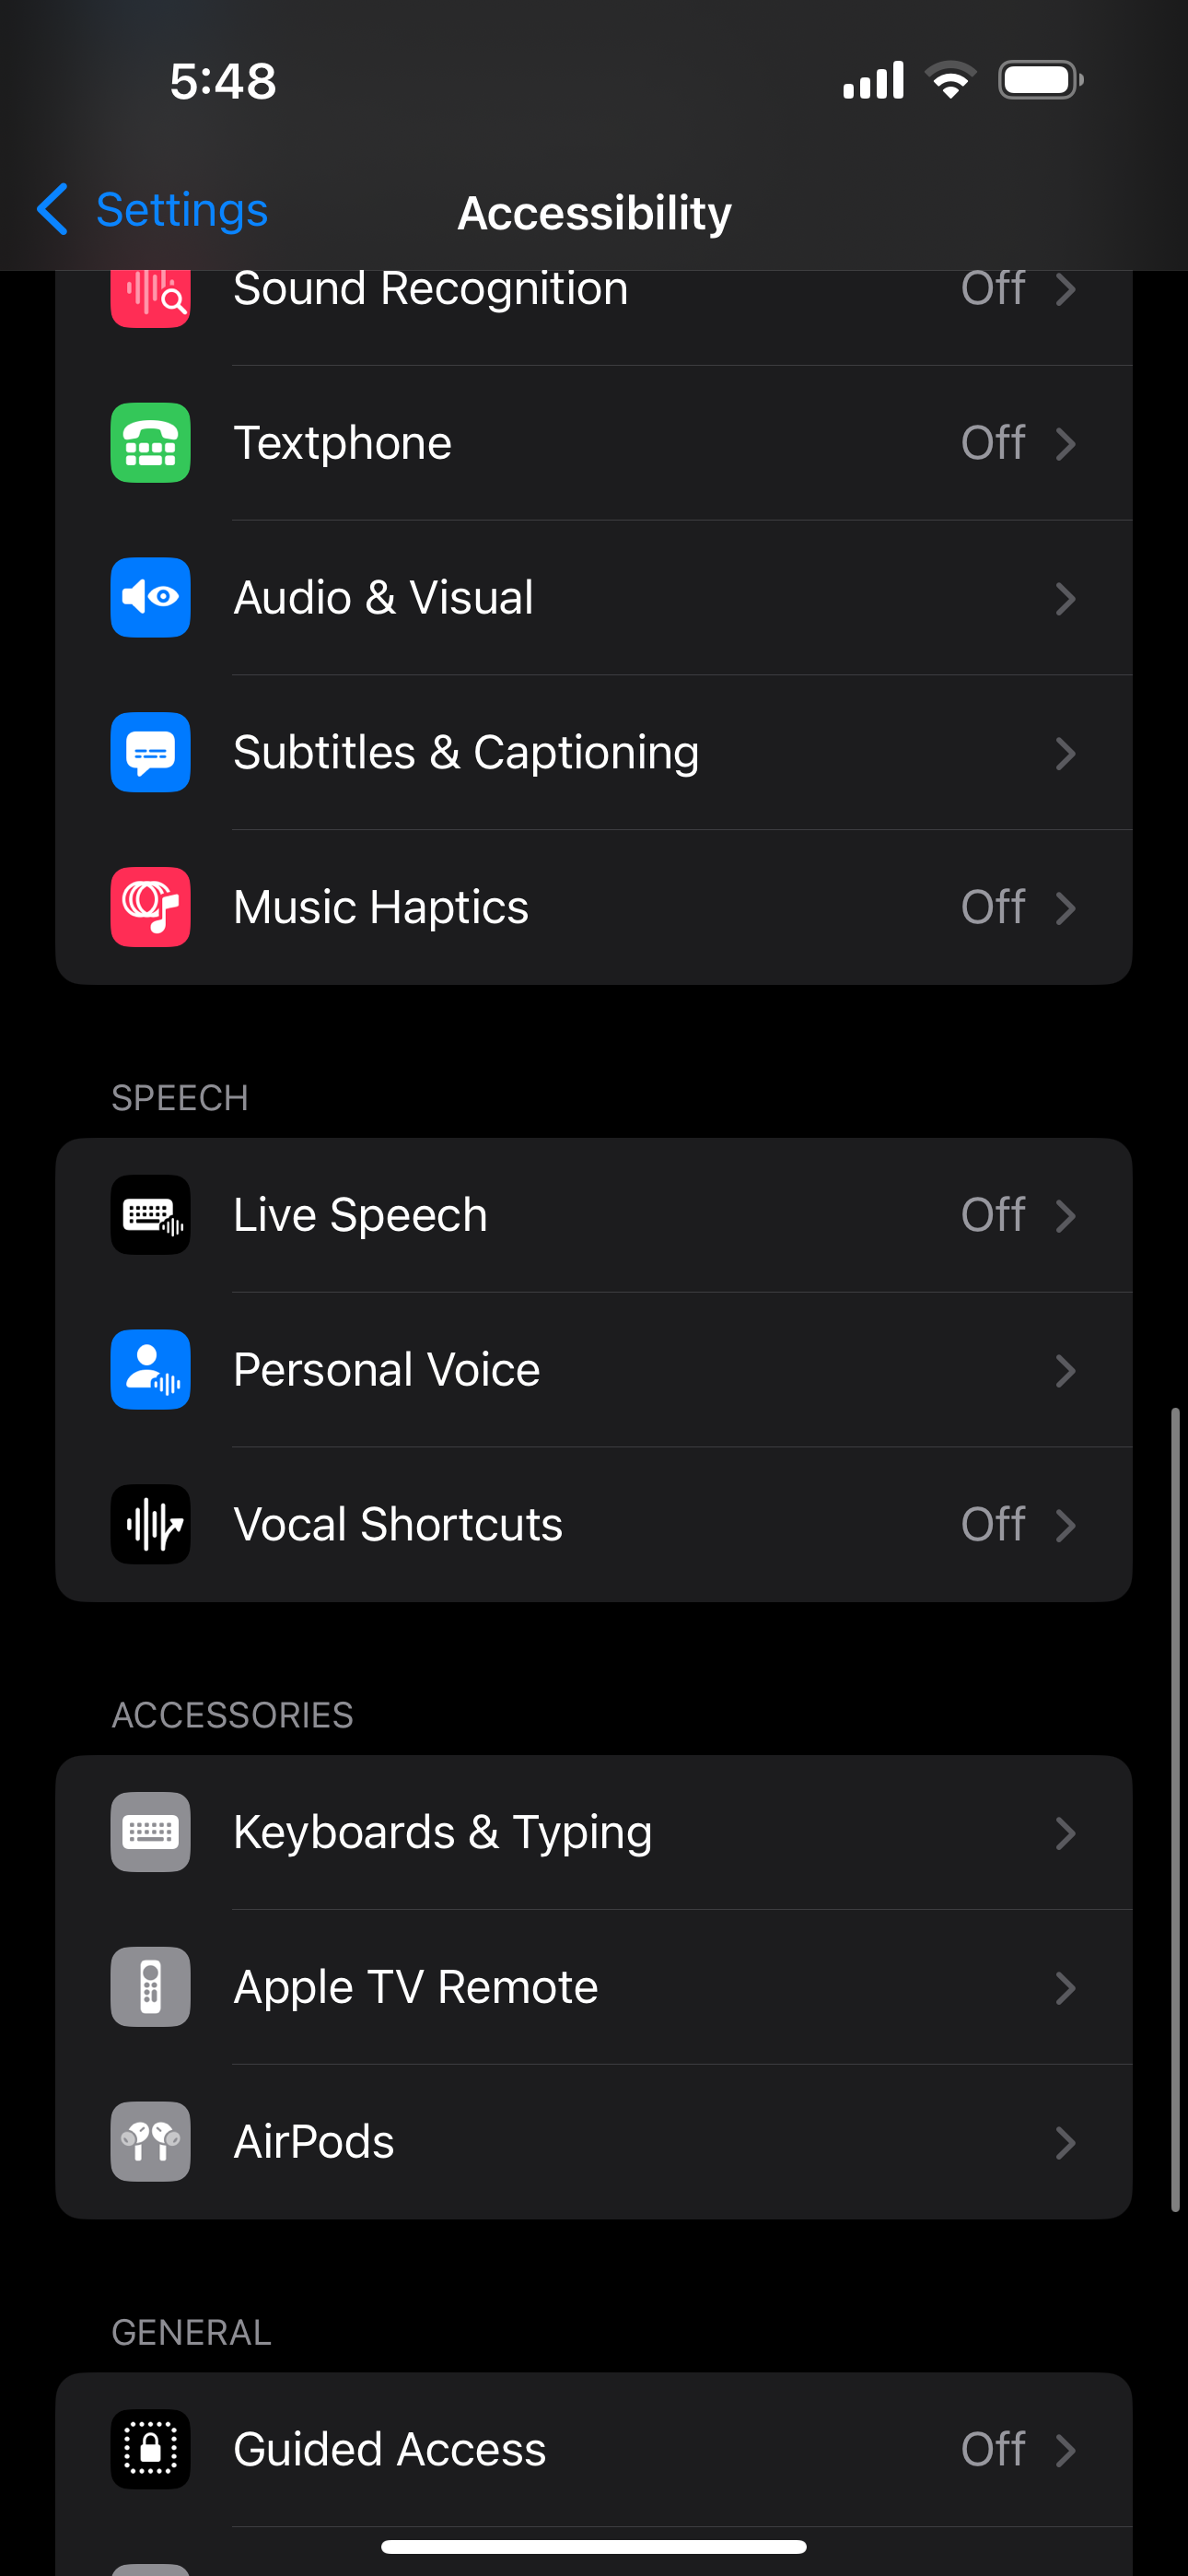

You’ll then have to choose an action, type in a custom phrase, and say it a few times. This way, your iPhone or iPad will be able to recognize it. While this feature is primarily for people with speech impairments, I believe it’s useful for anyone looking to simplify the number of commands needed to perform a task on their iPhone or iPad.
4Vehicle Motion Cues
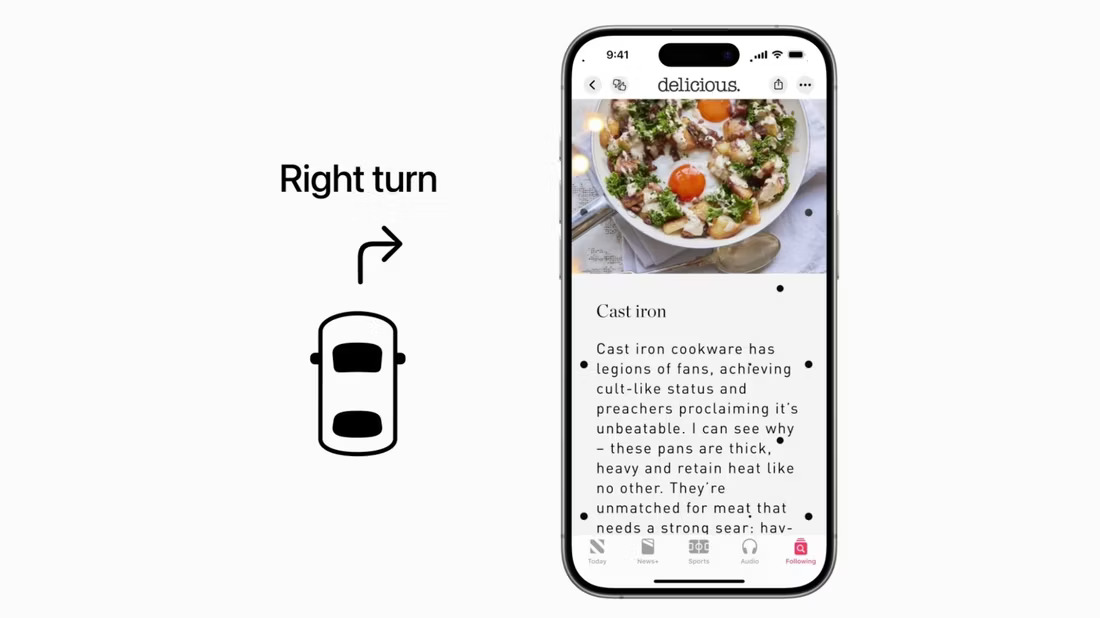
I spend three hours of my day commuting to and from college. While I wouldn’t say I have an extreme case of motion sickness when I’m in a moving vehicle, I do find it difficult to read or focus on anything that requires too much concentration during the ride. If you’re anything like me, Vehicle Motion Cues is definitely a feature you should enable.
Once toggled on, you should see animated dots on the margins of your device’s screen. Using built-in sensors, your iPhone or iPad can detect when you’re in a moving vehicle, and the dots will move in sync with the car’s motion—forward and back as the car speeds up or slows down and side to side as the car turns.
Apple explains that motion sickness occurs due to the sensory conflict between what a person sees and what they feel. This makes sense because when you’re focusing on your still iPhone or iPad while everything around you is moving, dizziness can set in. The moving dots help reduce that conflict by visually mimicking what your body feels, tricking your brain into adjusting better.
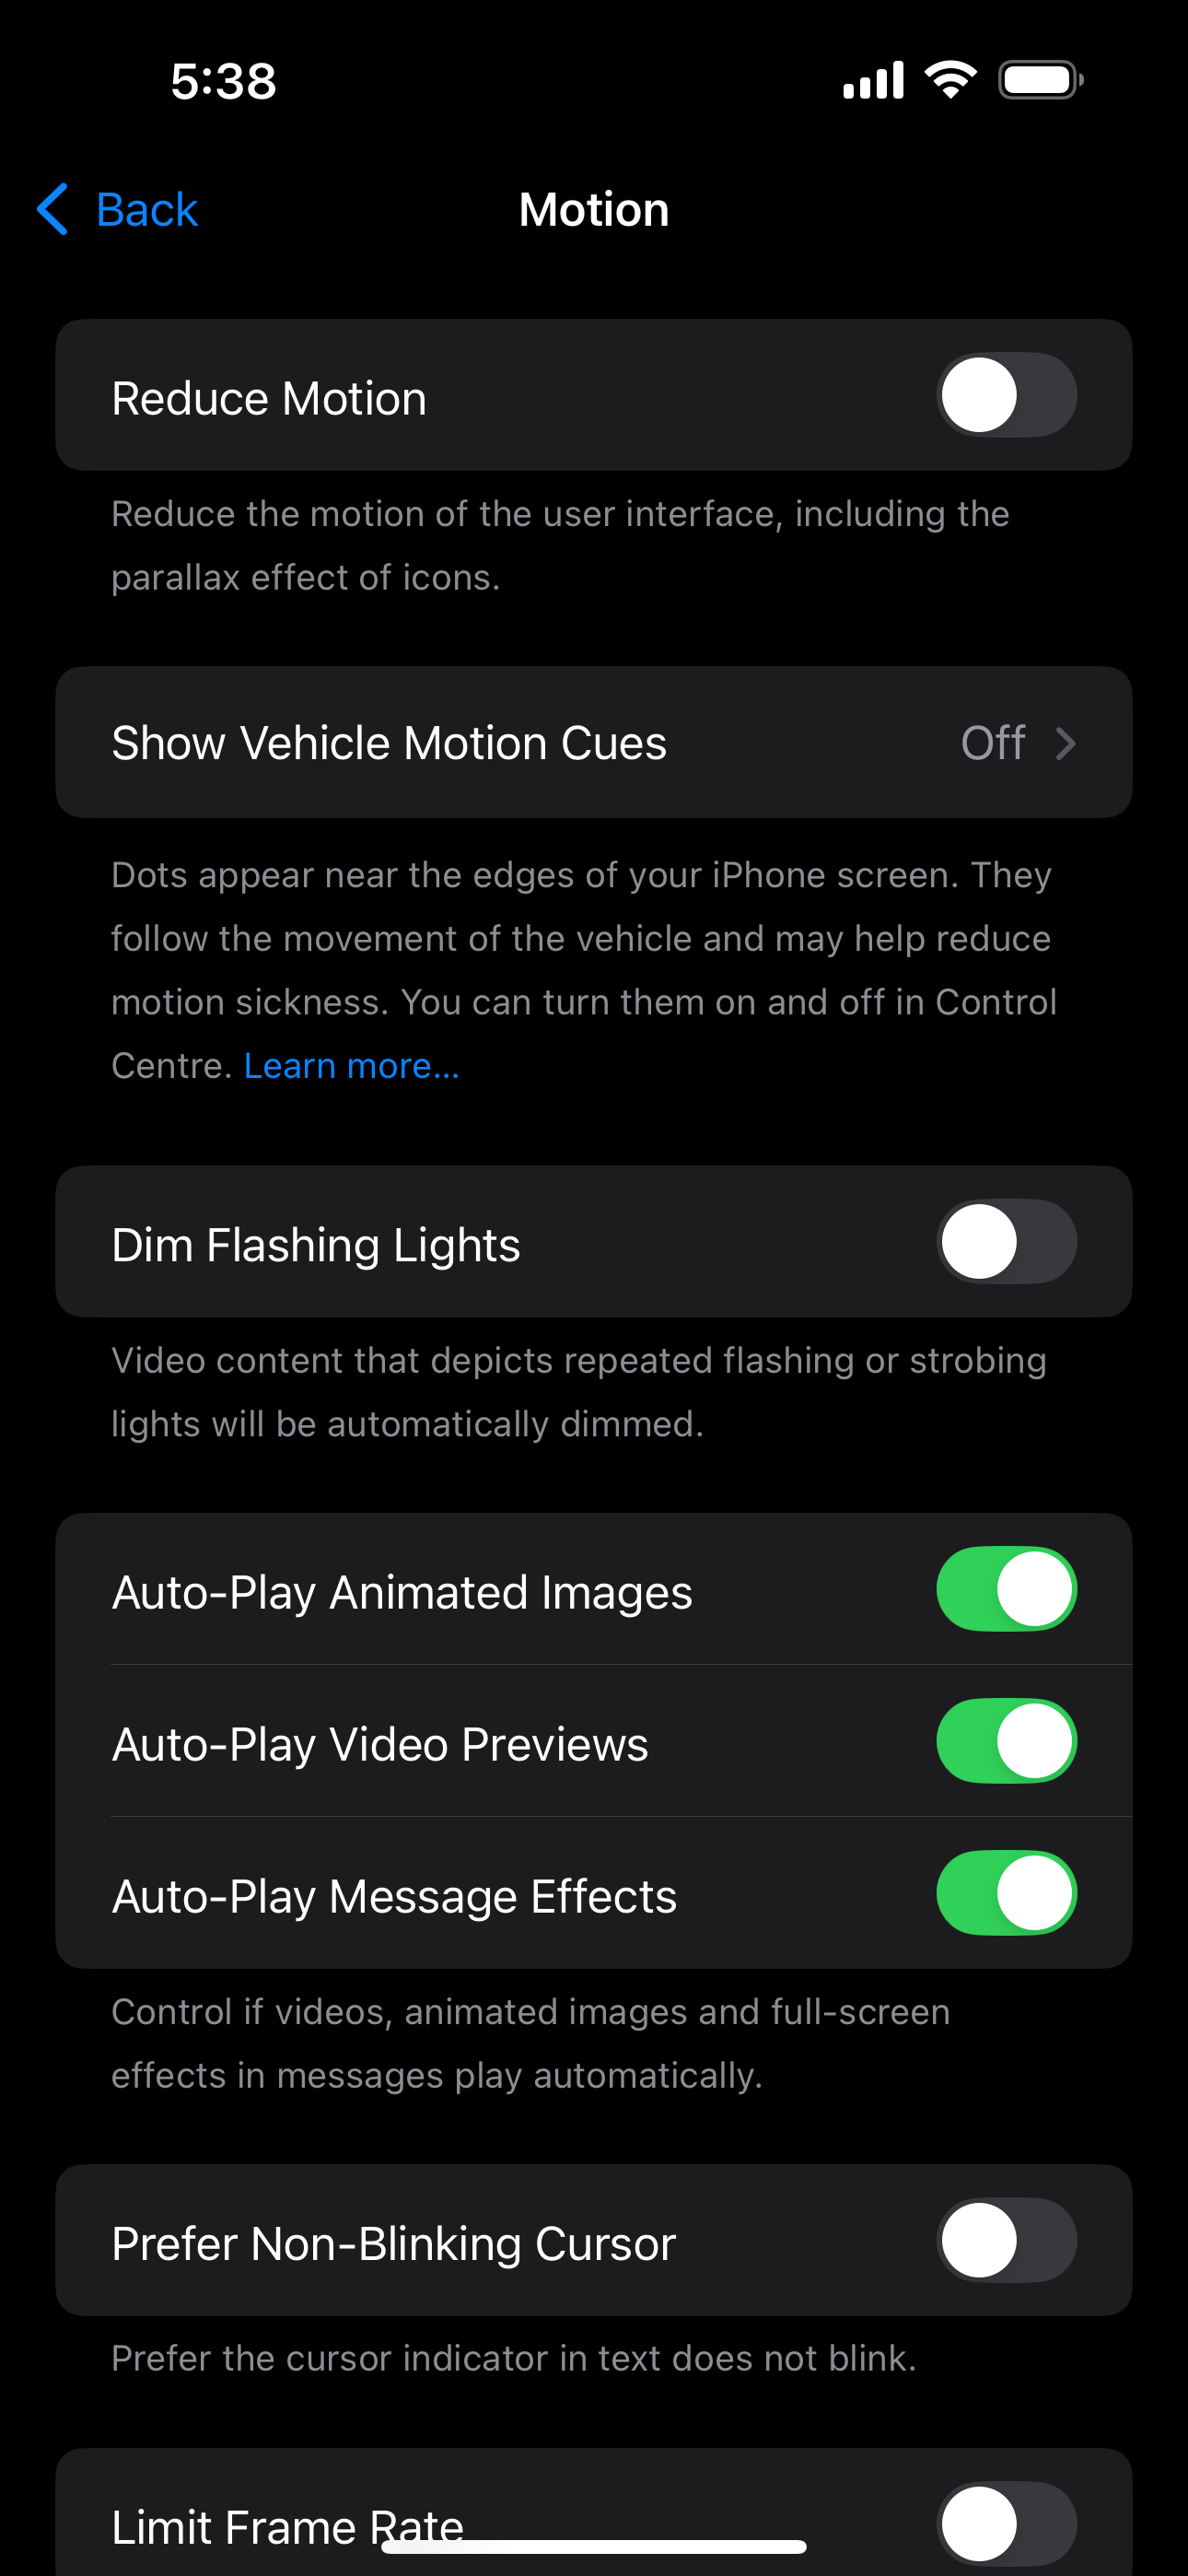
Vehicle Motion Cues may not completely eliminate motion sickness, but the feature can make reading or using your iPhone or iPad in a moving vehicle much more tolerable. While the feature is disabled by default, you can enable it by heading to Settings > Accessibility > Motion > Show Vehicle Motion Cues.
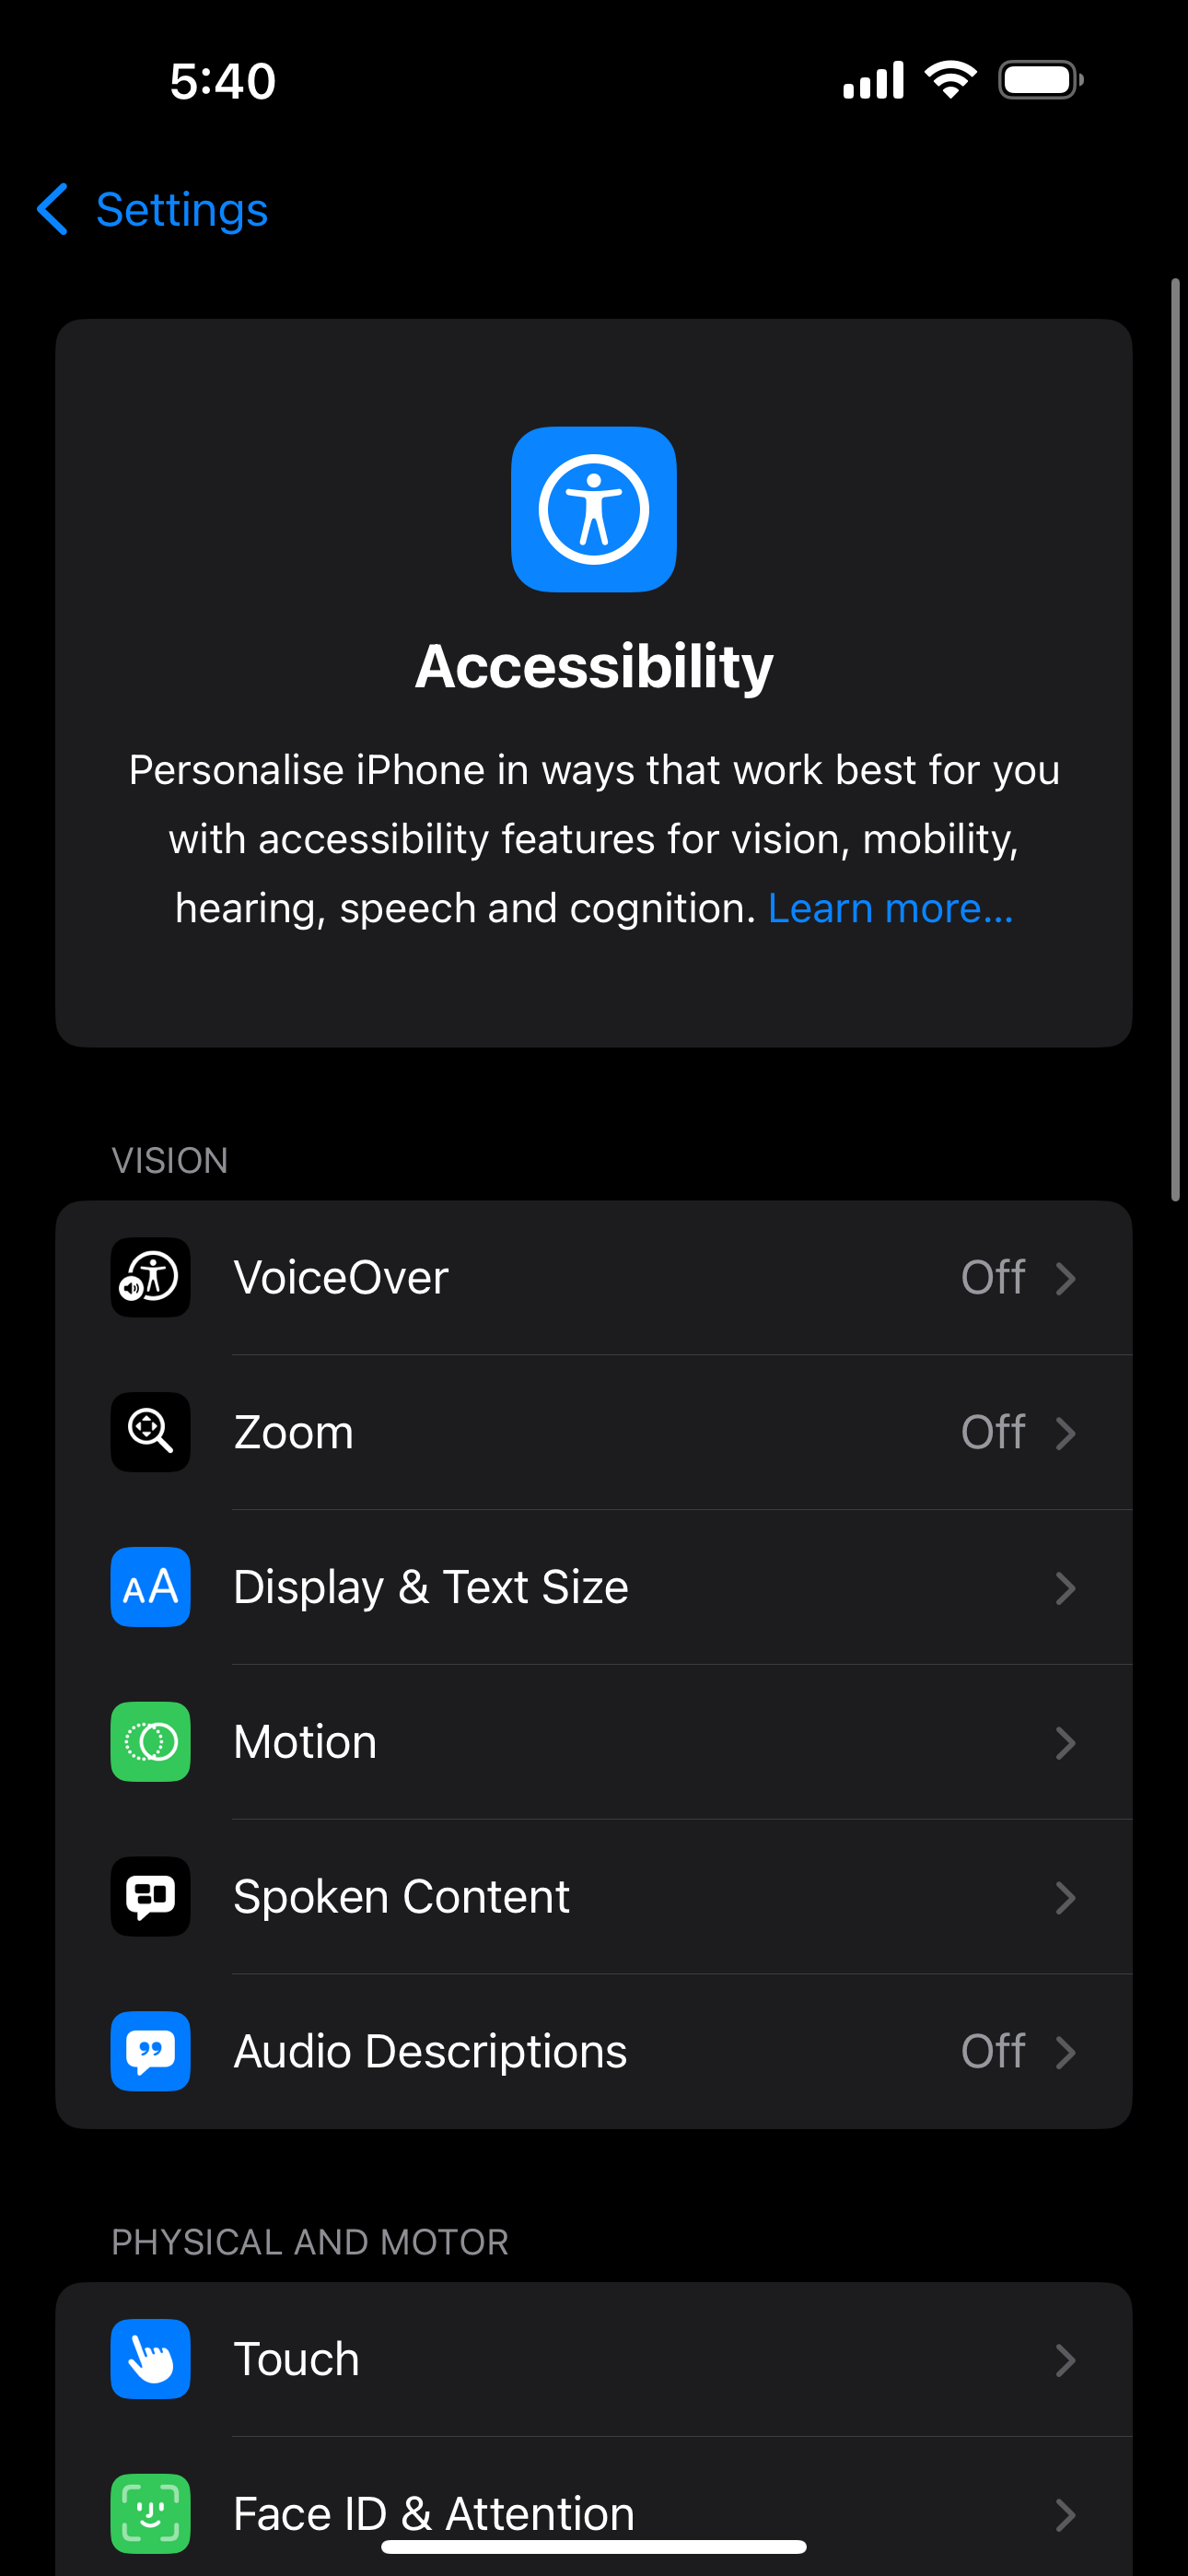
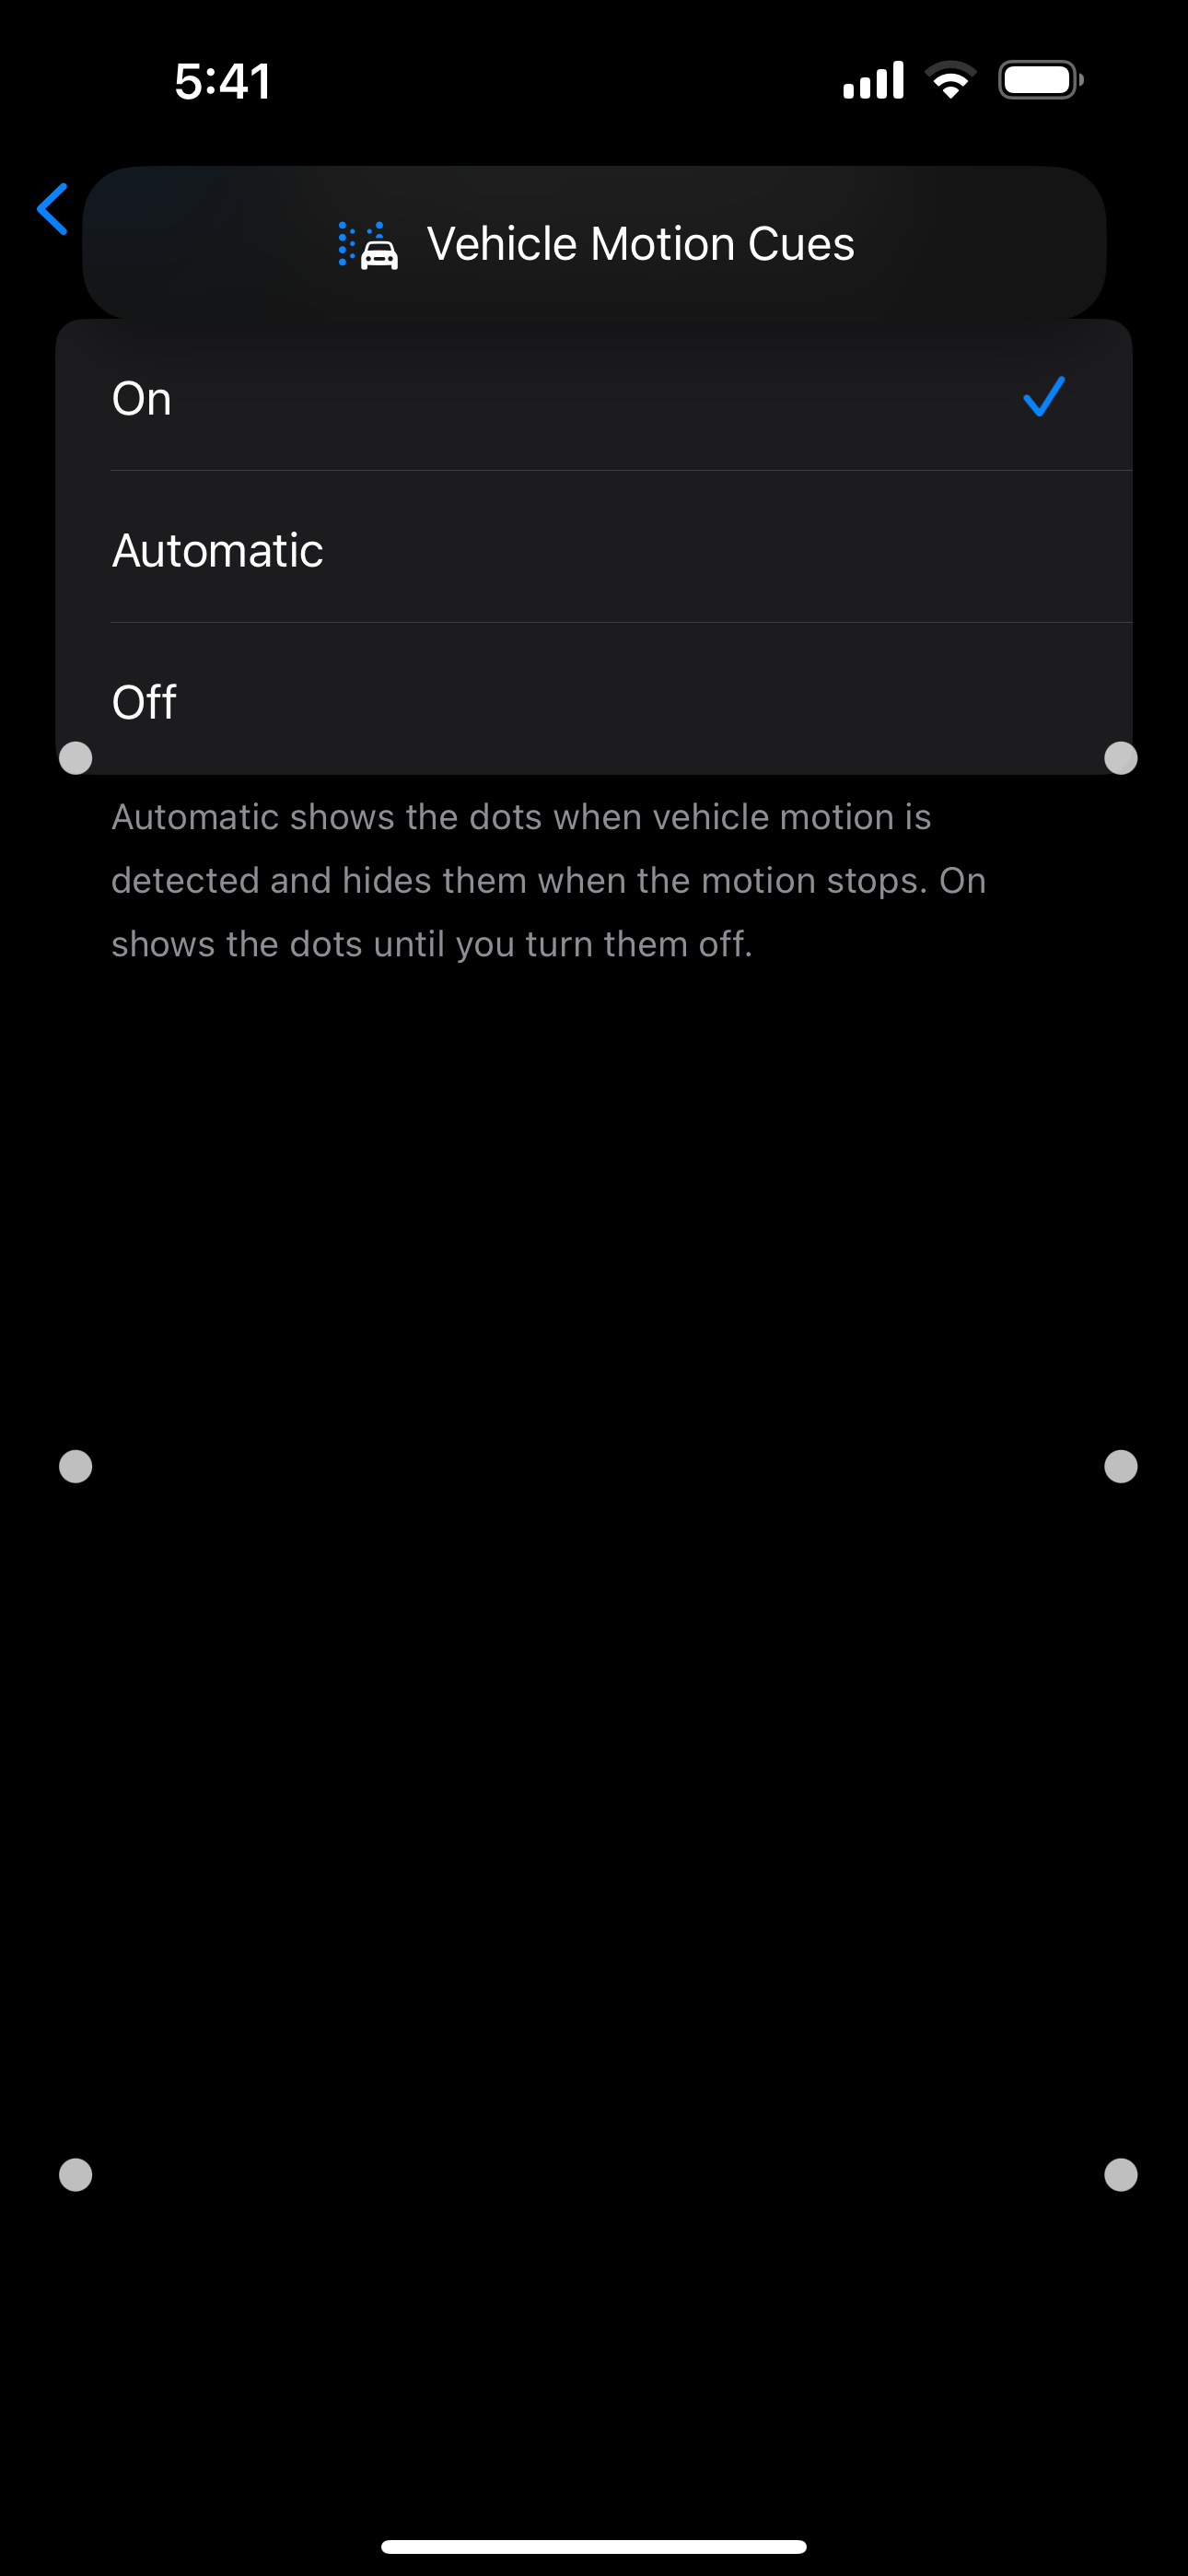
One thing I really liked about this feature is the Automatic option, where the dots automatically appear when motion is detected and disappear once you arrive at your destination and stop moving.
5Hover Typing
Texting can sometimes be frustrating, especially when you struggle to clearly see what you’re typing and have to hold your iPhone close to your eyes. The funny thing is, I’m saying this as someone whose vision isn’t even that bad! So, I can’t even imagine what it’s like for someone with poor vision.
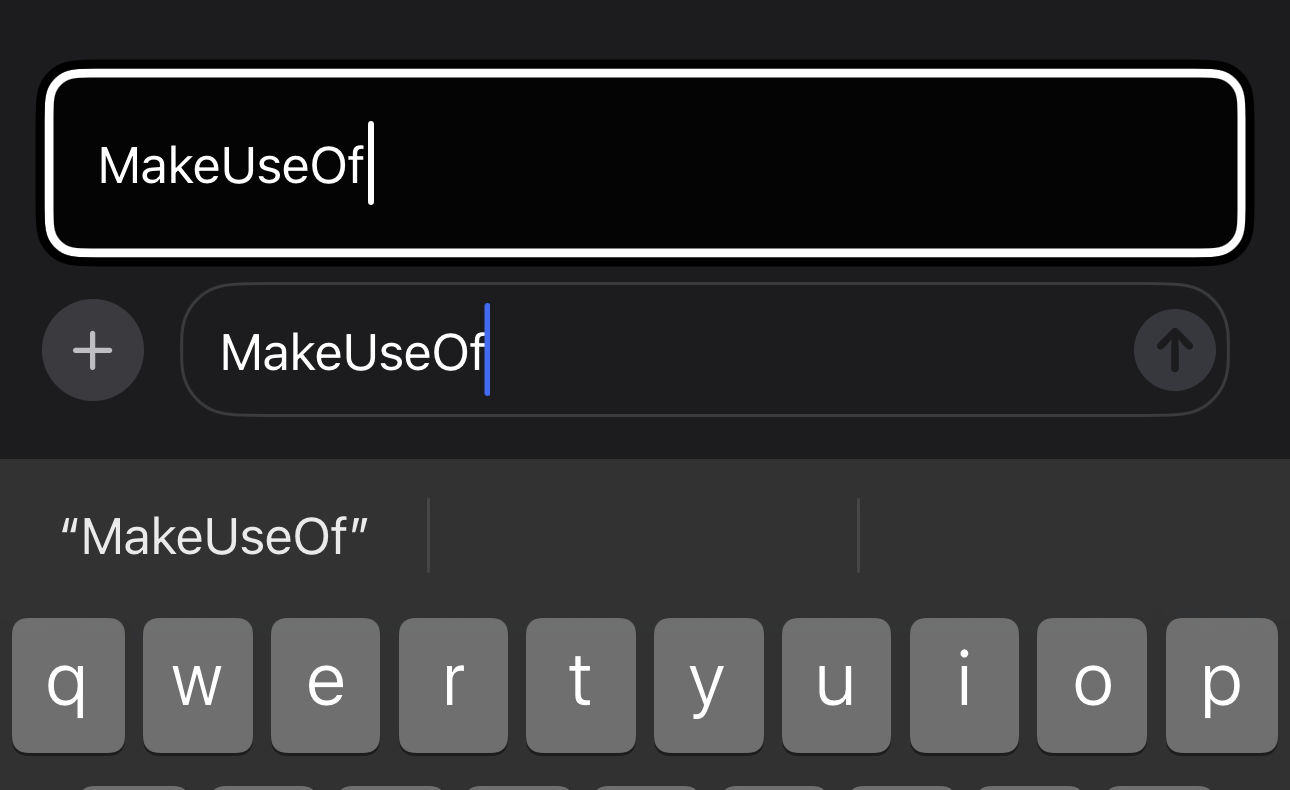
Thankfully, Apple introduced Hover Typing, a feature specifically designed to alleviate this issue. It displays larger text above the text field as you type.
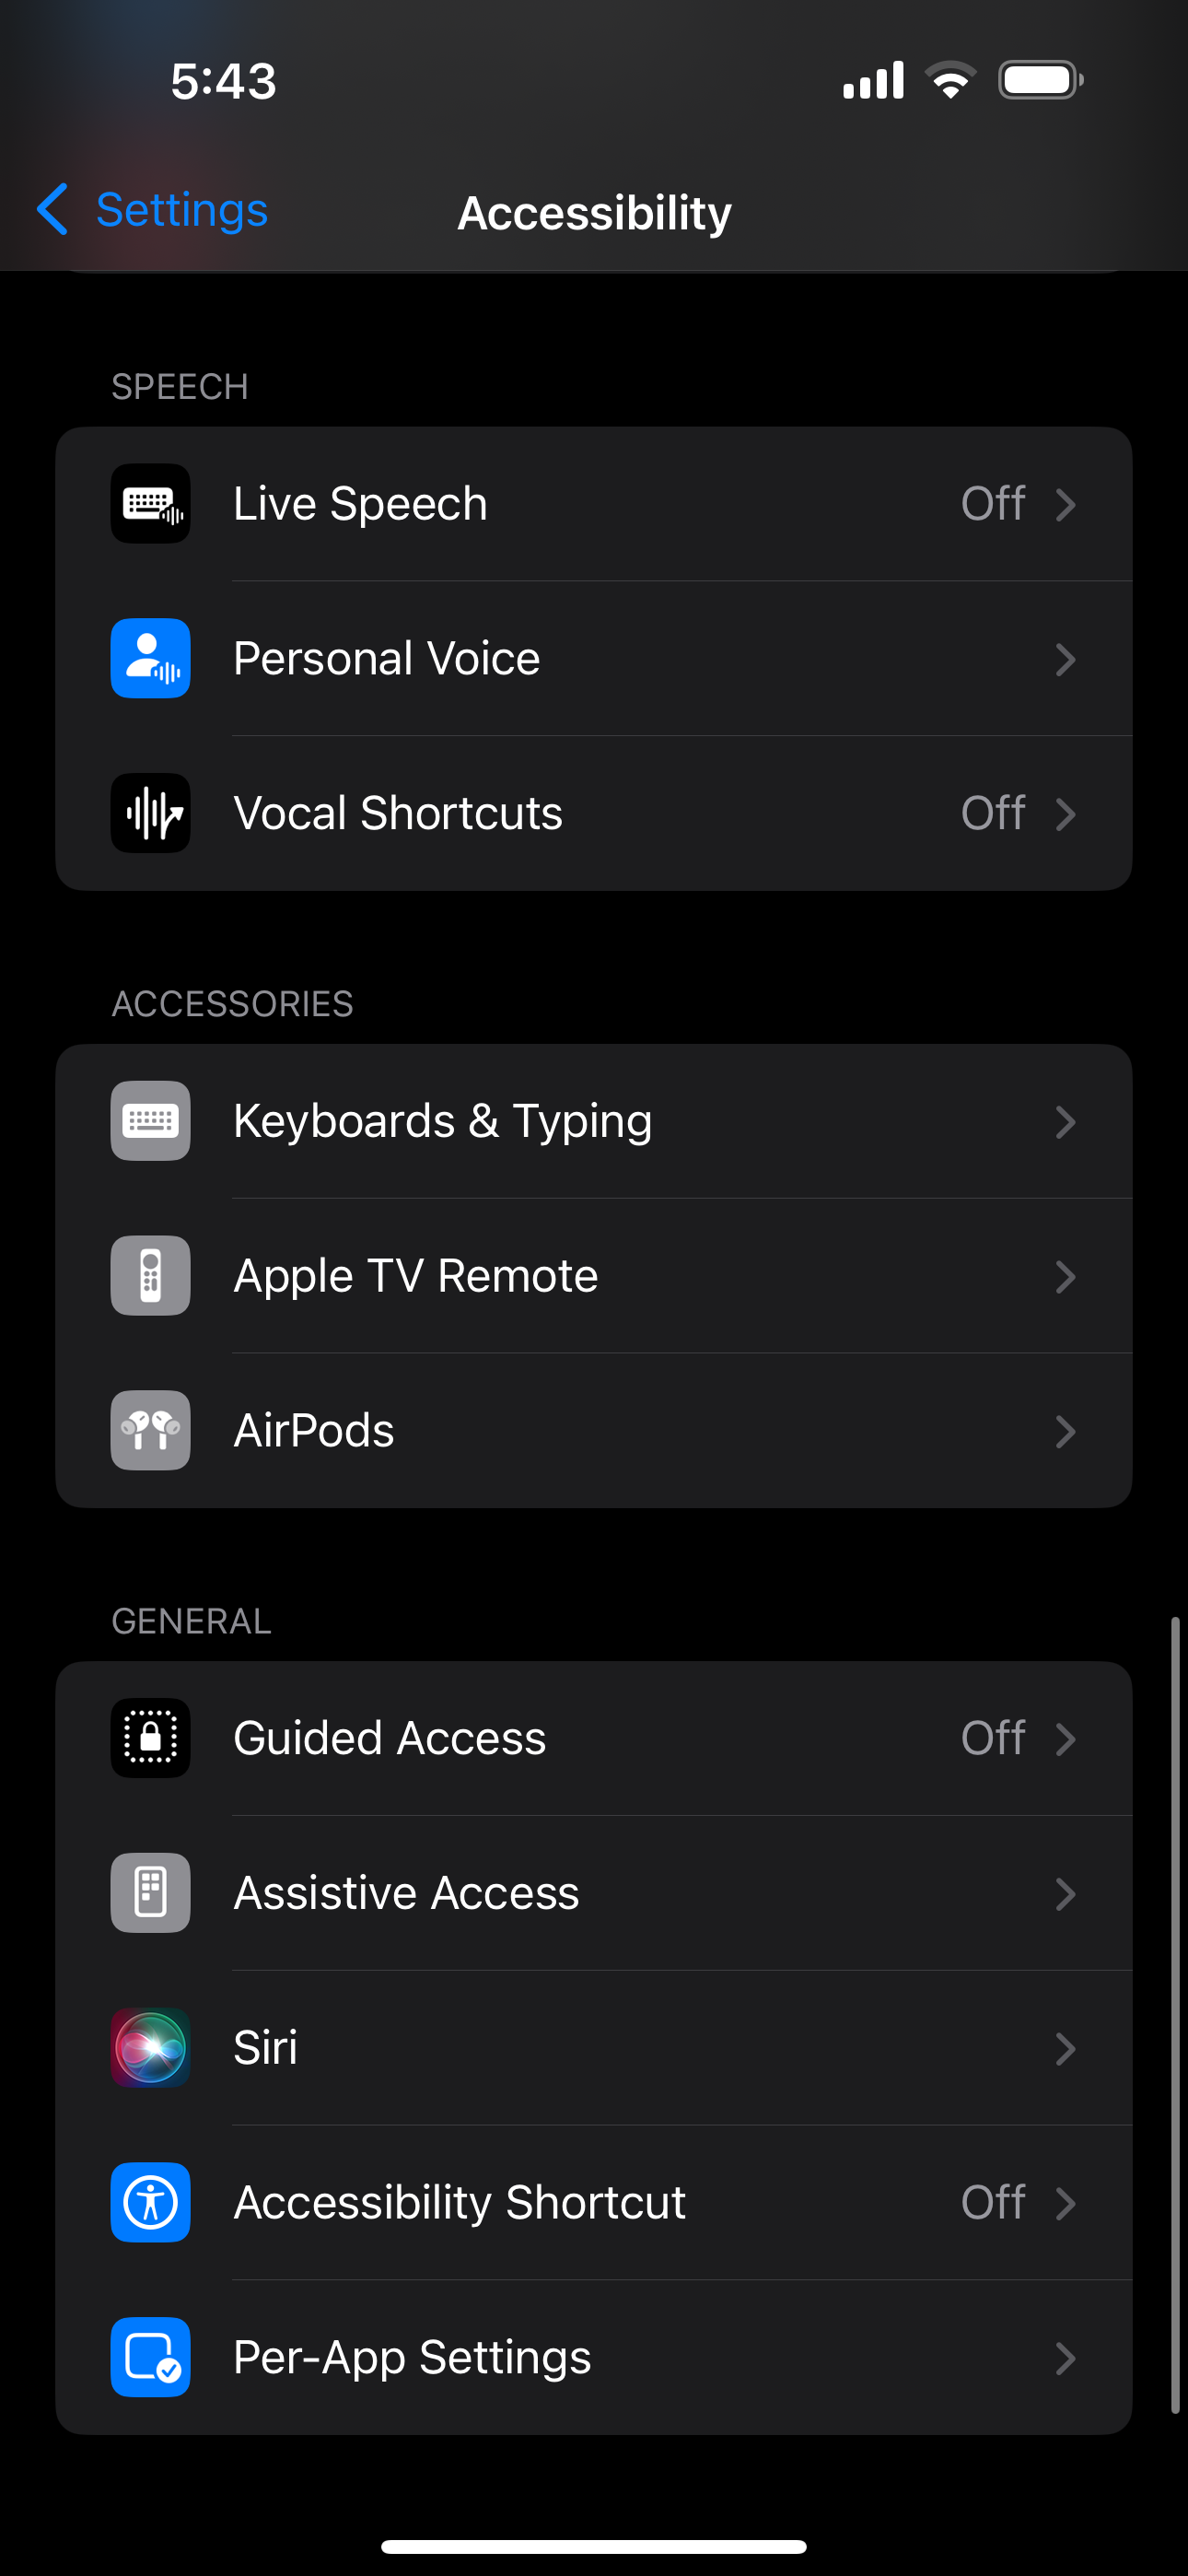
To enable Hover Typing, head to Settings > Accessibility > Keyboard & Typing > Hover Typing.
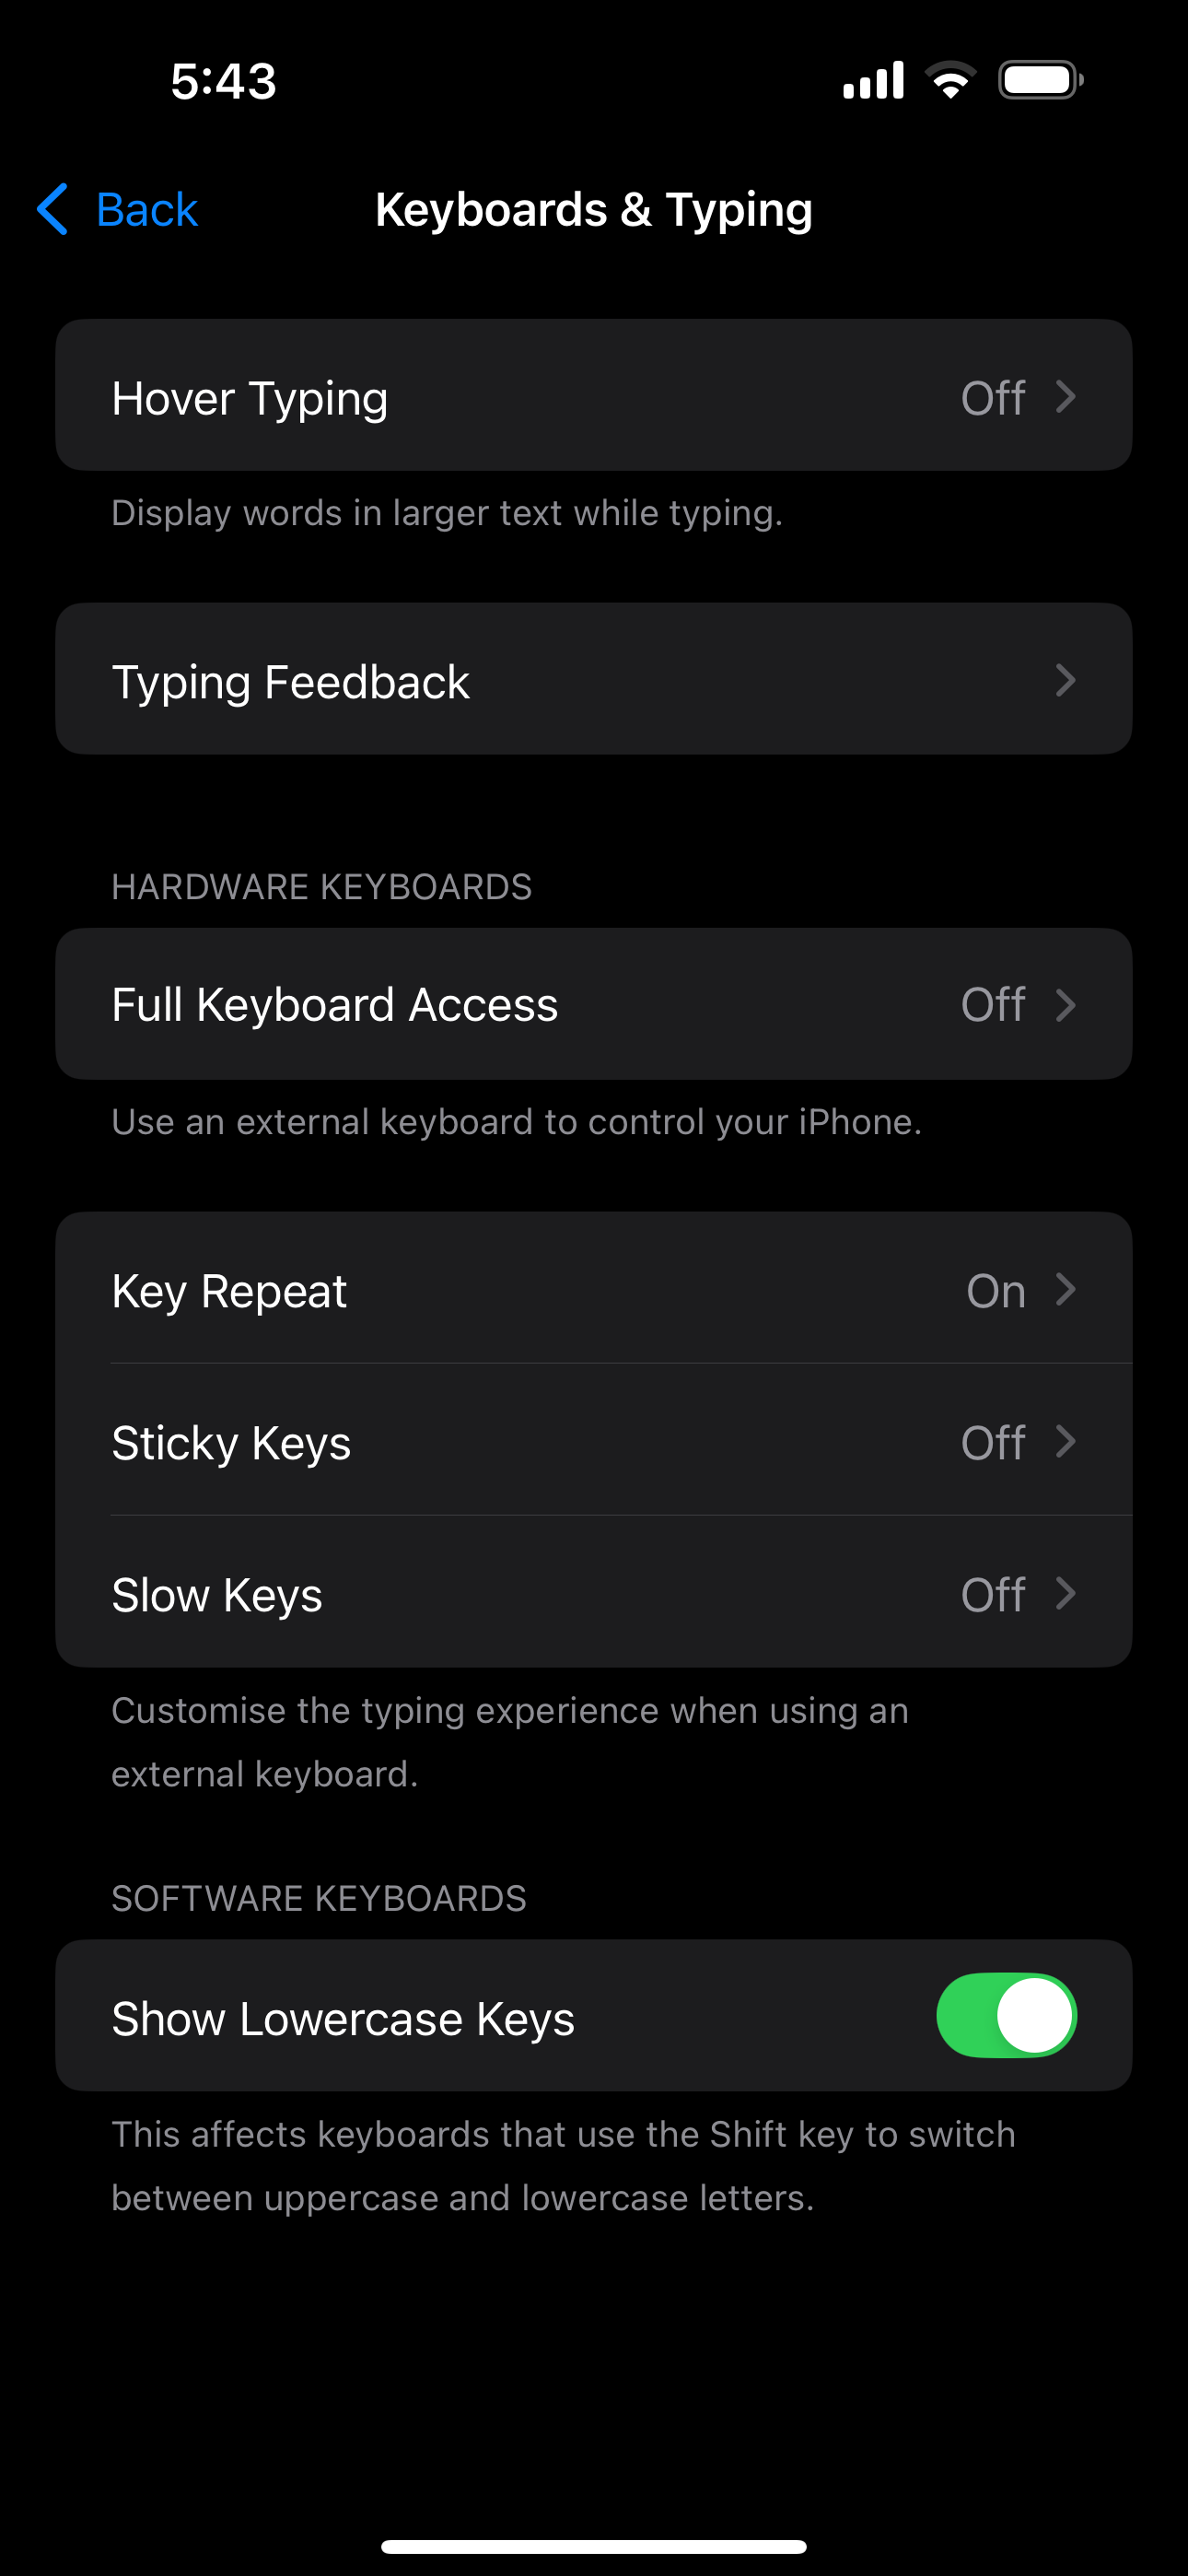
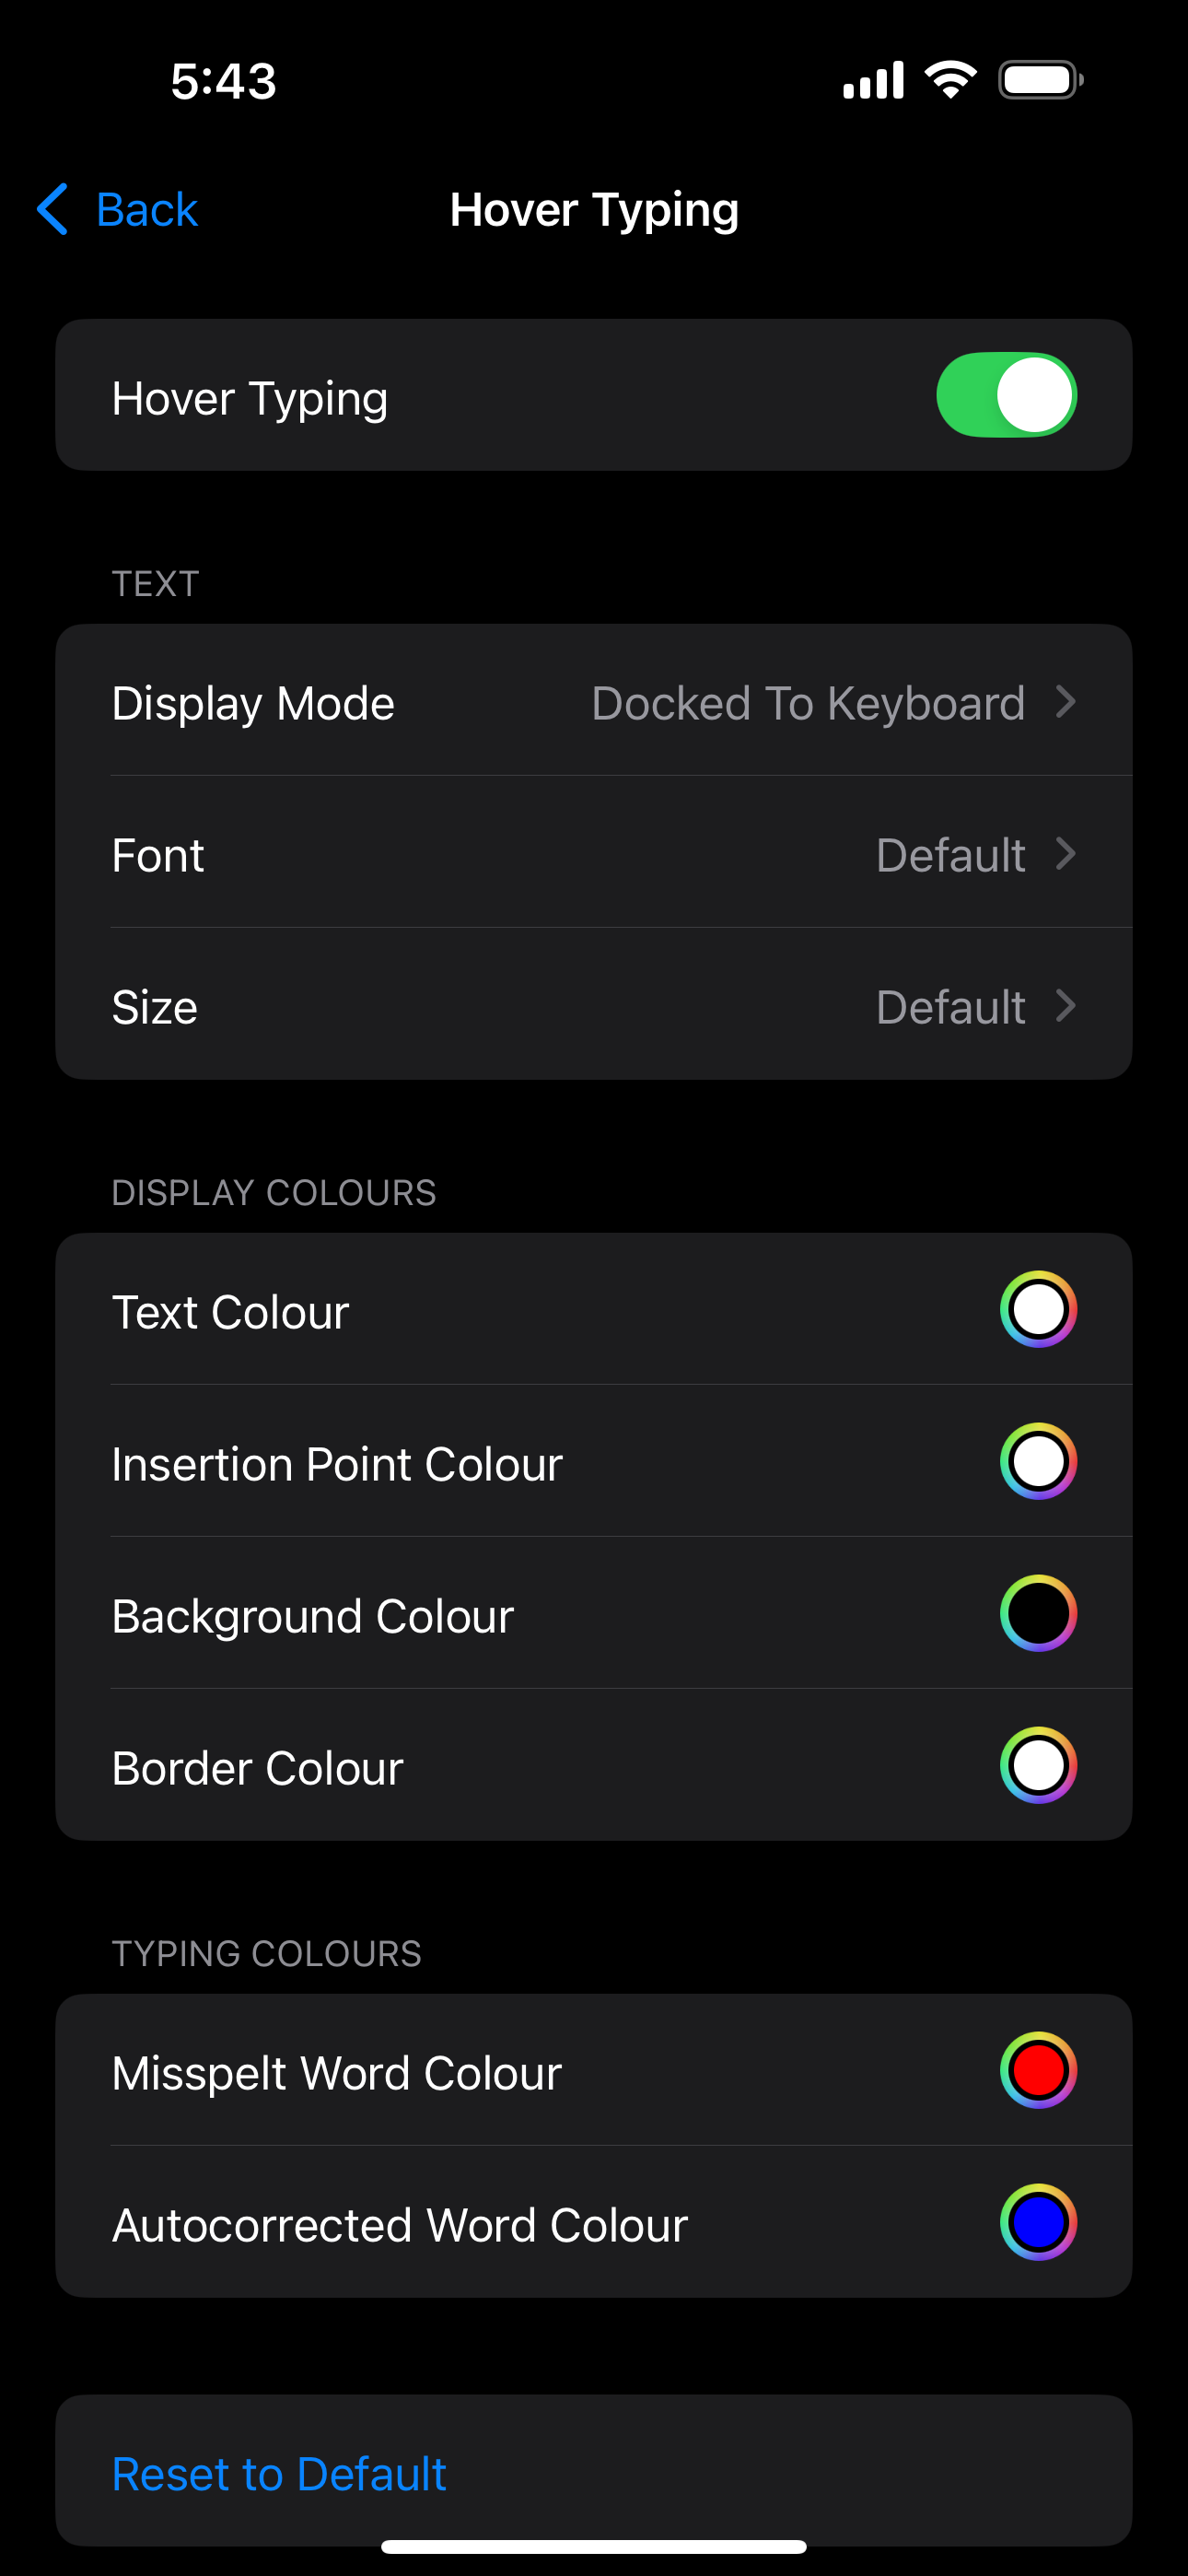
The feature is extremely customizable—you can customize the font, size, text and background color and even set misspelled words to appear in a different color.
Although Apple introduced all these features to help people with physical disabilities in mind, anyone looking to enhance the way they use their iPhone or iPad can set them up—just like I did!
